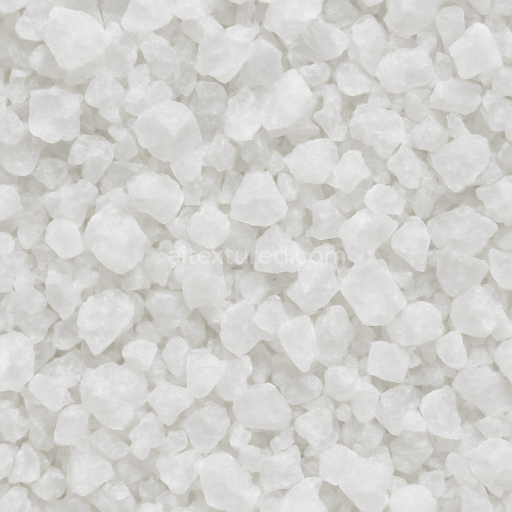
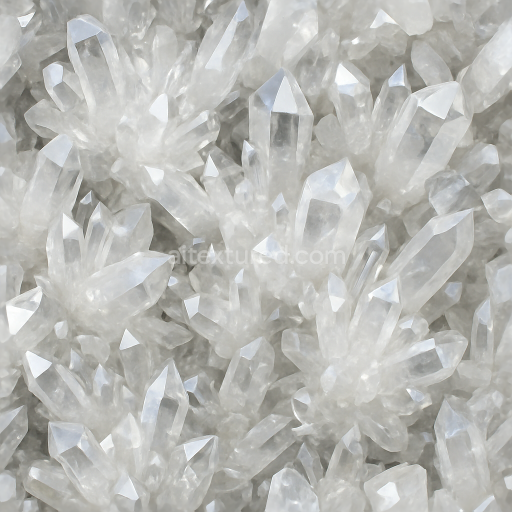
Salt Crystal Crystallized Salts Rough Crystal Photorealistic
Seamless texture (tileable) · PNG, WEBP, PBR ZIP. License: AITextured Free Commercial License (FCL) v1.1. Free personal and commercial use. Raw resale, standalone redistribution, mirroring/scraping, competing asset packs, and AI/ML training are not allowed without written permission. Attribution is not required, but appreciated..

| ID | seamless-3d-texture-pbr-8k-spinel-polished-crystal-with-bubble-inclusions-and-reflective-surfaces |
|---|---|
| Category | Crystals |
| Formats | PNG, WEBP, PBR ZIP |
| Size | 1k (1024x1024px), 2k (2048x2048px), 4k (4096x4096px), 8k (8192x8192px) |
| Color | sRGB |
| Tileable | Yes |
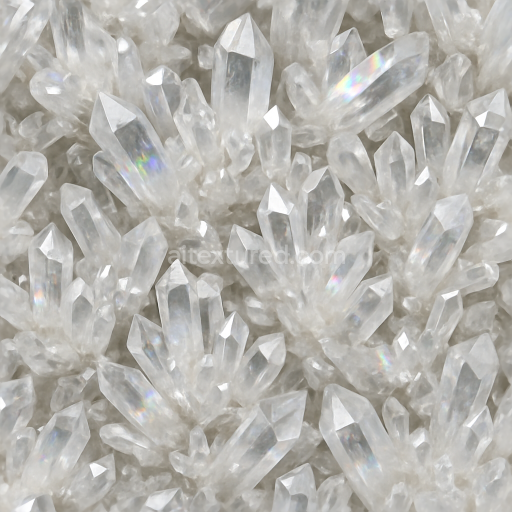
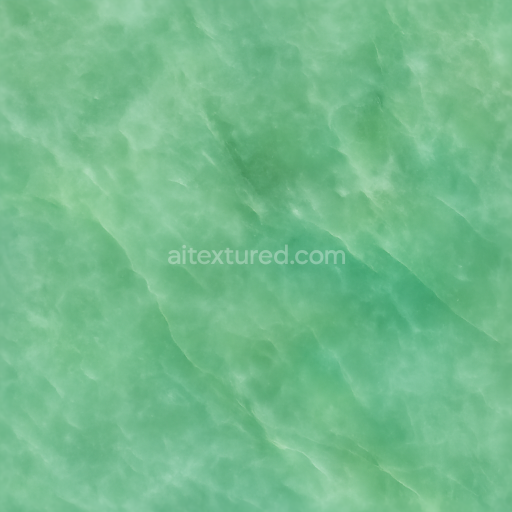
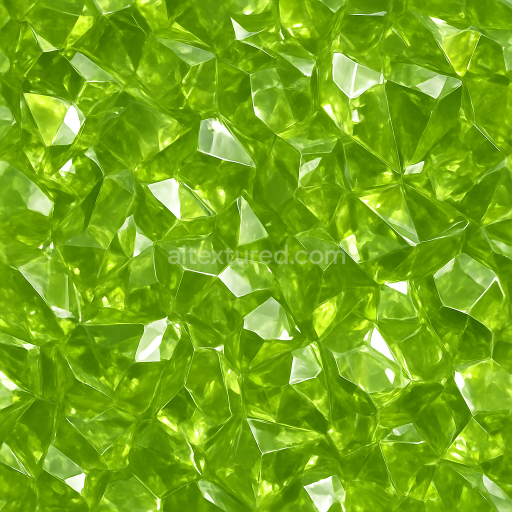
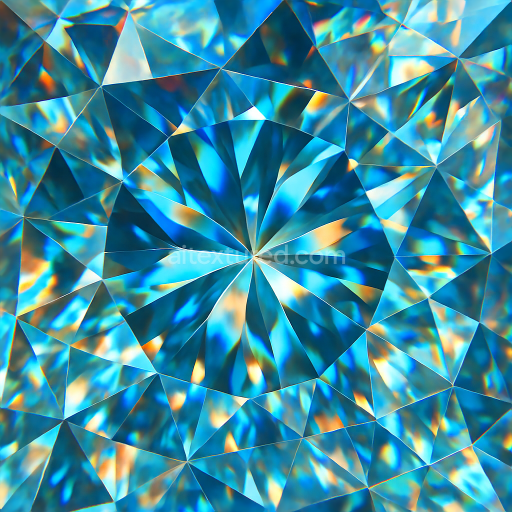
This seamless 3D texture represents a polished spinel crystal surface, meticulously crafted with an 8K resolution to capture the finest details of this gemstone's natural composition. Spinel, a magnesium aluminum oxide mineral, is renowned for its hardness and vibrant coloration, often featuring bubble inclusions as internal characteristics. The texture’s substrate mimics the solid crystalline lattice, showcasing a smooth yet complex form where minute gas bubbles are suspended within the transparent matrix. These inclusions create subtle variations in translucency and internal light scattering, contributing to the authentic depth and realism of the material.
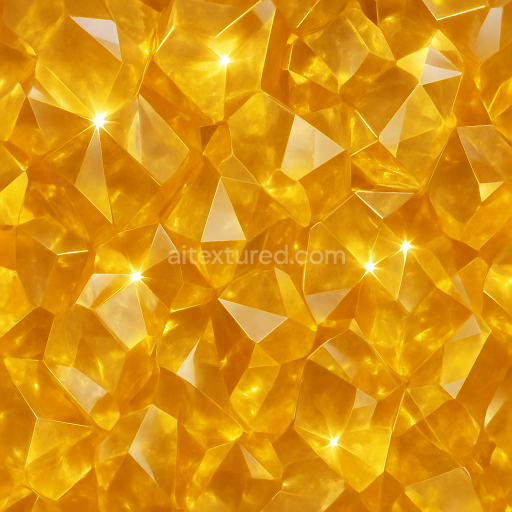
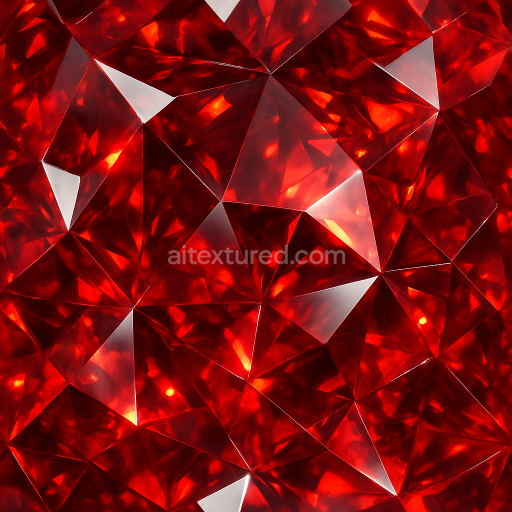
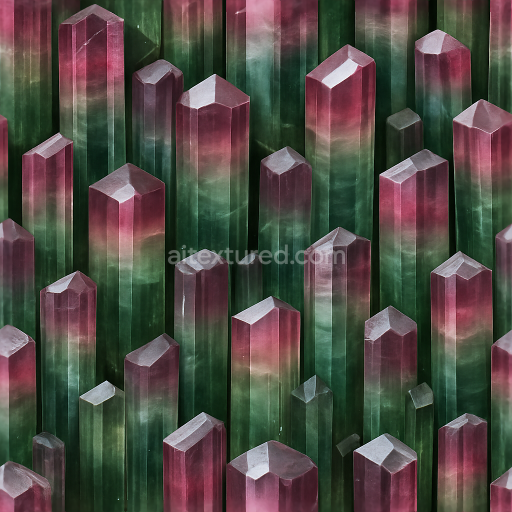
The polished finish emphasizes the spinel’s reflective properties, with lustrous surfaces that exhibit prismatic refraction and sparkle highlights under varied lighting conditions. The texture is structured around a seamless tileable pattern, designed to maintain continuous visual flow without visible edges, suitable for wrapping 3D models such as jewelry, gemstones, or decorative elements. The geometric form subtly incorporates natural crystal facet arrangements, balanced between flat reflective planes and gentle curvatures where light bends and refracts, enhancing the impression of a genuine polished stone.
In terms of PBR channel mapping, the BaseColor (Albedo) captures the natural color gradients and slight opacities caused by bubble inclusions, ranging from deep transparent hues to lighter reflective zones. The Normal map emphasizes micro-facets and surface irregularities that affect light reflection and refraction, while the Roughness map controls the high-gloss finish typical of polished crystals, enabling realistic specular highlights. The Metallic channel remains near zero to reflect the non-metallic nature of spinel, whereas the Ambient Occlusion map subtly defines crevices around inclusions and facets, enhancing depth perception. Height and Displacement maps simulate the minimal surface undulations and bubble cavities, contributing to tactile realism when used with parallax or tessellation techniques.
This texture is optimized for integration in Blender, Unreal Engine, and Unity, supporting high-fidelity renderings and real-time applications with full PBR workflow compatibility. For practical implementation, adjusting the UV scale to match the specific gemstone model ensures the bubble inclusions and crystal facets retain natural proportions without distortion. Additionally, fine-tuning the roughness parameter can help balance between highly reflective and softly diffused areas, depending on the lighting setup. When combining height and normal maps, blending them carefully enhances surface detail without excessive displacement artifacts, preserving performance while maximizing visual quality.
Import the texture maps into Blender with sRGB color space for albedo/base color and Non-Color for normal, roughness, metallic, AO, height, and ORM maps. Connect normal maps through a Normal Map node, then adjust UV scale with a Mapping node so the material repeats naturally on your model.
For the full step-by-step setup, see How to Use Seamless Textures in Blender. Browse related material examples in wood, concrete, and metal.
Yes. This texture is designed as a seamless tileable PBR material, so it can repeat across large surfaces without visible borders.
You can download PNG/WEBP versions and use 1K, 2K, 4K and 8K download options when available on the page.
Yes. The download options and engine-mapped ZIP workflow are designed for Blender, Unreal Engine, Unity Standard, URP and HDRP material pipelines.
Yes. The texture is available under the AITextured free commercial license. Review the license page for redistribution and AI-training restrictions.
Build, preview, and export seamless PBR materials. Generate full map sets from a single image, inspect them in a real-time WebGL viewer, and re-package maps for Unreal, Unity, and Blender—directly in your browser.
AI text-to-texture: type a prompt and get a seamless, tileable base image ready for PBR workflows (great starting point for materials).
Create a full PBR set (Normal, Roughness, AO, Metallic, etc.) from a single image. Seamless and tiling-friendly.
Instant WebGL viewer: inspect materials on a sphere, plane, and cube. Check tiling and lighting in real time.
Re-packages maps per engine: Unreal (BaseColor + ORM), Unity (Mask/MetallicSmoothness), Blender (separate channels).
PNG ↔ JPG ↔ SVG: fast convert, SVG rasterize, embed/trace options, quality & background controls.