
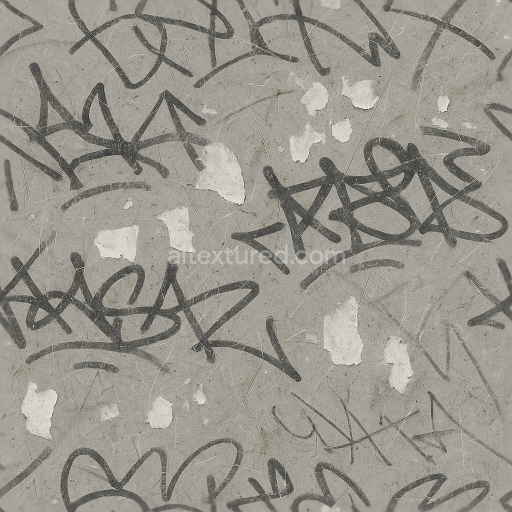
Cracked Glass And Broken Glass Shards With Paint Splatter And Dirt Smudges
Seamless texture (tileable) · PNG, WEBP, PBR ZIP. License: AITextured Free Commercial License (FCL) v1.1. Free personal and commercial use. Raw resale, standalone redistribution, mirroring/scraping, competing asset packs, and AI/ML training are not allowed without written permission. Attribution is not required, but appreciated..

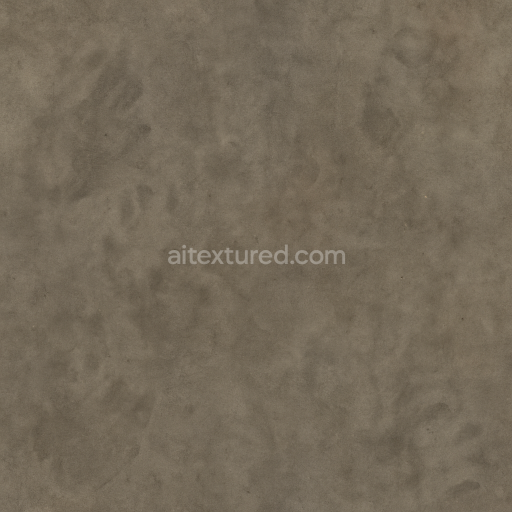
| ID | seamless-3d-texture-pbr-8k-bullet-holes-and-rust-flakes-with-scratched-metal-and-surface-rust-effects |
|---|---|
| Category | Decals |
| Formats | PNG, WEBP, PBR ZIP |
| Size | 1k (1024x1024px), 2k (2048x2048px), 4k (4096x4096px), 8k (8192x8192px) |
| Color | sRGB |
| Tileable | Yes |
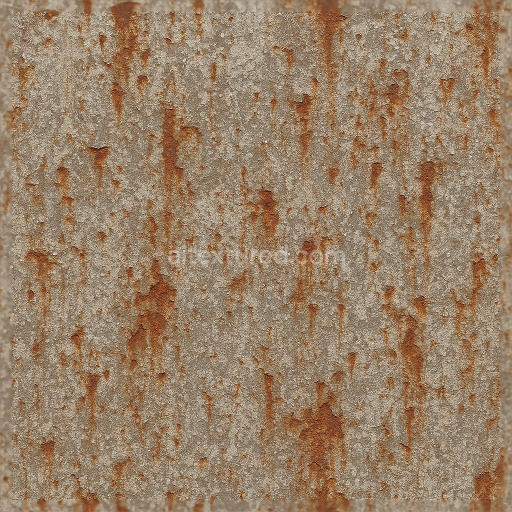
This seamless 8K PBR texture presents a highly detailed metal surface marred by bullet holes and rust flakes embodying a heavily weathered and industrial appearance. The base material is a corroded steel plate exhibiting a typical geometric form of large flat metal panels with subtle dents and indentations from impact damage. The substrate consists of aged iron alloy with a rough oxidized finish where corrosion products have formed flaky rust layers. The metal’s surface is partially covered by remnants of chipped paint which once adhered through chemical binders but now reveal the raw oxidized metal beneath. Fine rust streaks run vertically indicating prolonged exposure to moisture while scattered metal dents and scratches define the mechanical wear endured over time.
From a compositional standpoint the texture captures the interplay between the smooth underlying metal and the irregular porous rust flakes that disrupt its uniformity. The metal surface originally polished or brushed has degraded to a more matte and rough finish due to oxidation and abrasion. The paint chips are modeled as thin brittle layers peeling away exposing the corroded metal substrate. This layered complexity is reflected in the PBR maps: the BaseColor (Albedo) maps the rusty orange-brown hues of the oxidized iron contrasted with the faded desaturated paint patches; the Normal map emphasizes the depth of bullet holes dents and flaking rust; Roughness varies across the surface with rough matte rust flakes and smoother more reflective metal patches; the Metallic channel remains high on exposed metal areas and near zero for rust and paint. Ambient Occlusion enhances the crevices around dents and flakes to add depth while Height/Displacement maps accentuate the relief of bullet holes and peeling paint for realistic parallax effects.
This texture is optimized for use in Blender Unreal Engine and Unity ensuring compatibility with advanced PBR workflows and real-time rendering. Its 8K resolution preserves crisp detail across large surfaces suitable for close-up inspections in high-fidelity projects. To maximize realism it is recommended to carefully adjust the UV scale when applying ensuring that the bullet holes and rust flakes appear proportionally accurate to the model size. Additionally fine-tuning the Roughness map can help balance the surface reflectivity allowing the scratched metal to catch light naturally while keeping rust areas diffuse. Employing the Height map for subtle parallax or displacement can further enhance the tactile feel of the damaged metal.
Import the texture maps into Blender with sRGB color space for albedo/base color and Non-Color for normal, roughness, metallic, AO, height, and ORM maps. Connect normal maps through a Normal Map node, then adjust UV scale with a Mapping node so the material repeats naturally on your model.
For the full step-by-step setup, see How to Use Seamless Textures in Blender. Browse related material examples in wood, concrete, and metal.
Yes. This texture is designed as a seamless tileable PBR material, so it can repeat across large surfaces without visible borders.
You can download PNG/WEBP versions and use 1K, 2K, 4K and 8K download options when available on the page.
Yes. The download options and engine-mapped ZIP workflow are designed for Blender, Unreal Engine, Unity Standard, URP and HDRP material pipelines.
Yes. The texture is available under the AITextured free commercial license. Review the license page for redistribution and AI-training restrictions.


Build, preview, and export seamless PBR materials. Generate full map sets from a single image, inspect them in a real-time WebGL viewer, and re-package maps for Unreal, Unity, and Blender—directly in your browser.
AI text-to-texture: type a prompt and get a seamless, tileable base image ready for PBR workflows (great starting point for materials).
Create a full PBR set (Normal, Roughness, AO, Metallic, etc.) from a single image. Seamless and tiling-friendly.
Instant WebGL viewer: inspect materials on a sphere, plane, and cube. Check tiling and lighting in real time.
Re-packages maps per engine: Unreal (BaseColor + ORM), Unity (Mask/MetallicSmoothness), Blender (separate channels).
PNG ↔ JPG ↔ SVG: fast convert, SVG rasterize, embed/trace options, quality & background controls.