
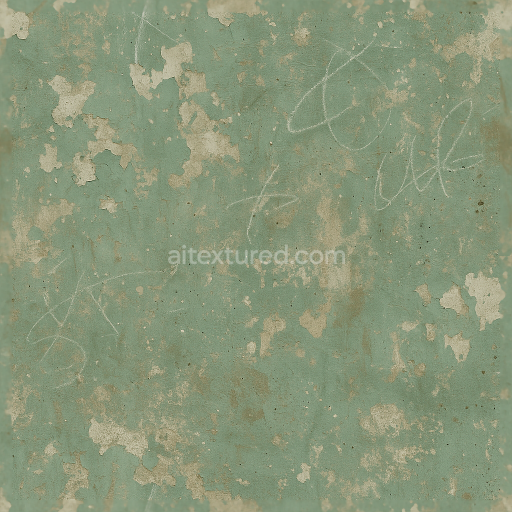
Worn Leather And Fabric Stains With Thread Pulls And Surface Rust Detailing
Seamless texture (tileable) · PNG, WEBP, PBR ZIP. License: AITextured Free Commercial License (FCL) v1.1. Free personal and commercial use. Raw resale, standalone redistribution, mirroring/scraping, competing asset packs, and AI/ML training are not allowed without written permission. Attribution is not required, but appreciated..

| ID | seamless-3d-texture-pbr-8k-scratched-plastic-and-paint-chips-with-dust-particles-and-grime-buildup-effects |
|---|---|
| Category | Decals |
| Formats | PNG, WEBP, PBR ZIP |
| Size | 1k (1024x1024px), 2k (2048x2048px), 4k (4096x4096px), 8k (8192x8192px) |
| Color | sRGB |
| Tileable | Yes |
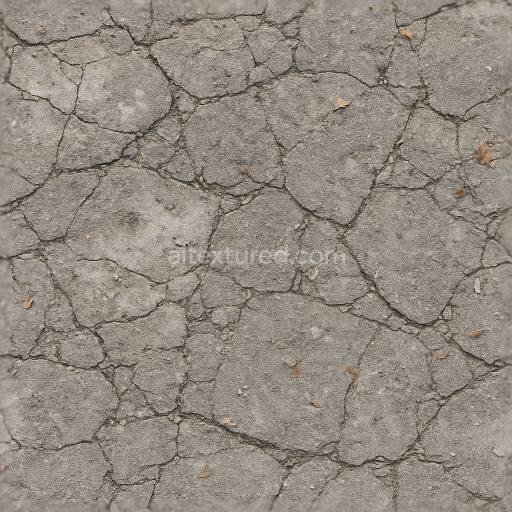
This seamless 3D PBR texture features a scratched plastic surface characterized by a complex interplay of paint chips dust particles and grime buildup all captured in an 8K resolution that ensures fine detail and sharpness. The base material is a semi-gloss plastic substrate exhibiting subtle plastic grain and slight surface porosity where environmental wear has taken its toll. The plastic itself is coated with multiple layers of paint some of which have chipped away due to mechanical abrasion and weather exposure revealing the darker plastic beneath. Fine dust particles and grime accumulate in crevices and along edges enhancing the realistic aging effect. The overall geometric form is predominantly flat but interrupted by irregular patches of chipped paint and shallow scratches creating a tactile surface with visible depth and variation.
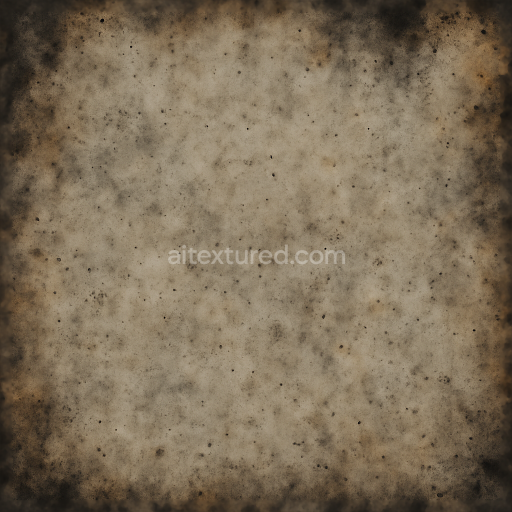
From a material composition standpoint the texture simulates a plastic polymer base bound with synthetic resin binders responsible for the glossy finish beneath the paint layers. The paint layers use pigmented coatings that have partially faded and bled into one another reflecting prolonged UV exposure and chemical degradation. These pigments contribute to the subtle color bleeding effect visible around the chipped areas where the clean base color transitions into muted worn hues. Surface roughness varies significantly across the texture: the scratched and scuffed regions show increased roughness and matte patches while less worn areas retain moderate glossiness. Grime and dust are represented with a fine particulate overlay that affects the ambient occlusion and height channels adding micro-variation and enhancing perceived depth and realism.
Technically this texture leverages PBR channels to maximize material fidelity. The BaseColor map encodes the faded paint with subtle color shifts while the Normal map captures the micro-scratches chipped edges and dust layering to convey surface irregularities under dynamic lighting. The Roughness map differentiates glossy plastic from scuffed matte areas controlling light reflection and diffusion. The Metallic channel remains near zero reflecting the non-metallic nature of plastic and paint. Ambient Occlusion enhances shadowing in crevices and chipped zones increasing visual depth. Height or Displacement maps provide subtle relief for the paint chips and grime allowing for enhanced parallax effects and realistic silhouette variation when used in supported engines.
This texture is optimized for use in Blender Unreal Engine and Unity ensuring compatibility and ease of integration into a wide range of 3D workflows. Its 8K resolution allows for close-up inspection without loss of detail ideal for high-fidelity renders or real-time applications requiring photorealistic weathered surfaces. When applying this texture it is recommended to carefully adjust the UV scale to balance detail density with performance especially on large assets. Additionally fine-tuning the roughness channel can help emphasize or soften the worn effect depending on lighting conditions while blending height and normal maps can produce more convincing depth and tactile variation for enhanced realism in scenes.
Import the texture maps into Blender with sRGB color space for albedo/base color and Non-Color for normal, roughness, metallic, AO, height, and ORM maps. Connect normal maps through a Normal Map node, then adjust UV scale with a Mapping node so the material repeats naturally on your model.
For the full step-by-step setup, see How to Use Seamless Textures in Blender. Browse related material examples in wood, concrete, and metal.
Yes. This texture is designed as a seamless tileable PBR material, so it can repeat across large surfaces without visible borders.
You can download PNG/WEBP versions and use 1K, 2K, 4K and 8K download options when available on the page.
Yes. The download options and engine-mapped ZIP workflow are designed for Blender, Unreal Engine, Unity Standard, URP and HDRP material pipelines.
Yes. The texture is available under the AITextured free commercial license. Review the license page for redistribution and AI-training restrictions.


Build, preview, and export seamless PBR materials. Generate full map sets from a single image, inspect them in a real-time WebGL viewer, and re-package maps for Unreal, Unity, and Blender—directly in your browser.
AI text-to-texture: type a prompt and get a seamless, tileable base image ready for PBR workflows (great starting point for materials).
Create a full PBR set (Normal, Roughness, AO, Metallic, etc.) from a single image. Seamless and tiling-friendly.
Instant WebGL viewer: inspect materials on a sphere, plane, and cube. Check tiling and lighting in real time.
Re-packages maps per engine: Unreal (BaseColor + ORM), Unity (Mask/MetallicSmoothness), Blender (separate channels).
PNG ↔ JPG ↔ SVG: fast convert, SVG rasterize, embed/trace options, quality & background controls.