
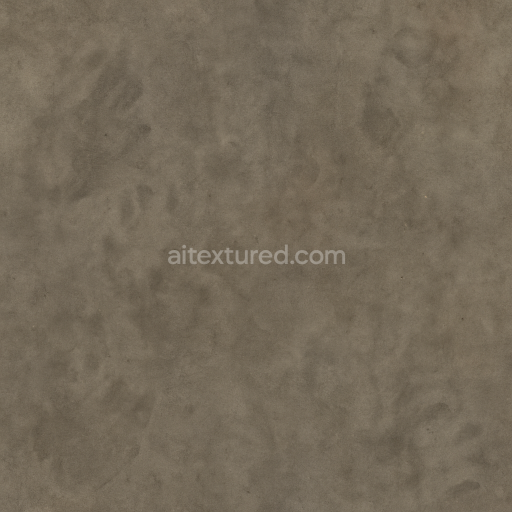
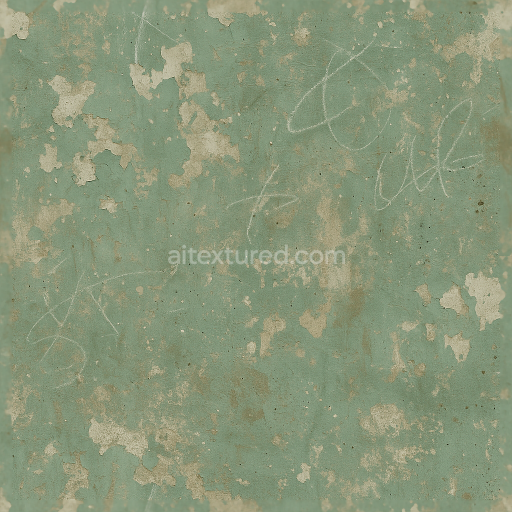
Worn Leather And Fabric Stains With Thread Pulls And Surface Rust Detailing
Seamless texture (tileable) · PNG, WEBP, PBR ZIP. License: AITextured Free Commercial License (FCL) v1.1. Free personal and commercial use. Raw resale, standalone redistribution, mirroring/scraping, competing asset packs, and AI/ML training are not allowed without written permission. Attribution is not required, but appreciated..

| ID | seamless-3d-texture-pbr-8k-burnt-edges-and-charred-marks-with-ash-residue-and-smoke-stains-for-fire-damage |
|---|---|
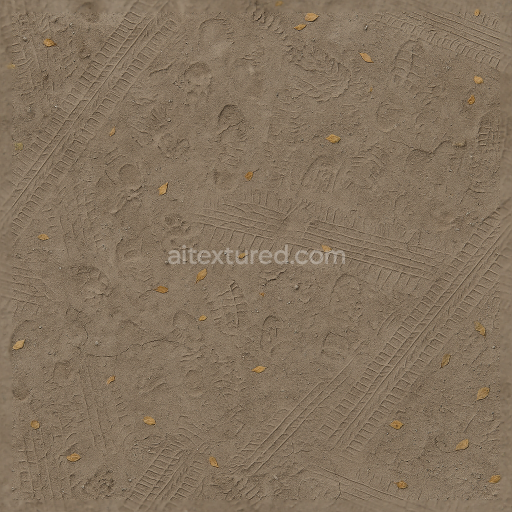
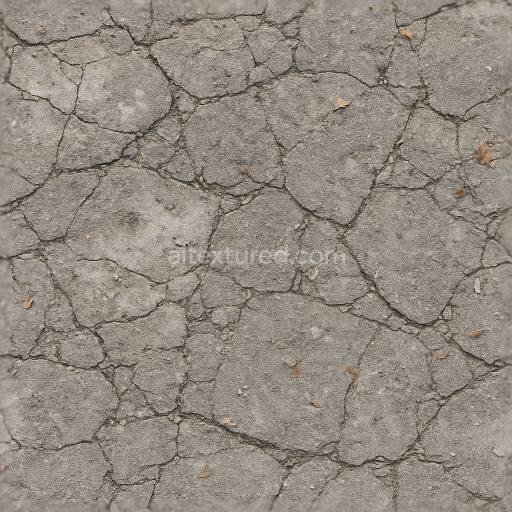
| Category | Decals |
| Formats | PNG, WEBP, PBR ZIP |
| Size | 1k (1024x1024px), 2k (2048x2048px), 4k (4096x4096px), 8k (8192x8192px) |
| Color | sRGB |
| Tileable | Yes |
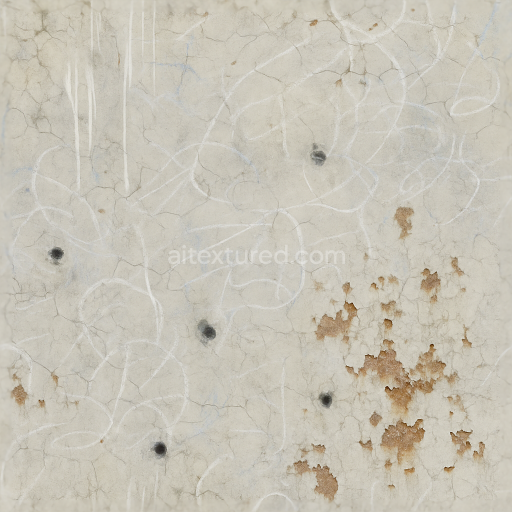
This seamless 3D PBR texture rendered in ultra-high 8K resolution depicts a distressed surface characterized by burnt edges charred marks ash residue and smoke stains—ideal for simulating fire damage on flat plank-like substrates such as aged wood panels or weathered painted metal sheets. The base material suggests a composite of fibrous wood grain or corroded metal where fibers and grain patterns remain partially visible beneath layers of damage. The burnt edges reveal substrate degradation with jagged irregular contours while charred marks and ash accumulate in slightly recessed areas indicating localized heat exposure and material breakdown. Smoke stains and grime buildup create diffuse overlays that add depth and complexity to the surface enhancing realism in 3D visualizations and game assets.
Compositionally the texture combines an underlying porous substrate—either natural wood fibers or oxidized metal—with binders and adhesives that originally held paint layers intact. The paint shows significant fading and color bleeding signaling pigment breakdown and chemical alteration from thermal stress. Surface corrosion manifests as roughened oxidized patches with subtle pitting contributing to increased microsurface variation. Ash residue and soot deposits form fine particulate aggregates that settle into crevices increasing ambient occlusion shading and subtle height variation. The surface finish is predominantly matte and weathered with some areas of semi-glossy residue where melted binders have partially re-solidified providing nuanced roughness transitions that enhance tactile authenticity.
In PBR maps the BaseColor (Albedo) channel captures the nuanced color shifts—from darkened burnt browns and grays to faded paint hues and soot-black overlays—while the Normal map encodes the intricate surface relief of charred cracks ash deposits and corrosion pits. Roughness is carefully tuned to reflect the contrast between the dry powdery ash and the slightly glossy heat-altered paint remnants. The Metallic channel remains low or near zero appropriate for oxidized metals or non-metallic wood whereas Ambient Occlusion emphasizes the depth of burnt recesses and grime-accumulated valleys. Height or Displacement maps provide subtle elevation changes highlighting the jagged burnt edges and layered ash buildup for enhanced parallax effects in real-time engines.
This texture is optimized for seamless tiling and is fully compatible with Blender Unreal Engine and Unity workflows ensuring efficient integration into diverse 3D projects. For practical application it is advisable to adjust UV scaling to maintain realism at close camera distances and to fine-tune roughness values to balance between matte ash-covered areas and residual glossy paint patches. Blending height and normal maps can further enhance the perception of depth on flat surfaces especially when used with parallax occlusion mapping or tessellation techniques.
Import the texture maps into Blender with sRGB color space for albedo/base color and Non-Color for normal, roughness, metallic, AO, height, and ORM maps. Connect normal maps through a Normal Map node, then adjust UV scale with a Mapping node so the material repeats naturally on your model.
For the full step-by-step setup, see How to Use Seamless Textures in Blender. Browse related material examples in wood, concrete, and metal.
Yes. This texture is designed as a seamless tileable PBR material, so it can repeat across large surfaces without visible borders.
You can download PNG/WEBP versions and use 1K, 2K, 4K and 8K download options when available on the page.
Yes. The download options and engine-mapped ZIP workflow are designed for Blender, Unreal Engine, Unity Standard, URP and HDRP material pipelines.
Yes. The texture is available under the AITextured free commercial license. Review the license page for redistribution and AI-training restrictions.


Build, preview, and export seamless PBR materials. Generate full map sets from a single image, inspect them in a real-time WebGL viewer, and re-package maps for Unreal, Unity, and Blender—directly in your browser.
AI text-to-texture: type a prompt and get a seamless, tileable base image ready for PBR workflows (great starting point for materials).
Create a full PBR set (Normal, Roughness, AO, Metallic, etc.) from a single image. Seamless and tiling-friendly.
Instant WebGL viewer: inspect materials on a sphere, plane, and cube. Check tiling and lighting in real time.
Re-packages maps per engine: Unreal (BaseColor + ORM), Unity (Mask/MetallicSmoothness), Blender (separate channels).
PNG ↔ JPG ↔ SVG: fast convert, SVG rasterize, embed/trace options, quality & background controls.