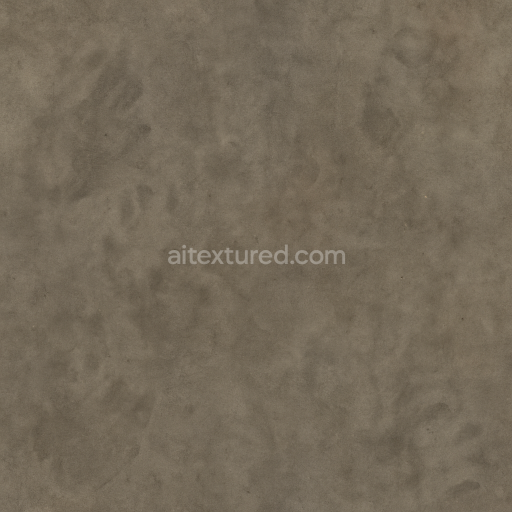
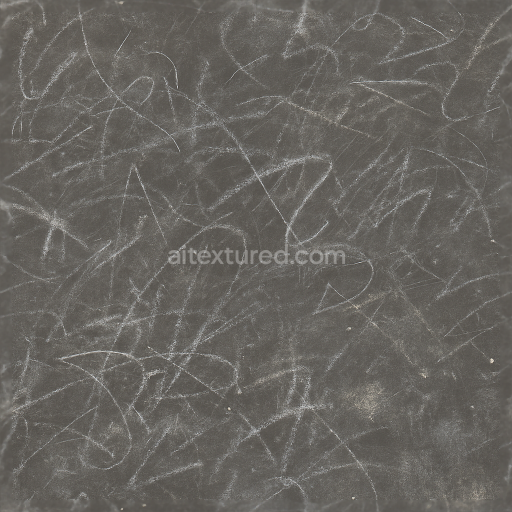
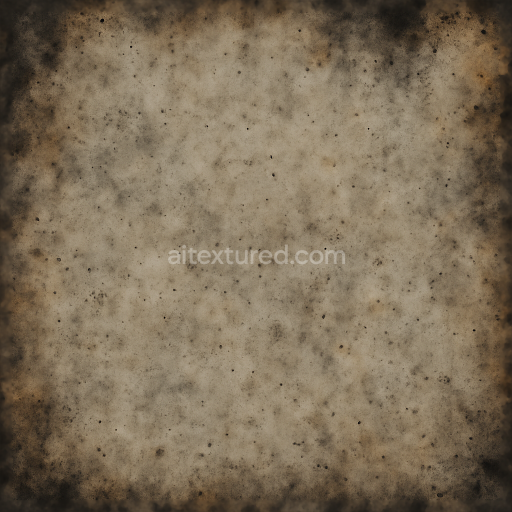
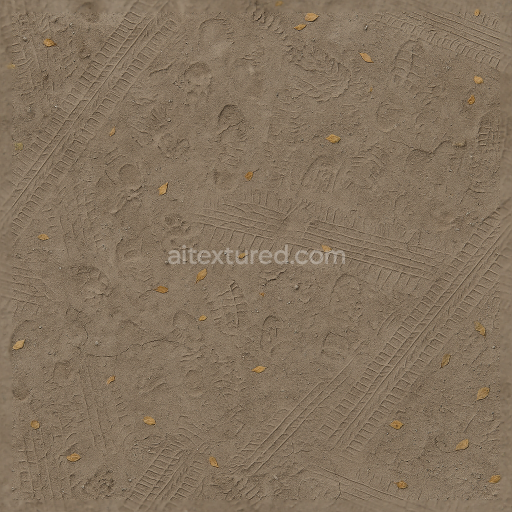
Dust Layers And Grime Buildup With Dirt Smudges And Fingerprints For Dirty Surfaces
Seamless texture (tileable) · PNG, WEBP, PBR ZIP. License: AITextured Free Commercial License (FCL) v1.1. Free personal and commercial use. Raw resale, standalone redistribution, mirroring/scraping, competing asset packs, and AI/ML training are not allowed without written permission. Attribution is not required, but appreciated..

| ID | seamless-3d-texture-pbr-8k-rust-stains-and-paint-scratches-overlay-for-realistic-surface-detailing |
|---|---|
| Category | Decals |
| Formats | PNG, WEBP, PBR ZIP |
| Size | 1k (1024x1024px), 2k (2048x2048px), 4k (4096x4096px), 8k (8192x8192px) |
| Color | sRGB |
| Tileable | Yes |
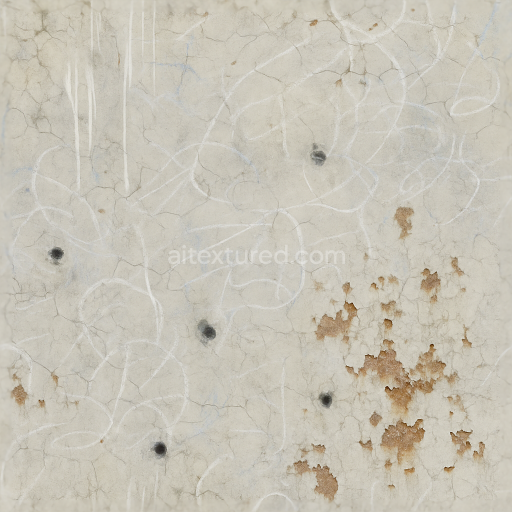
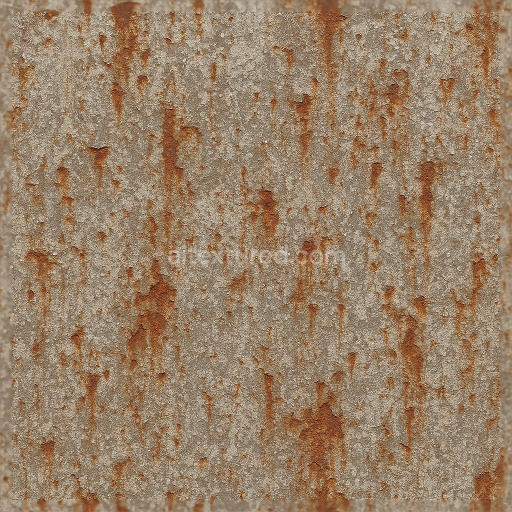
This seamless 3D texture is meticulously crafted to simulate a weathered metal surface where rust stains and paint scratches dominate the visual narrative. The base material is aged steel or iron exhibiting natural oxidation processes that result in layered rust deposits. The substrate reveals a slightly rough uneven metallic surface with patches of cracked and peeling paint adhered via aged binders likely oil-based primers or industrial coatings. These binders have deteriorated over time exposing aggregates of fine rust particles and corroded metal beneath. The overall form suggests a flat panel or sheet metal commonly used in industrial or architectural settings featuring subtle geometric irregularities such as dents and creases that add dimensionality to the surface.
The texture’s composition integrates multiple materials and weathering effects to enhance realism. The rust stains vary in hue from deep burnt orange to dark reddish-brown indicating different oxidation stages and moisture exposure. Paint scratches reveal the underlying metal with sharp edges where layers have flaked off demonstrating brittle cracked paint layers. Dirt smudges and grime buildup accumulate in crevices and along edges while oil spills present glossy semi-transparent patches with subtle iridescence. Water droplets are scattered sporadically contributing to surface tension effects and slight specular highlights. These elements collectively create a convincingly aged and neglected appearance typical of exposed outdoor metal structures.
From a PBR workflow perspective the BaseColor (Albedo) channel captures the complex coloration of rust paint pigments and grime carefully balanced to avoid baked-in shadows. The Normal map encodes fine surface details such as scratches dents and peeling paint edges enhancing the tactile quality. Roughness varies significantly: rust and dirt areas are rough and matte while oil spills and wet paint regions exhibit lower roughness and increased specularity. The Metallic map emphasizes the underlying metal substrate in exposed areas while rusted zones transition toward non-metallic values due to oxidation. Ambient Occlusion enhances shading in recessed areas emphasizing grime accumulation and paint cracks. Height (Displacement) maps provide subtle relief for peeling paint and rust buildup crucial for parallax or tessellation effects.
Designed at an impressive 8K resolution this texture delivers exceptional detail suitable for close-up renders and high-fidelity visualizations. It is fully optimized and compatible with Blender Unreal Engine and Unity enabling seamless integration into various 3D workflows. For practical application it is recommended to adjust the UV scale to maintain sharpness when applied to larger meshes and to fine-tune roughness values to balance between dry rust and glossy oil patches. Additionally blending height and normal maps can improve depth perception without heavy tessellation ensuring efficient performance in game engines or real-time rendering scenarios.
Import the texture maps into Blender with sRGB color space for albedo/base color and Non-Color for normal, roughness, metallic, AO, height, and ORM maps. Connect normal maps through a Normal Map node, then adjust UV scale with a Mapping node so the material repeats naturally on your model.
For the full step-by-step setup, see How to Use Seamless Textures in Blender. Browse related material examples in wood, concrete, and metal.
Yes. This texture is designed as a seamless tileable PBR material, so it can repeat across large surfaces without visible borders.
You can download PNG/WEBP versions and use 1K, 2K, 4K and 8K download options when available on the page.
Yes. The download options and engine-mapped ZIP workflow are designed for Blender, Unreal Engine, Unity Standard, URP and HDRP material pipelines.
Yes. The texture is available under the AITextured free commercial license. Review the license page for redistribution and AI-training restrictions.


Build, preview, and export seamless PBR materials. Generate full map sets from a single image, inspect them in a real-time WebGL viewer, and re-package maps for Unreal, Unity, and Blender—directly in your browser.
AI text-to-texture: type a prompt and get a seamless, tileable base image ready for PBR workflows (great starting point for materials).
Create a full PBR set (Normal, Roughness, AO, Metallic, etc.) from a single image. Seamless and tiling-friendly.
Instant WebGL viewer: inspect materials on a sphere, plane, and cube. Check tiling and lighting in real time.
Re-packages maps per engine: Unreal (BaseColor + ORM), Unity (Mask/MetallicSmoothness), Blender (separate channels).
PNG ↔ JPG ↔ SVG: fast convert, SVG rasterize, embed/trace options, quality & background controls.