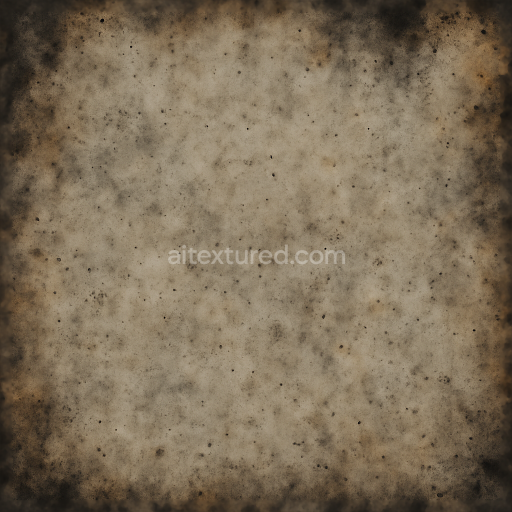
Burnt Edges And Charred Marks With Ash Residue And Smoke Stains For Fire Damage
Seamless texture (tileable) · PNG, WEBP, PBR ZIP. License: AITextured Free Commercial License (FCL) v1.1. Free personal and commercial use. Raw resale, standalone redistribution, mirroring/scraping, competing asset packs, and AI/ML training are not allowed without written permission. Attribution is not required, but appreciated..

| ID | seamless-3d-texture-pbr-8k-salt-corrosion-and-salt-deposits-with-weathering-and-surface-rust-on-metal-surfaces |
|---|---|
| Category | Decals |
| Formats | PNG, WEBP, PBR ZIP |
| Size | 1k (1024x1024px), 2k (2048x2048px), 4k (4096x4096px), 8k (8192x8192px) |
| Color | sRGB |
| Tileable | Yes |
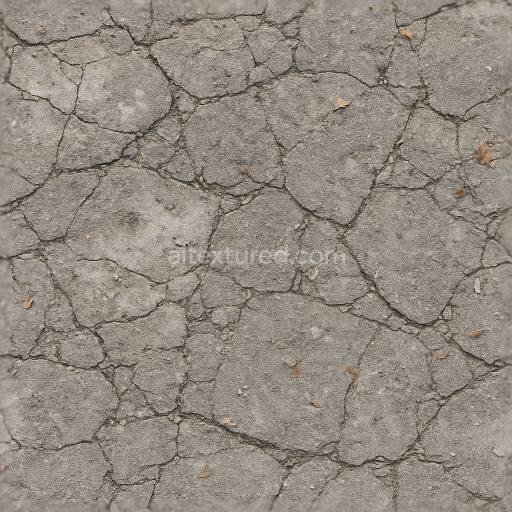
This seamless 3D PBR texture presented in an ultra-high 8K resolution captures the complex interplay of salt corrosion salt deposits and weathering effects on metal surfaces. The base material is primarily a weathered steel substrate exhibiting extensive surface oxidation. The metal shows signs of prolonged exposure to harsh saline environments resulting in a naturally roughened surface with varying degrees of rust formation. The texture’s form is irregular and organic reflecting the random distribution of corrosion patches rust flakes and salt crystallization rather than following any geometric or repetitive pattern. This irregularity enhances the realism when applied to models requiring authentic aged metal finishes.
The composition of this texture reveals a multi-layered surface structure. The underlying steel acts as the metallic core with a moderately oxidized finish that contributes to the metallic and roughness channels in the PBR maps. Salt deposits appear as granular crystalline aggregates scattered unevenly across the surface introducing localized increases in surface roughness and subtle height variations. Weathering effects manifest as corrosion streaks and rust flakes which are visible as flaking oxide layers loosely adhering to the metal suggesting partial substrate degradation. Fine scratches and abrasions indicative of mechanical wear are interspersed throughout adding micro-details that break up the surface reflectance and enhance the normal map’s complexity. The color palette is dominated by muted reddish-browns and rusty oranges contrasted by pale white and off-white salt crystals accurately represented within the BaseColor (Albedo) map.
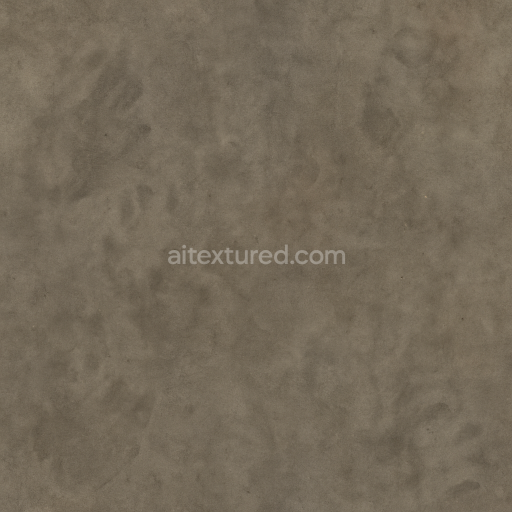
Functionally the PBR texture set includes several essential channels: the BaseColor map carries the nuanced rust and salt hues; the Normal map encodes the micro-geometry of flakes scratches and salt granules; the Roughness map controls the varying reflectivity from polished steel patches to corroded matte surfaces; the Metallic map defines the steel substrate’s inherent metalness with reduced values in heavily corroded zones; the Ambient Occlusion map enhances shadowing within rust cavities and flake edges; and the Height/Displacement map offers depth information for parallax or tessellation effects emphasizing surface irregularities like salt crust buildup and rust pitting. The texture’s surface finish is oxidized and weather-beaten with a generally matte appearance interrupted by occasional semi-glossy steel patches where corrosion is minimal.
Designed for seamless tiling this texture integrates smoothly on complex 3D models making it ideal for applications in Blender Unreal Engine and Unity. Its high resolution allows for close-up inspection without loss of detail crucial for realistic asset creation in games simulations or architectural visualizations involving industrial or maritime environments. A practical tip for usage is to carefully adjust the UV scale to match the model’s size as the salt crystals and rust flakes have a natural scale that can appear unrealistic if stretched or compressed. Additionally fine-tuning the roughness values can help balance between shiny metal remnants and matte corroded areas while blending height and normal maps can enhance depth perception without excessive displacement artifacts.
Import the texture maps into Blender with sRGB color space for albedo/base color and Non-Color for normal, roughness, metallic, AO, height, and ORM maps. Connect normal maps through a Normal Map node, then adjust UV scale with a Mapping node so the material repeats naturally on your model.
For the full step-by-step setup, see How to Use Seamless Textures in Blender. Browse related material examples in wood, concrete, and metal.
Yes. This texture is designed as a seamless tileable PBR material, so it can repeat across large surfaces without visible borders.
You can download PNG/WEBP versions and use 1K, 2K, 4K and 8K download options when available on the page.
Yes. The download options and engine-mapped ZIP workflow are designed for Blender, Unreal Engine, Unity Standard, URP and HDRP material pipelines.
Yes. The texture is available under the AITextured free commercial license. Review the license page for redistribution and AI-training restrictions.


Build, preview, and export seamless PBR materials. Generate full map sets from a single image, inspect them in a real-time WebGL viewer, and re-package maps for Unreal, Unity, and Blender—directly in your browser.
AI text-to-texture: type a prompt and get a seamless, tileable base image ready for PBR workflows (great starting point for materials).
Create a full PBR set (Normal, Roughness, AO, Metallic, etc.) from a single image. Seamless and tiling-friendly.
Instant WebGL viewer: inspect materials on a sphere, plane, and cube. Check tiling and lighting in real time.
Re-packages maps per engine: Unreal (BaseColor + ORM), Unity (Mask/MetallicSmoothness), Blender (separate channels).
PNG ↔ JPG ↔ SVG: fast convert, SVG rasterize, embed/trace options, quality & background controls.