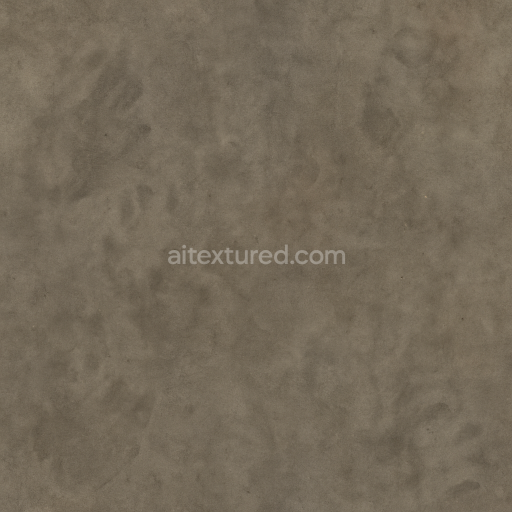
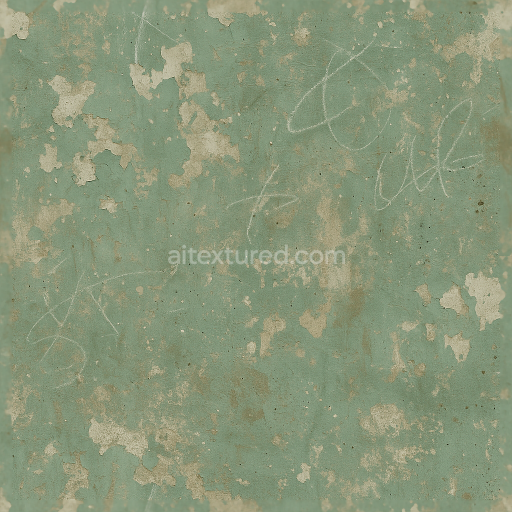
Dust Layers And Grime Buildup With Dirt Smudges And Fingerprints For Dirty Surfaces
Seamless texture (tileable) · PNG, WEBP, PBR ZIP. License: AITextured Free Commercial License (FCL) v1.1. Free personal and commercial use. Raw resale, standalone redistribution, mirroring/scraping, competing asset packs, and AI/ML training are not allowed without written permission. Attribution is not required, but appreciated..

| ID | seamless-3d-texture-pbr-8k-torn-paper-and-sticker-tears-with-sticker-residue-and-peeling-stickers-for-worn-labels |
|---|---|
| Category | Decals |
| Formats | PNG, WEBP, PBR ZIP |
| Size | 1k (1024x1024px), 2k (2048x2048px), 4k (4096x4096px), 8k (8192x8192px) |
| Color | sRGB |
| Tileable | Yes |
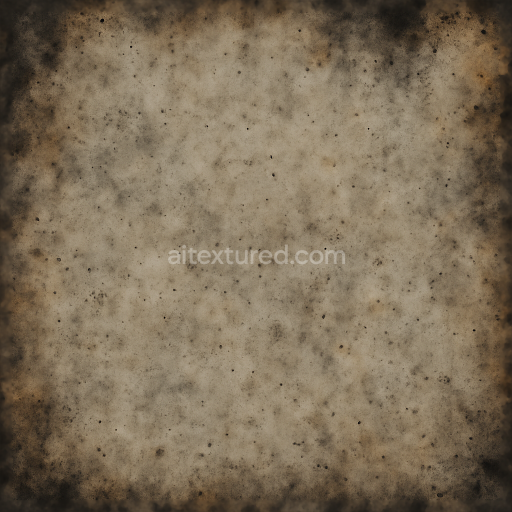
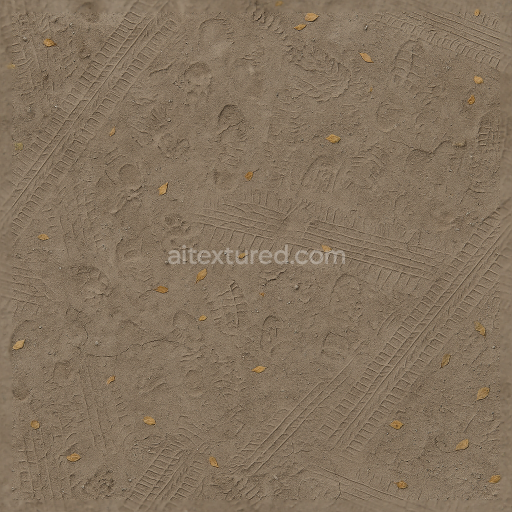
This seamless 3D PBR texture presented in ultra-high 8K resolution meticulously recreates the intricate layering and degradation of torn paper and sticker materials adhered to worn label surfaces. The base material is predominantly fibrous paper exhibiting natural grain and subtle porosity that reflects its organic cellulose structure. Over this substrate various layers of synthetic adhesives and vinyl-based sticker films introduce additional complexity in form and texture. The geometric pattern is irregular and fragmented with jagged tears and curling edges characteristic of aged and weathered decals. This composition also incorporates layered warning labels and caution stripes which contribute sharp linear elements disrupted by peeling and curling sections while scattered paint chips and surface wear marks enhance the overall distressed aesthetic.
From a material standpoint the torn paper fibers form a matte slightly rough surface that diffuses light softly captured in the BaseColor (Albedo) channel with a muted palette of off-whites yellows and grays. Sticker residues and peeling sticker edges exhibit a glossier finish with varying translucency modeled through the Roughness and Normal maps to simulate the uneven surface curvature and subtle creases. The adhesive layers beneath are represented through subtle height variations in the Displacement map imparting realism to the areas where stickers have lifted or partially detached. The Metallic channel remains minimal or null as these materials are non-metallic while Ambient Occlusion enhances the perception of depth in crevices and around torn edges emphasizing the layered complexity of the decals.
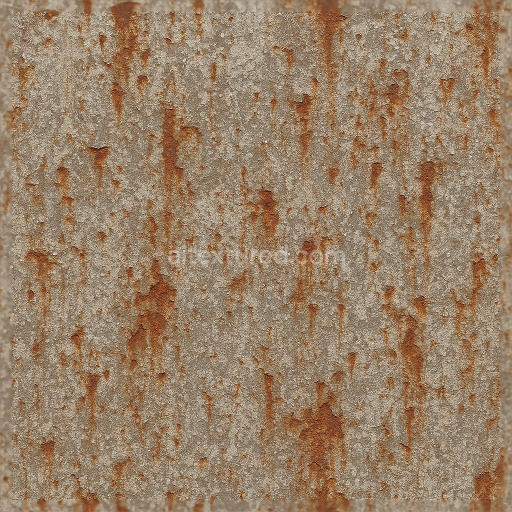
Weathering effects are crucial to this texture’s authenticity: paint chips and wear marks simulate mechanical abrasion and environmental exposure creating localized roughness contrasts and micro-surface imperfections. These details are carefully encoded in the Roughness and Normal maps to yield believable light scattering and shadow interplay when rendered. The surface finish varies from matte paper fibers to semi-glossy sticker remnants reflecting the heterogeneous nature of layered labels subjected to long-term wear and tear. This texture’s high-resolution detail ensures that even the finest fibers and micro-tears remain crisp and visually informative when applied to 3D models.
Designed for seamless tiling this texture is optimized for compatibility with Blender Unreal Engine and Unity facilitating versatile use in diverse 3D projects such as realistic packaging visuals industrial signage or urban streetwear assets. For best results it is advisable to adjust UV scale carefully to maintain the natural size of paper fibers and sticker fragments and to fine-tune roughness values to balance glossiness between paper and adhesive layers. Additionally blending height and normal maps subtly can enhance parallax effects improving depth perception on close camera views without introducing artifacts.
Import the texture maps into Blender with sRGB color space for albedo/base color and Non-Color for normal, roughness, metallic, AO, height, and ORM maps. Connect normal maps through a Normal Map node, then adjust UV scale with a Mapping node so the material repeats naturally on your model.
For the full step-by-step setup, see How to Use Seamless Textures in Blender. Browse related material examples in wood, concrete, and metal.
Yes. This texture is designed as a seamless tileable PBR material, so it can repeat across large surfaces without visible borders.
You can download PNG/WEBP versions and use 1K, 2K, 4K and 8K download options when available on the page.
Yes. The download options and engine-mapped ZIP workflow are designed for Blender, Unreal Engine, Unity Standard, URP and HDRP material pipelines.
Yes. The texture is available under the AITextured free commercial license. Review the license page for redistribution and AI-training restrictions.


Build, preview, and export seamless PBR materials. Generate full map sets from a single image, inspect them in a real-time WebGL viewer, and re-package maps for Unreal, Unity, and Blender—directly in your browser.
AI text-to-texture: type a prompt and get a seamless, tileable base image ready for PBR workflows (great starting point for materials).
Create a full PBR set (Normal, Roughness, AO, Metallic, etc.) from a single image. Seamless and tiling-friendly.
Instant WebGL viewer: inspect materials on a sphere, plane, and cube. Check tiling and lighting in real time.
Re-packages maps per engine: Unreal (BaseColor + ORM), Unity (Mask/MetallicSmoothness), Blender (separate channels).
PNG ↔ JPG ↔ SVG: fast convert, SVG rasterize, embed/trace options, quality & background controls.