
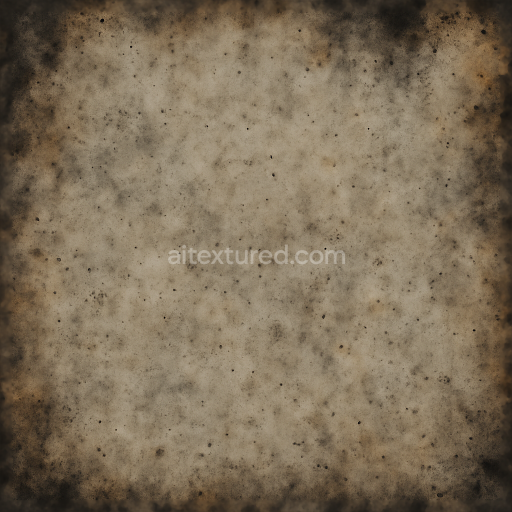
Mud Splatter And Dust Particles For Natural Ground Surface Effects
Seamless texture (tileable) · PNG, WEBP, PBR ZIP. License: AITextured Free Commercial License (FCL) v1.1. Free personal and commercial use. Raw resale, standalone redistribution, mirroring/scraping, competing asset packs, and AI/ML training are not allowed without written permission. Attribution is not required, but appreciated..

| ID | seamless-3d-texture-pbr-8k-cracked-glass-and-broken-glass-shards-with-paint-splatter-and-dirt-smudges |
|---|---|
| Category | Decals |
| Formats | PNG, WEBP, PBR ZIP |
| Size | 1k (1024x1024px), 2k (2048x2048px), 4k (4096x4096px), 8k (8192x8192px) |
| Color | sRGB |
| Tileable | Yes |
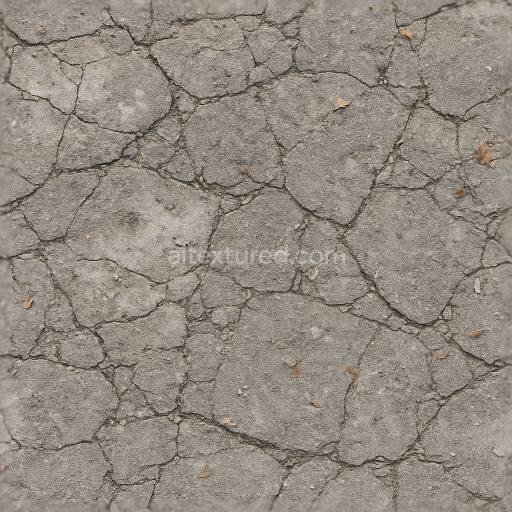
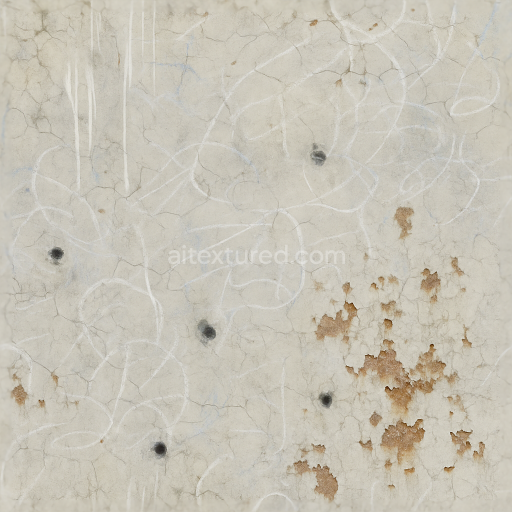
This seamless 3D PBR texture at 8K resolution captures the intricate details of cracked glass and broken shards layered with paint splatter and dirt smudges creating a highly realistic shattered glass surface. The primary material is tempered glass represented through a fractured geometric pattern of jagged shards and fissures that form an irregular mosaic. The glass substrate exhibits subtle variations in thickness and translucency enhanced by surface corrosion and dust particles that simulate natural wear. These imperfections are visible in the BaseColor (Albedo) channel as muted grays and off-whites interspersed with darker paint pigments while the Normal and Height maps emphasize the sharp edges and depth of the broken fragments providing convincing relief and dimensionality.
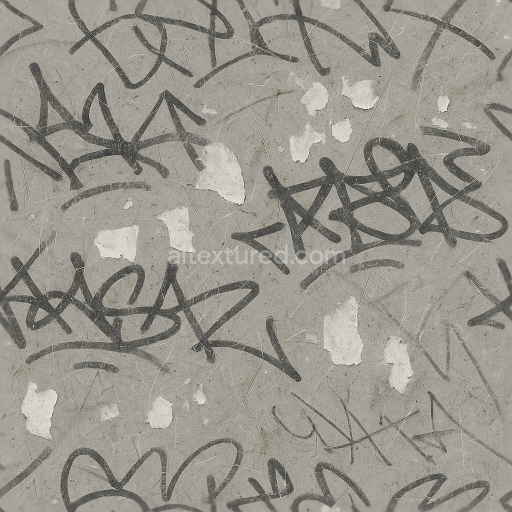
Underlying the glass layers of scratched plastic and weathered paint introduce additional complexity. The paint splatter appears as semi-opaque multi-hued droplets and smears applied unevenly to suggest an aged industrial environment. Dirt smudges and dust particles settle into the cracks and surface recesses increasing the visual roughness and ambient occlusion effects that deepen shadows around the shards. The Roughness map reflects this variability ranging from glossy smooth glass surfaces to matte corroded areas where dirt and wear have accumulated. The Metallic channel is minimal but used to define subtle reflective properties in the paint and plastic layers contributing to the overall tactile impression.
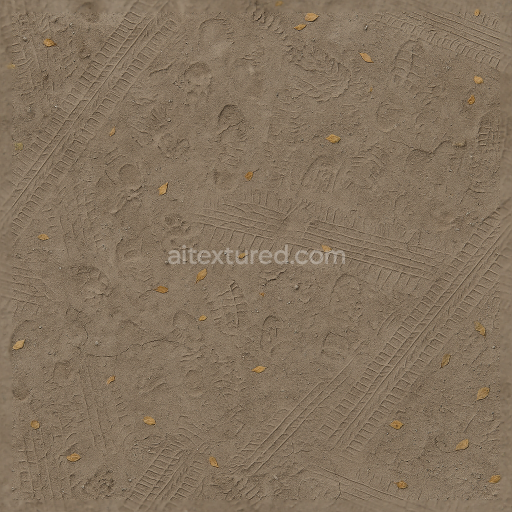
This texture’s composition implies a composite surface where glass shards are bonded or embedded within a scratched plastic matrix with adhesive layers and corrosion deposits filling gaps. The porosity is low in the glass itself but higher in the paint and dirt layers which show micro-roughness and diffuse scattering. The surface finish alternates between polished glass brilliance and matte oxidized paint and plastic captured through well-balanced PBR maps that work seamlessly across Blender Unreal Engine and Unity. The Ambient Occlusion channel enhances crevices and overlaps emphasizing the layered depth and fractured geometry.
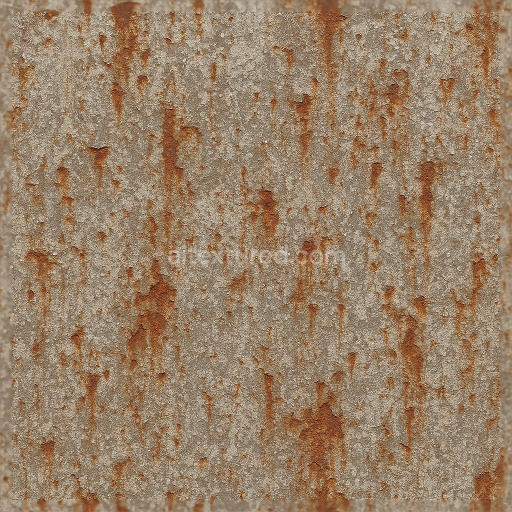
For optimal results it is recommended to adjust the UV scale to preserve the fine details of the cracks and paint splatter without blurring. Additionally tuning the roughness map can help emphasize either the glossy fractures or the matte dirt smudges depending on the desired weathering level. When using height or parallax mapping blend carefully with normal maps to maintain a realistic surface relief without causing excessive distortion. This texture is ideal for visualizing damaged glass surfaces in realistic architectural visualizations game environments or cinematic effects where detailed imperfections and material aging are crucial.
Import the texture maps into Blender with sRGB color space for albedo/base color and Non-Color for normal, roughness, metallic, AO, height, and ORM maps. Connect normal maps through a Normal Map node, then adjust UV scale with a Mapping node so the material repeats naturally on your model.
For the full step-by-step setup, see How to Use Seamless Textures in Blender. Browse related material examples in wood, concrete, and metal.
Yes. This texture is designed as a seamless tileable PBR material, so it can repeat across large surfaces without visible borders.
You can download PNG/WEBP versions and use 1K, 2K, 4K and 8K download options when available on the page.
Yes. The download options and engine-mapped ZIP workflow are designed for Blender, Unreal Engine, Unity Standard, URP and HDRP material pipelines.
Yes. The texture is available under the AITextured free commercial license. Review the license page for redistribution and AI-training restrictions.


Build, preview, and export seamless PBR materials. Generate full map sets from a single image, inspect them in a real-time WebGL viewer, and re-package maps for Unreal, Unity, and Blender—directly in your browser.
AI text-to-texture: type a prompt and get a seamless, tileable base image ready for PBR workflows (great starting point for materials).
Create a full PBR set (Normal, Roughness, AO, Metallic, etc.) from a single image. Seamless and tiling-friendly.
Instant WebGL viewer: inspect materials on a sphere, plane, and cube. Check tiling and lighting in real time.
Re-packages maps per engine: Unreal (BaseColor + ORM), Unity (Mask/MetallicSmoothness), Blender (separate channels).
PNG ↔ JPG ↔ SVG: fast convert, SVG rasterize, embed/trace options, quality & background controls.