
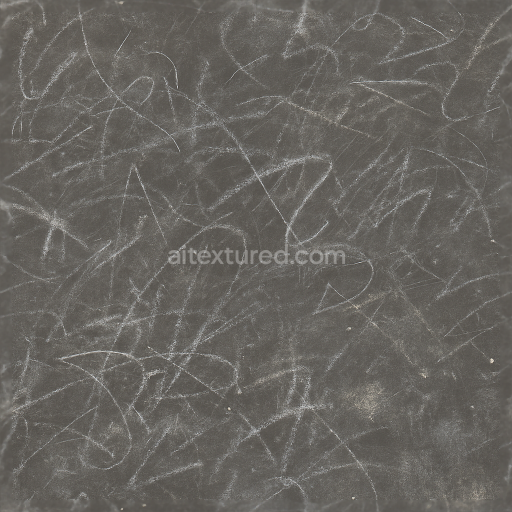
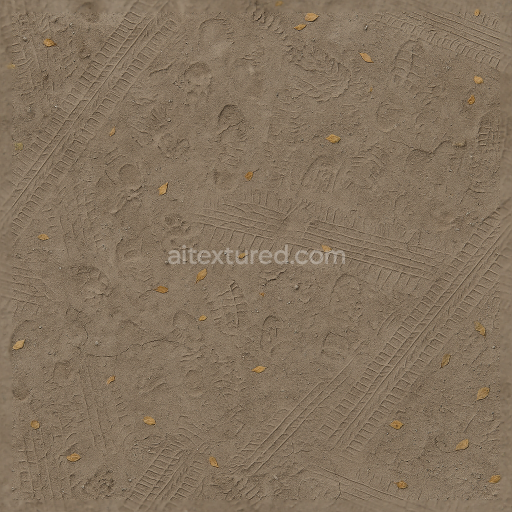
Scuff Marks And Foot Scuffs With Muddy Footprints And Wear Marks For Worn Floors
Seamless texture (tileable) · PNG, WEBP, PBR ZIP. License: AITextured Free Commercial License (FCL) v1.1. Free personal and commercial use. Raw resale, standalone redistribution, mirroring/scraping, competing asset packs, and AI/ML training are not allowed without written permission. Attribution is not required, but appreciated..

| ID | seamless-3d-texture-pbr-8k-surface-rust-and-metal-scratches-with-rust-streaks-and-metal-dents-for-corroded-metal |
|---|---|
| Category | Decals |
| Formats | PNG, WEBP, PBR ZIP |
| Size | 1k (1024x1024px), 2k (2048x2048px), 4k (4096x4096px), 8k (8192x8192px) |
| Color | sRGB |
| Tileable | Yes |
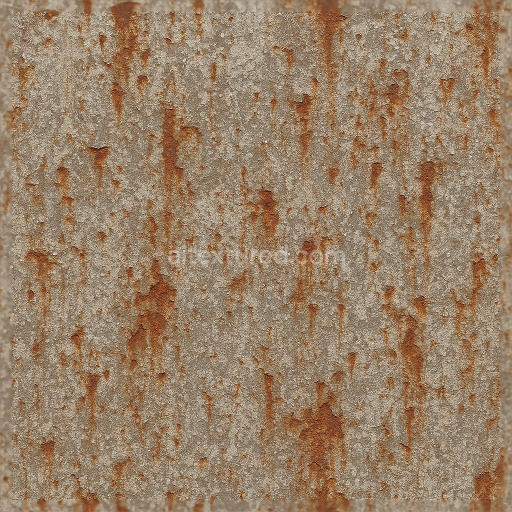
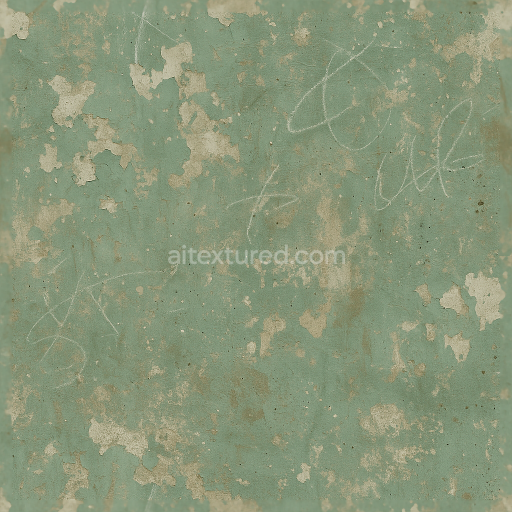
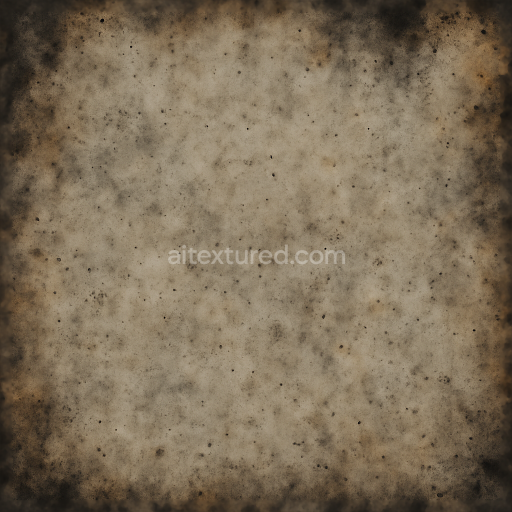
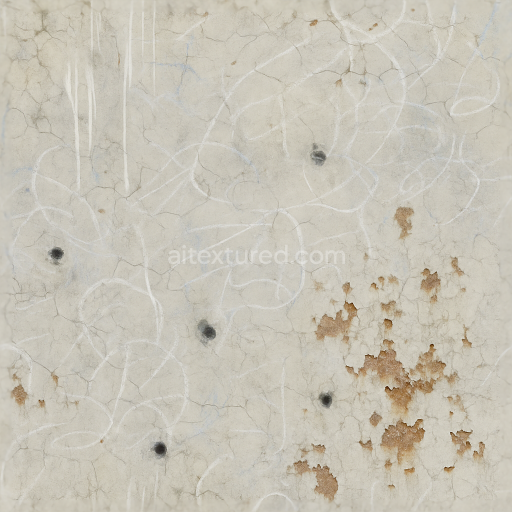
This seamless 3D PBR texture in 8K resolution depicts a heavily corroded metal surface characterized by intricate layers of surface rust metal scratches rust streaks and dents. The base material resembles aged steel or iron exhibiting a dense solid substrate that has undergone extensive oxidation. The metal’s original finish appears to be a worn industrial-grade paint or coating now chipped and eroded revealing the underlying oxidized metal. The composition suggests a multi-layered structure where the primary metal core is overlaid with rust flakes formed by iron oxide deposits combined with roughened paint remnants that have partially delaminated due to environmental exposure and mechanical abrasion.
The geometric form of the texture is essentially planar but irregular featuring scattered dents and scratches that disrupt the uniformity. The scratches present fine linear details consistent with mechanical wear while the rust streaks flow organically mimicking natural corrosion patterns caused by water runoff. Paint chips and wear marks add complexity through varied edge sharpness and uneven thickness contributing to a realistic tactile quality. The overall surface finish is heavily oxidized and matte with subtle variations in roughness that reflect differing corrosion stages—some areas remain slightly smoother metal while others show coarse flaky rust formations that increase porosity and diffuse reflectance.
In terms of PBR channel mapping the BaseColor (Albedo) captures the nuanced palette of dark grays and browns interspersed with rusty reds and ochres accurately representing oxidized iron and degraded paint pigments. The Normal map encodes fine surface details such as dents scratches and rust flakes enhancing the perception of depth and mechanical damage. Roughness varies across the texture with rusted regions exhibiting higher roughness values due to their porous flaky nature while less affected metal patches have lower roughness implying residual polish. The Metallic channel predominantly reflects the iron content with rusted and painted areas showing diminished metalness. Ambient Occlusion emphasizes crevices and dents improving shading realism and the Height/Displacement map adds dimensionality to rust flakes metal dents and paint chips for enhanced parallax effects.
This texture is optimized for high-fidelity rendering in Blender Unreal Engine and Unity enabling detailed visualization of corroded metal assets in games simulations or VFX projects. For practical use adjusting the UV scale is recommended to match the asset’s size ensuring rust patterns and scratches appear natural. Additionally fine-tuning roughness values can help balance between matte oxidized areas and smoother metal remnants. When combining with other normal or height maps subtle blending is advised to maintain consistent surface detail without over-exaggeration. This approach ensures a convincing representation of weathered metal that responds accurately to lighting and environmental effects.
Import the texture maps into Blender with sRGB color space for albedo/base color and Non-Color for normal, roughness, metallic, AO, height, and ORM maps. Connect normal maps through a Normal Map node, then adjust UV scale with a Mapping node so the material repeats naturally on your model.
For the full step-by-step setup, see How to Use Seamless Textures in Blender. Browse related material examples in wood, concrete, and metal.
Yes. This texture is designed as a seamless tileable PBR material, so it can repeat across large surfaces without visible borders.
You can download PNG/WEBP versions and use 1K, 2K, 4K and 8K download options when available on the page.
Yes. The download options and engine-mapped ZIP workflow are designed for Blender, Unreal Engine, Unity Standard, URP and HDRP material pipelines.
Yes. The texture is available under the AITextured free commercial license. Review the license page for redistribution and AI-training restrictions.


Build, preview, and export seamless PBR materials. Generate full map sets from a single image, inspect them in a real-time WebGL viewer, and re-package maps for Unreal, Unity, and Blender—directly in your browser.
AI text-to-texture: type a prompt and get a seamless, tileable base image ready for PBR workflows (great starting point for materials).
Create a full PBR set (Normal, Roughness, AO, Metallic, etc.) from a single image. Seamless and tiling-friendly.
Instant WebGL viewer: inspect materials on a sphere, plane, and cube. Check tiling and lighting in real time.
Re-packages maps per engine: Unreal (BaseColor + ORM), Unity (Mask/MetallicSmoothness), Blender (separate channels).
PNG ↔ JPG ↔ SVG: fast convert, SVG rasterize, embed/trace options, quality & background controls.