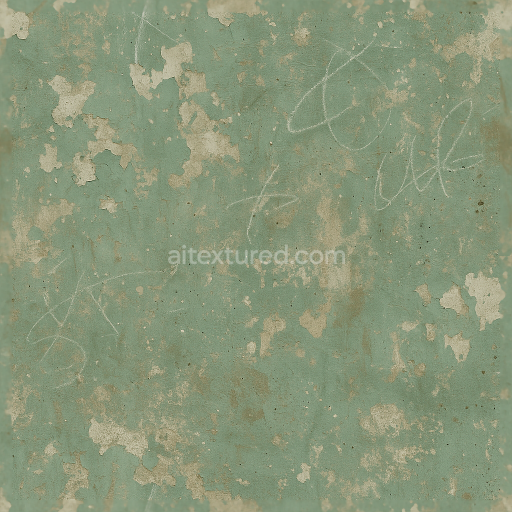
Paint Fade And Color Bleeding With Paint Brush Strokes And Paint Chips
Seamless texture (tileable) · PNG, WEBP, PBR ZIP. License: AITextured Free Commercial License (FCL) v1.1. Free personal and commercial use. Raw resale, standalone redistribution, mirroring/scraping, competing asset packs, and AI/ML training are not allowed without written permission. Attribution is not required, but appreciated..

| ID | seamless-3d-texture-pbr-8k-cracked-paint-with-paint-drips-and-paint-splatter-for-aged-surfaces |
|---|---|
| Category | Decals |
| Formats | PNG, WEBP, PBR ZIP |
| Size | 1k (1024x1024px), 2k (2048x2048px), 4k (4096x4096px), 8k (8192x8192px) |
| Color | sRGB |
| Tileable | Yes |
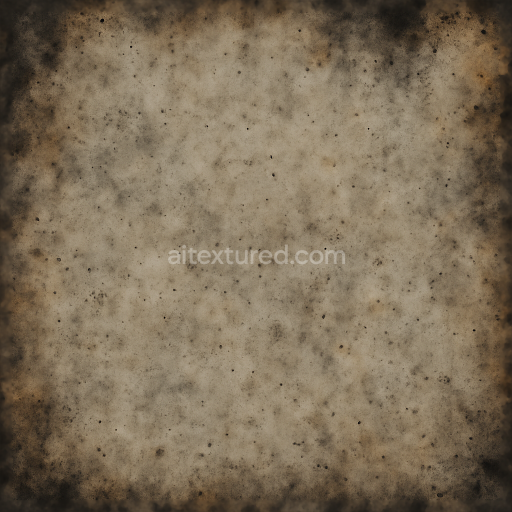
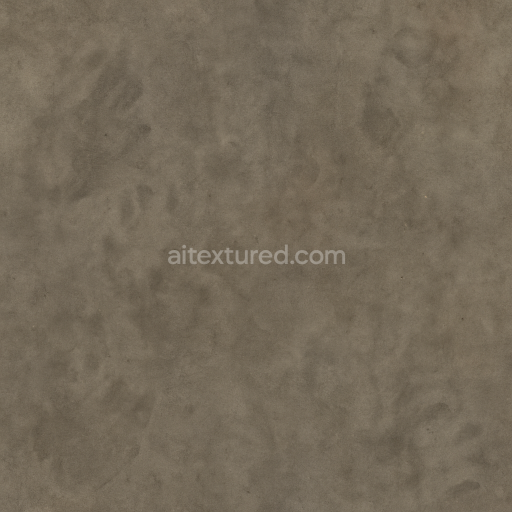
This seamless 3D PBR texture rendered in an impressive 8K resolution captures the intricate details of aged painted surfaces characterized by cracked paint dynamic paint drips and scattered paint splatter. The base material mimics a weathered plaster or concrete substrate exhibiting a slightly porous and uneven geometry that supports layers of deteriorated paint. The surface features irregular overlapping paint layers that have chipped away to reveal rough granular aggregates beneath. The form suggests a flat wall or panel with subtle undulations and fissures where the cracked paint follows a network-like fracture pattern emphasizing the material’s brittle aging process.
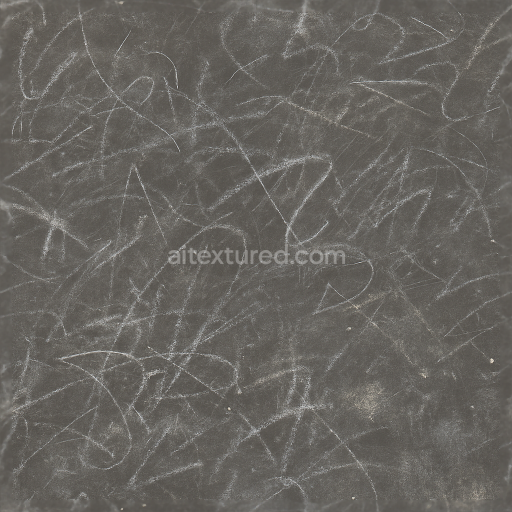
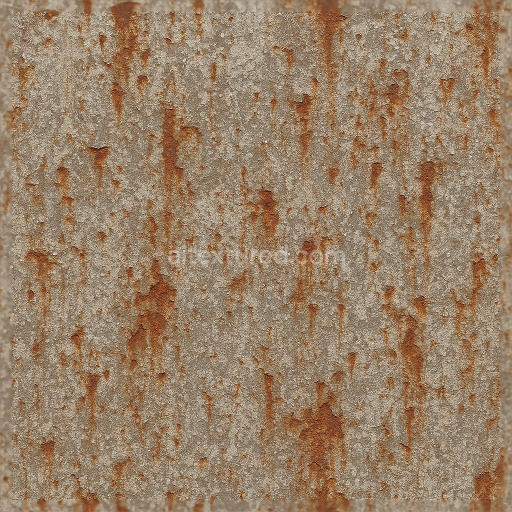
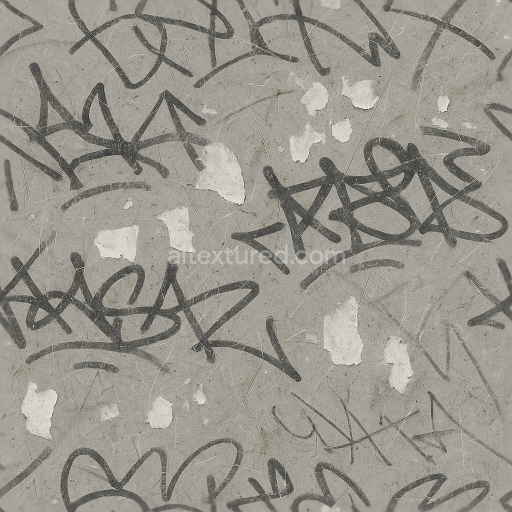
The composition includes a binding layer of aged brittle acrylic or oil-based paint which contributes to the pronounced cracking and flaking. Embedded within the paint are fine pigment particles responsible for its muted worn color palette while chalk drawings and scribbles add a faint dusty overlay with a powdery texture. Rust flakes appear sporadically indicating underlying metal corrosion and bullet holes punctuate the surface with sharply defined edges and slight deformation around the impact zones. These features combine to create a rich multi-layered surface that conveys substantial history and wear.
In terms of PBR channel mapping the BaseColor (Albedo) captures the faded desaturated hues of the cracked paint the chalk marks and rusty spots without specular highlights presenting a matte finish. The Normal map enhances the depth of cracks paint drips splatters and bullet holes by emphasizing micro-geometry and surface relief. Roughness is carefully balanced to reflect the contrast between the matte chalky paint and the slightly glossier paint drips while the Metallic channel remains near zero except in rusted areas where subtle metallic reflections occur. Ambient Occlusion enriches the perception of depth around cracks chips and holes and the Height/Displacement map provides realistic surface unevenness for enhanced parallax effects in 3D environments.
This texture is fully optimized for seamless tiling making it ideal for large-scale wall surfaces or objects with extensive painted areas. It is compatible and ready for use in Blender Unreal Engine and Unity supporting physically accurate rendering workflows. For practical application adjusting the UV scale to maintain the texture’s fine detail at close range is recommended alongside fine-tuning the roughness map to balance the aged matte and glossy wet paint effects. Combining height and normal maps can further refine the perception of depth especially around paint chips and bullet holes enhancing realism in real-time or offline renders.
Import the texture maps into Blender with sRGB color space for albedo/base color and Non-Color for normal, roughness, metallic, AO, height, and ORM maps. Connect normal maps through a Normal Map node, then adjust UV scale with a Mapping node so the material repeats naturally on your model.
For the full step-by-step setup, see How to Use Seamless Textures in Blender. Browse related material examples in wood, concrete, and metal.
Yes. This texture is designed as a seamless tileable PBR material, so it can repeat across large surfaces without visible borders.
You can download PNG/WEBP versions and use 1K, 2K, 4K and 8K download options when available on the page.
Yes. The download options and engine-mapped ZIP workflow are designed for Blender, Unreal Engine, Unity Standard, URP and HDRP material pipelines.
Yes. The texture is available under the AITextured free commercial license. Review the license page for redistribution and AI-training restrictions.


Build, preview, and export seamless PBR materials. Generate full map sets from a single image, inspect them in a real-time WebGL viewer, and re-package maps for Unreal, Unity, and Blender—directly in your browser.
AI text-to-texture: type a prompt and get a seamless, tileable base image ready for PBR workflows (great starting point for materials).
Create a full PBR set (Normal, Roughness, AO, Metallic, etc.) from a single image. Seamless and tiling-friendly.
Instant WebGL viewer: inspect materials on a sphere, plane, and cube. Check tiling and lighting in real time.
Re-packages maps per engine: Unreal (BaseColor + ORM), Unity (Mask/MetallicSmoothness), Blender (separate channels).
PNG ↔ JPG ↔ SVG: fast convert, SVG rasterize, embed/trace options, quality & background controls.