
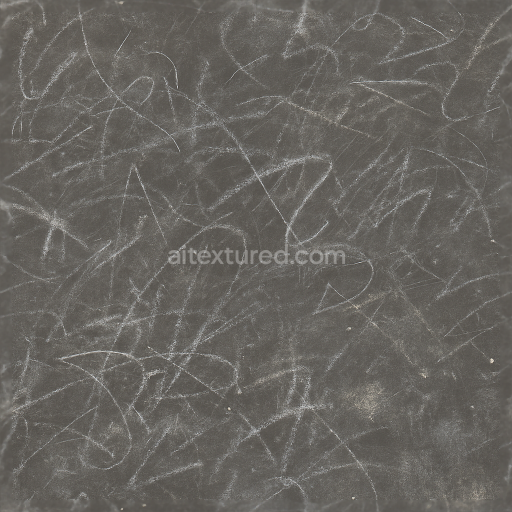
Rust Stains And Paint Scratches Overlay For Realistic Surface Detailing
Seamless texture (tileable) · PNG, WEBP, PBR ZIP. License: AITextured Free Commercial License (FCL) v1.1. Free personal and commercial use. Raw resale, standalone redistribution, mirroring/scraping, competing asset packs, and AI/ML training are not allowed without written permission. Attribution is not required, but appreciated..

| ID | seamless-3d-texture-pbr-8k-cracked-asphalt-and-broken-concrete-with-road-cracks-and-surface-corrosion |
|---|---|
| Category | Decals |
| Formats | PNG, WEBP, PBR ZIP |
| Size | 1k (1024x1024px), 2k (2048x2048px), 4k (4096x4096px), 8k (8192x8192px) |
| Color | sRGB |
| Tileable | Yes |
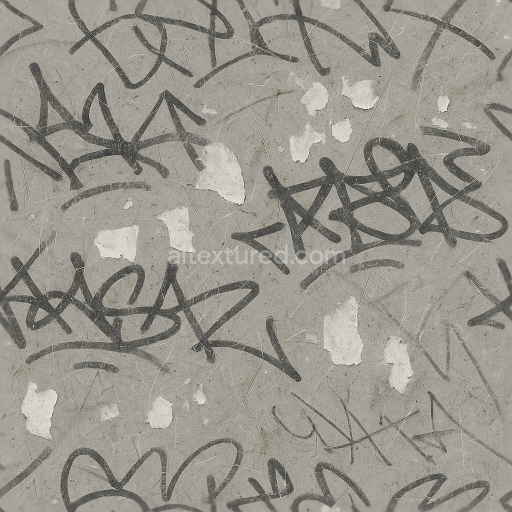
This seamless 3D texture presents a highly detailed representation of cracked asphalt and broken concrete surfaces designed to replicate the complex interplay of urban road materials subjected to natural wear and environmental stress. The base substrate combines dense asphalt—a composite of bitumen binder with mineral aggregates—and aged concrete characterized by cementitious binders holding together coarse gravel and sand aggregates. The geometric form is irregular and fragmented with a fractured pattern of interconnected road cracks and fissures simulating the natural failure of pavement due to traffic loads and weathering. The surface exhibits a varied porosity where micro-cracks and pits coexist with corroded patches enhancing the tactile realism of a weather-beaten road.
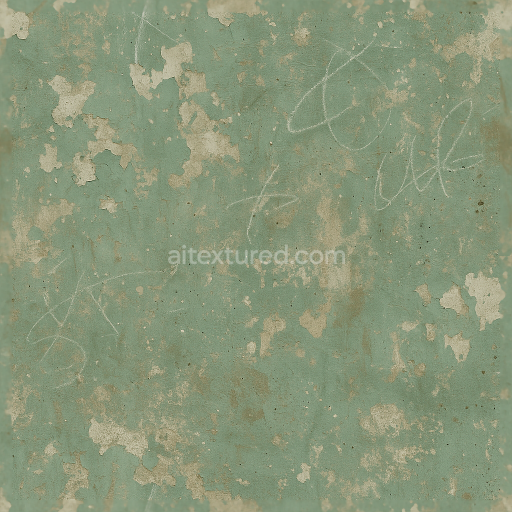
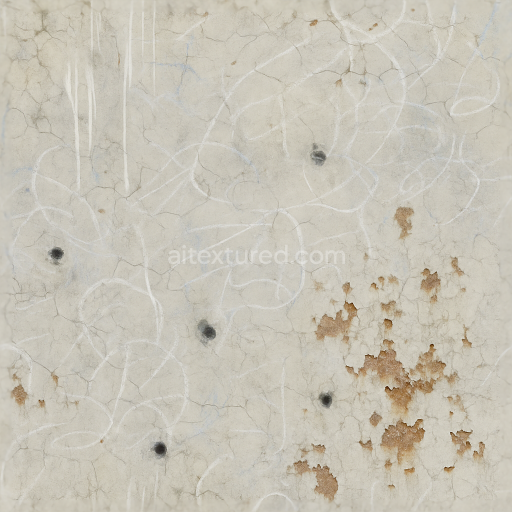
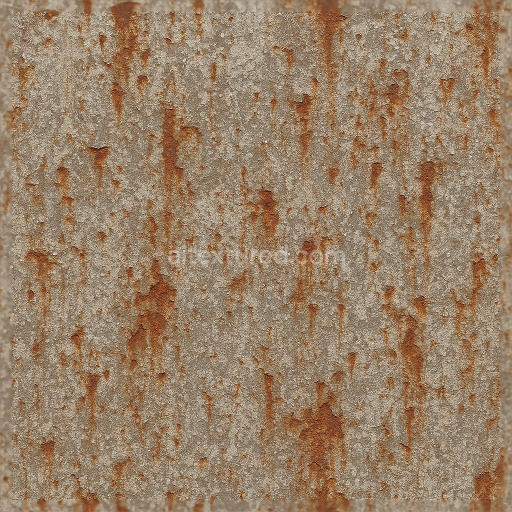
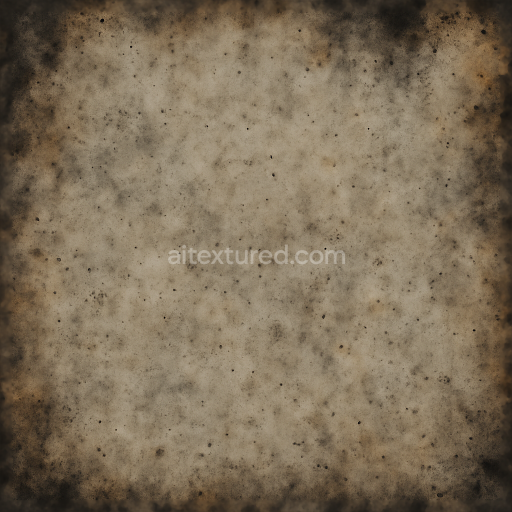
Surface finish details include oxidized and eroded textures with subtle discoloration from salt deposits and the accumulation of fine dust layers. These elements contribute to a matte rough appearance rather than a polished sheen adding to the authenticity of outdoor exposure. Embedded road debris and scattered dry leaves introduce organic irregularities and scatter patterns that break monotony and reinforce the natural environment context. The color palette reflects muted grays and charcoals of asphalt off-whites and light grays of concrete interspersed with rusty browns and pale yellows from corrosion and salt efflorescence. This variation is accurately captured in the BaseColor (Albedo) channel while the Normal and Height maps define the micro- and macro-geometry of cracks chipped edges and surface relief.
The roughness channel conveys the diffuse scattering properties of the worn surfaces varying from rough matte patches over corroded concrete to slightly smoother asphalt areas where compaction is higher. Metallic values are minimal reflecting the non-metallic nature of road materials but subtle variations may simulate embedded metal fragments or reflective salt crystals. Ambient Occlusion enhances depth perception by accentuating crevices and fissures essential for realistic shading in PBR workflows. The Height/Displacement map allows for precise parallax effects and realistic surface deformation critical for close-up renders or interactive applications.
Rendered at an 8K resolution this texture is optimized for high-fidelity projects in Blender Unreal Engine and Unity ensuring crisp detail and seamless tiling across large surfaces. For practical application it is recommended to carefully adjust the UV scale to maintain the natural proportion of cracks and debris relative to scene geometry. Additionally fine-tuning the roughness map can help simulate varying wetness or dust accumulation on the road surface while blending height and normal maps can improve depth perception without excessive geometry displacement balancing performance and visual quality.
Import the texture maps into Blender with sRGB color space for albedo/base color and Non-Color for normal, roughness, metallic, AO, height, and ORM maps. Connect normal maps through a Normal Map node, then adjust UV scale with a Mapping node so the material repeats naturally on your model.
For the full step-by-step setup, see How to Use Seamless Textures in Blender. Browse related material examples in wood, concrete, and metal.
Yes. This texture is designed as a seamless tileable PBR material, so it can repeat across large surfaces without visible borders.
You can download PNG/WEBP versions and use 1K, 2K, 4K and 8K download options when available on the page.
Yes. The download options and engine-mapped ZIP workflow are designed for Blender, Unreal Engine, Unity Standard, URP and HDRP material pipelines.
Yes. The texture is available under the AITextured free commercial license. Review the license page for redistribution and AI-training restrictions.


Build, preview, and export seamless PBR materials. Generate full map sets from a single image, inspect them in a real-time WebGL viewer, and re-package maps for Unreal, Unity, and Blender—directly in your browser.
AI text-to-texture: type a prompt and get a seamless, tileable base image ready for PBR workflows (great starting point for materials).
Create a full PBR set (Normal, Roughness, AO, Metallic, etc.) from a single image. Seamless and tiling-friendly.
Instant WebGL viewer: inspect materials on a sphere, plane, and cube. Check tiling and lighting in real time.
Re-packages maps per engine: Unreal (BaseColor + ORM), Unity (Mask/MetallicSmoothness), Blender (separate channels).
PNG ↔ JPG ↔ SVG: fast convert, SVG rasterize, embed/trace options, quality & background controls.