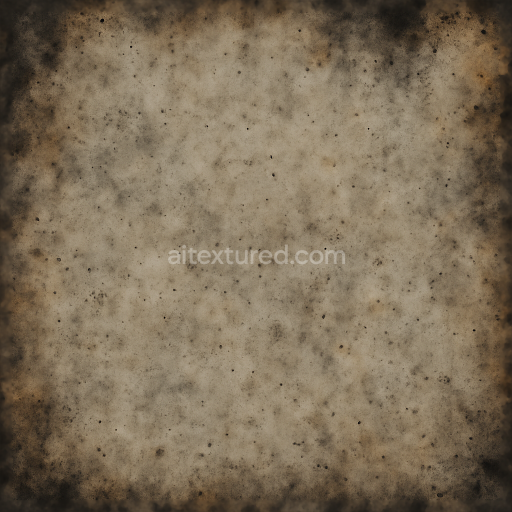
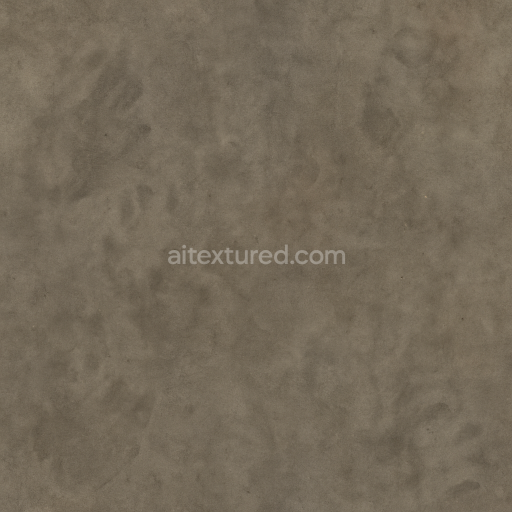
Burnt Edges And Charred Marks With Ash Residue And Smoke Stains For Fire Damage
Seamless texture (tileable) · PNG, WEBP, PBR ZIP. License: AITextured Free Commercial License (FCL) v1.1. Free personal and commercial use. Raw resale, standalone redistribution, mirroring/scraping, competing asset packs, and AI/ML training are not allowed without written permission. Attribution is not required, but appreciated..

| ID | seamless-3d-texture-pbr-8k-paint-fade-and-color-bleeding-with-paint-brush-strokes-and-paint-chips |
|---|---|
| Category | Decals |
| Formats | PNG, WEBP, PBR ZIP |
| Size | 1k (1024x1024px), 2k (2048x2048px), 4k (4096x4096px), 8k (8192x8192px) |
| Color | sRGB |
| Tileable | Yes |
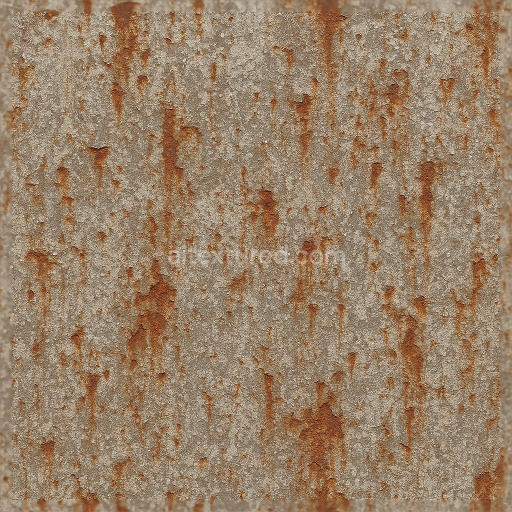
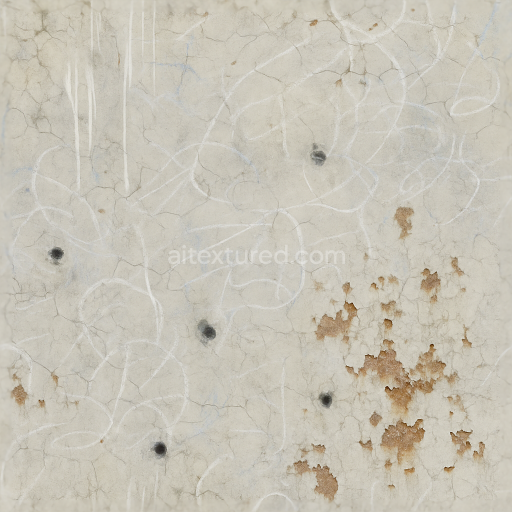
This seamless 3D texture presents a highly detailed painted surface characterized by multiple layers of wear and artistic distress rendered in an impressive 8K resolution suitable for PBR workflows. The base material is a rough slightly porous metal panel commonly used in industrial or urban environments providing a durable substrate with subtle grain and micro-roughness. The paint layers atop this metal exhibit both natural and human-made aging effects where binders within the paint have partially degraded causing visible paint fade and color bleeding. This results from pigment migration and binder breakdown which is convincingly captured through the Base Color (Albedo) channel showcasing subtle shifts in hue and saturation across the surface.
The texture’s form is defined by flat rectangular metal sheets with faint geometric panel lines and rivet impressions enhancing realism and aiding in the perception of depth. Detailed paint brush strokes are expertly conveyed through Normal and Height maps simulating the raised brush bristles and uneven paint application. Scattered paint chips and scuff marks reveal the underlying metal substrate accented by precise Ambient Occlusion to deepen crevices and edges. The Roughness channel varies intelligently mimicking glossy fresh paint patches alongside matte weathered and chalky areas—especially where chalk scribbles and grunge spots accumulate—offering a tactile sense of surface variability. Metallic values remain low but consistent reflecting the base metal’s subtle sheen beneath worn paint layers.
Additional artistic imperfections such as paint splatter introduce random micro-geometry and color variation enhancing visual complexity when used in real-time rendering engines like Blender Unreal Engine and Unity. The Height/Displacement map supports fine detail for parallax effects allowing close-up inspection without texture pixelation. This texture is optimized for seamless tiling ensuring no visible repetition on large surfaces while preserving edge continuity. The color bleeding and paint fade effects emphasize natural weathering processes with pigment particles diffusing unevenly across the substrate accurately replicated in the shader channels for maximum realism.
For practical application it is advisable to carefully adjust UV scale to maintain the integrity of brush stroke details without pixel stretching. Fine-tuning Roughness and Normal map intensity can help balance the interplay between gloss and matte finishes to suit different lighting conditions or artistic directions. This texture excels when used on urban structures vehicles or machinery requiring authentic painted wear combined with creative grunge details providing a versatile and physically accurate material foundation for complex 3D scenes.
Import the texture maps into Blender with sRGB color space for albedo/base color and Non-Color for normal, roughness, metallic, AO, height, and ORM maps. Connect normal maps through a Normal Map node, then adjust UV scale with a Mapping node so the material repeats naturally on your model.
For the full step-by-step setup, see How to Use Seamless Textures in Blender. Browse related material examples in wood, concrete, and metal.
Yes. This texture is designed as a seamless tileable PBR material, so it can repeat across large surfaces without visible borders.
You can download PNG/WEBP versions and use 1K, 2K, 4K and 8K download options when available on the page.
Yes. The download options and engine-mapped ZIP workflow are designed for Blender, Unreal Engine, Unity Standard, URP and HDRP material pipelines.
Yes. The texture is available under the AITextured free commercial license. Review the license page for redistribution and AI-training restrictions.


Build, preview, and export seamless PBR materials. Generate full map sets from a single image, inspect them in a real-time WebGL viewer, and re-package maps for Unreal, Unity, and Blender—directly in your browser.
AI text-to-texture: type a prompt and get a seamless, tileable base image ready for PBR workflows (great starting point for materials).
Create a full PBR set (Normal, Roughness, AO, Metallic, etc.) from a single image. Seamless and tiling-friendly.
Instant WebGL viewer: inspect materials on a sphere, plane, and cube. Check tiling and lighting in real time.
Re-packages maps per engine: Unreal (BaseColor + ORM), Unity (Mask/MetallicSmoothness), Blender (separate channels).
PNG ↔ JPG ↔ SVG: fast convert, SVG rasterize, embed/trace options, quality & background controls.