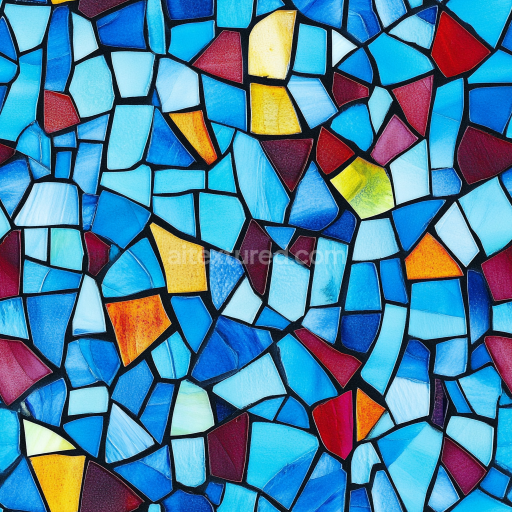
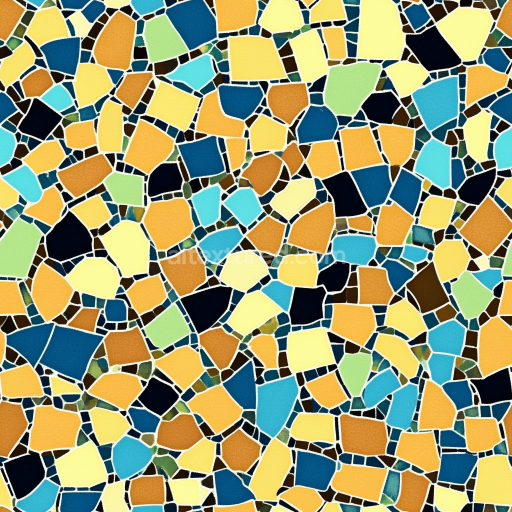
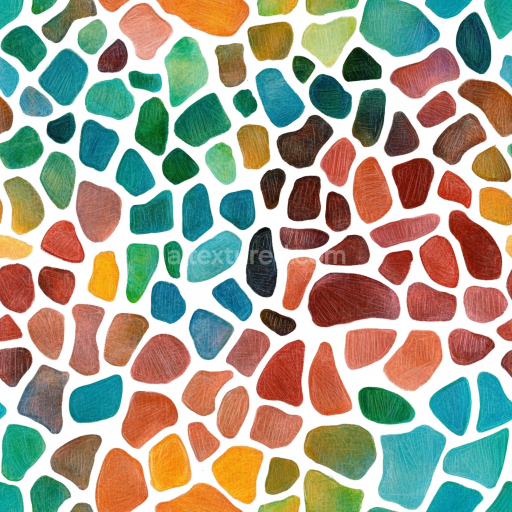
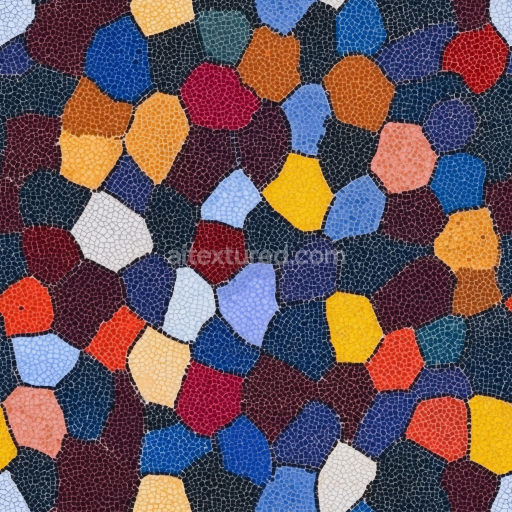
Mosaic PBR Texture Featuring Colorful Glass Shard Tiles
Seamless texture (tileable) · PNG, WEBP, PBR ZIP. License: AITextured Free Commercial License (FCL) v1.1. Free personal and commercial use. Raw resale, standalone redistribution, mirroring/scraping, competing asset packs, and AI/ML training are not allowed without written permission. Attribution is not required, but appreciated..

| ID | seamless-3d-texture-pbr-8k-ceramic-tiles-with-geometric-patterns-and-polished-surface-for-realistic-rendering |
|---|---|
| Category | Mosaic |
| Formats | PNG, WEBP, PBR ZIP |
| Size | 1k (1024x1024px), 2k (2048x2048px), 4k (4096x4096px), 8k (8192x8192px) |
| Color | sRGB |
| Tileable | Yes |
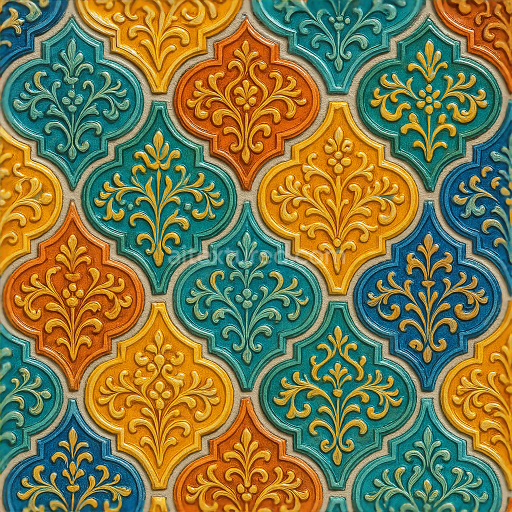
This seamless 3D texture showcases ceramic tiles crafted with precision to form intricate geometric patterns, typically composed of interlocking hexagons and diamonds. The base material consists of a dense ceramic substrate, providing durability and a smooth surface ideal for indoor architectural applications. The tiles are formed by firing refined clay mixed with mineral additives that enhance hardness and reduce porosity, resulting in a low absorption rate suitable for polished finishes. Colored pigments are integrated into the ceramic body to achieve vibrant hues, while the grout between tiles features distinct colored compounds that complement the tile palette and accentuate the geometric layout.
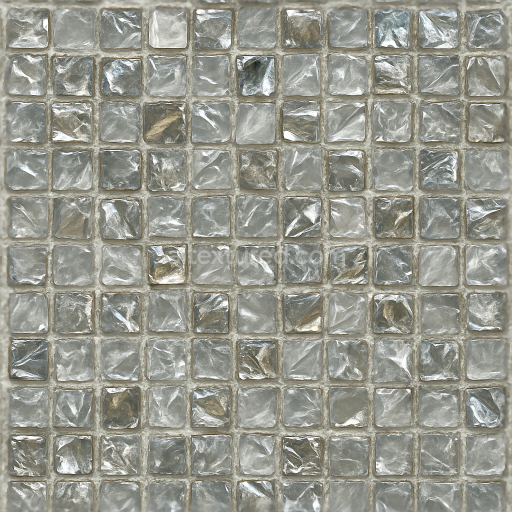
The surface finish is highly polished, reflecting ambient light realistically to capture subtle gloss and highlights. This glossy effect is represented in the PBR workflow by a carefully calibrated roughness map, ensuring that specular reflections behave naturally under varying lighting conditions. The normal and height maps detail the subtle relief of tile edges and grout depressions, adding depth and dimensionality without compromising the seamless tiling capability. Ambient occlusion maps enhance the shadowing in grout crevices and tile junctions, reinforcing the perception of realistic contact shadows and material layering.
The texture set includes an 8K BaseColor (Albedo) map that delivers crisp, vibrant colors with no visible pixelation at close inspection. The Normal map captures fine surface irregularities and grout line depth, while Height/Displacement maps provide additional geometric detail for parallax or tessellation effects in supported engines. The Metallic channel remains consistently low, reflecting the non-metallic nature of ceramic materials, while roughness variation adds subtle surface imperfections found in polished but handcrafted tile surfaces. This comprehensive PBR texture is optimized for use in Blender, Unreal Engine, and Unity, ensuring compatibility with physically based rendering pipelines and real-time applications.
For practical implementation, it is recommended to carefully adjust the UV scale to maintain the natural size of tile patterns relative to the scene. Additionally, fine-tuning the roughness map can help balance the shine for different lighting environments, while blending height and normal maps can enhance surface detail without introducing artifacts. This texture’s seamless design allows for expansive coverage on walls or floors without visible repetition, making it especially suitable for realistic interior design visualizations and architectural renders.
Import the texture maps into Blender with sRGB color space for albedo/base color and Non-Color for normal, roughness, metallic, AO, height, and ORM maps. Connect normal maps through a Normal Map node, then adjust UV scale with a Mapping node so the material repeats naturally on your model.
For the full step-by-step setup, see How to Use Seamless Textures in Blender. Browse related material examples in wood, concrete, and metal.
Yes. This texture is designed as a seamless tileable PBR material, so it can repeat across large surfaces without visible borders.
You can download PNG/WEBP versions and use 1K, 2K, 4K and 8K download options when available on the page.
Yes. The download options and engine-mapped ZIP workflow are designed for Blender, Unreal Engine, Unity Standard, URP and HDRP material pipelines.
Yes. The texture is available under the AITextured free commercial license. Review the license page for redistribution and AI-training restrictions.
Build, preview, and export seamless PBR materials. Generate full map sets from a single image, inspect them in a real-time WebGL viewer, and re-package maps for Unreal, Unity, and Blender—directly in your browser.
AI text-to-texture: type a prompt and get a seamless, tileable base image ready for PBR workflows (great starting point for materials).
Create a full PBR set (Normal, Roughness, AO, Metallic, etc.) from a single image. Seamless and tiling-friendly.
Instant WebGL viewer: inspect materials on a sphere, plane, and cube. Check tiling and lighting in real time.
Re-packages maps per engine: Unreal (BaseColor + ORM), Unity (Mask/MetallicSmoothness), Blender (separate channels).
PNG ↔ JPG ↔ SVG: fast convert, SVG rasterize, embed/trace options, quality & background controls.