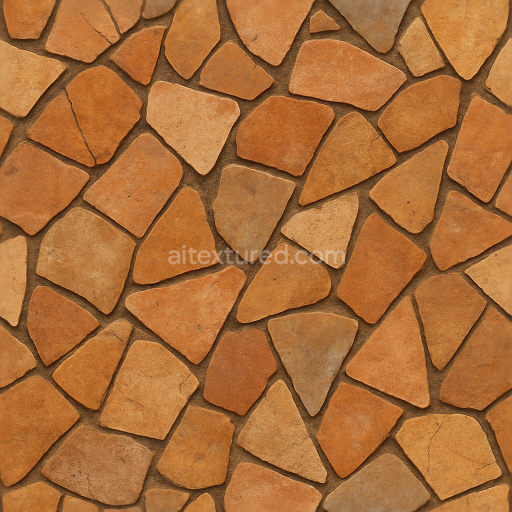
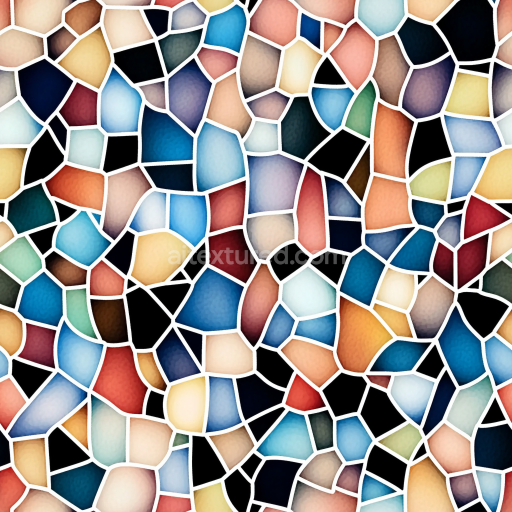
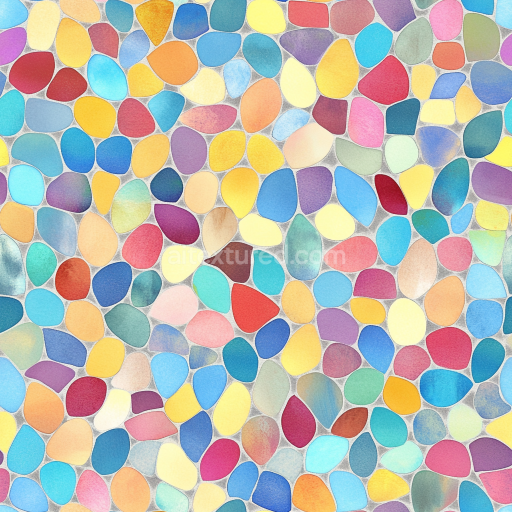
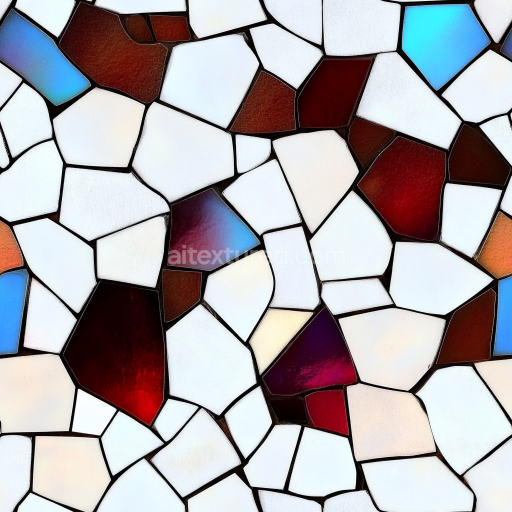
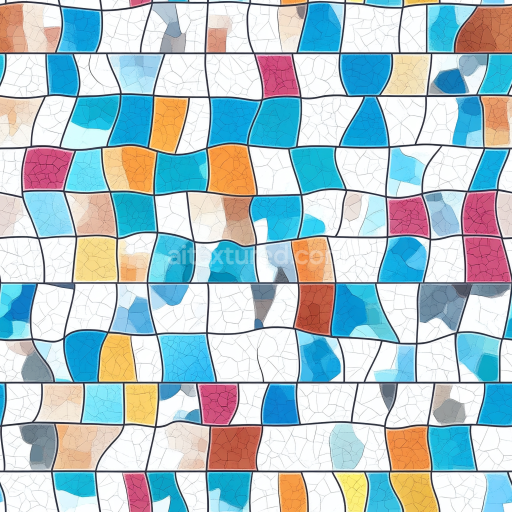
Mosaic PBR Texture with Colorful Irregular Stone Tiles and Matte Finish
Seamless texture (tileable) · PNG, WEBP, PBR ZIP. License: AITextured Free Commercial License (FCL) v1.1. Free personal and commercial use. Raw resale, standalone redistribution, mirroring/scraping, competing asset packs, and AI/ML training are not allowed without written permission. Attribution is not required, but appreciated..

| ID | seamless-3d-texture-pbr-8k-porcelain-tiles-mosaic-exhibiting-smooth-stone-surface-with-minimalist-design |
|---|---|
| Category | Mosaic |
| Formats | PNG, WEBP, PBR ZIP |
| Size | 1k (1024x1024px), 2k (2048x2048px), 4k (4096x4096px), 8k (8192x8192px) |
| Color | sRGB |
| Tileable | Yes |
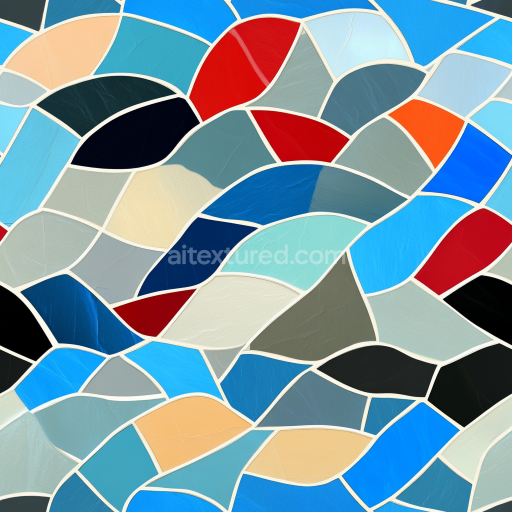
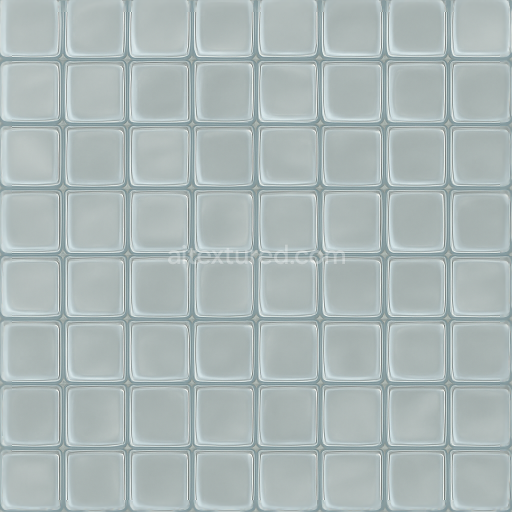
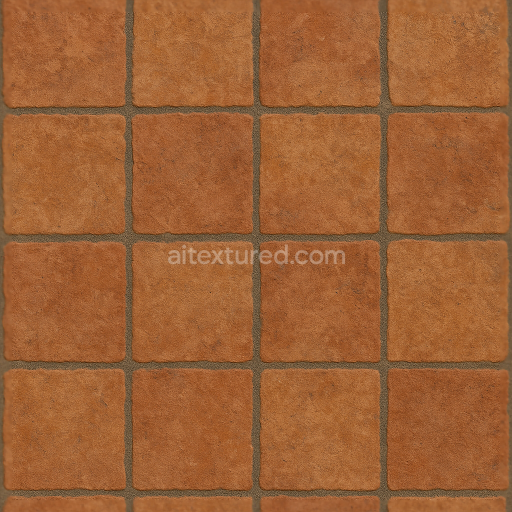
This seamless 3D PBR texture showcases a meticulously crafted mosaic of porcelain tiles, each exhibiting a smooth stone surface with a distinctly minimalist design. The tiles are arranged in a subtle geometric pattern reminiscent of square or slightly rectangular shapes that interlock uniformly, forming a refined grid. The base material, high-quality porcelain, is known for its durability and low porosity, making it ideal for both indoor and outdoor applications. The substrate consists primarily of fine kaolin clay mixed with mineral binders, which after firing results in a dense, vitrified body. This composition contributes to the tiles’ exceptional hardness and resistance to moisture and staining, visible through the texture’s finely detailed surface that balances slight matte softness with delicate glossiness.
The surface finish is polished to a smooth, almost stone-like appearance, with minimal surface irregularities that reflect its minimalist aesthetic. The texture also captures the subtle grout lines between tiles, which are composed of fine cementitious compounds incorporating sand and polymer additives to ensure adhesion and durability. These grout lines introduce slight height variation and soft shadowing that enhance the realistic depth of the mosaic. The monochrome palette is achieved through natural mineral colorants embedded in the porcelain — predominantly neutral grays and soft off-whites — which produce a consistent BaseColor (Albedo) channel. The Normal map encodes the gentle undulations of the tile edges and grout recesses, while the Roughness map controls the balance between the polished tile faces and the slightly more matte grout, ensuring accurate light reflection and scattering.
In terms of the PBR texture channels, the Ambient Occlusion map accentuates the depth along the grout lines and tile edges, providing realistic shading in crevices. The Height/Displacement map captures the minimal elevation differences between tiles and grout, allowing for precise parallax or tessellation effects without overwhelming the minimalist style. Since porcelain is a non-metallic ceramic, the Metallic map remains consistently low or zero, emphasizing the dielectric nature of the material. The texture’s 8K resolution guarantees exceptional detail and clarity, capturing micro surface features and subtle tonal variations that hold up under close inspection.
This texture is fully optimized and compatible with major 3D platforms such as Blender, Unreal Engine, and Unity, enabling seamless integration into diverse projects. For practical use, it is recommended to carefully adjust the UV scaling to maintain the mosaic’s pattern integrity and avoid visible repetition, especially on large surfaces like walls or floors. Additionally, fine-tuning the Roughness value can help balance the reflective qualities depending on lighting conditions, while blending the Height map subtly with Normal maps can enhance the perceived depth without introducing artifacts. This makes the texture well-suited for contemporary interiors, kitchen backsplashes, or commercial environments seeking a clean, understated elegance through monochrome porcelain mosaics.
Import the texture maps into Blender with sRGB color space for albedo/base color and Non-Color for normal, roughness, metallic, AO, height, and ORM maps. Connect normal maps through a Normal Map node, then adjust UV scale with a Mapping node so the material repeats naturally on your model.
For the full step-by-step setup, see How to Use Seamless Textures in Blender. Browse related material examples in wood, concrete, and metal.
Yes. This texture is designed as a seamless tileable PBR material, so it can repeat across large surfaces without visible borders.
You can download PNG/WEBP versions and use 1K, 2K, 4K and 8K download options when available on the page.
Yes. The download options and engine-mapped ZIP workflow are designed for Blender, Unreal Engine, Unity Standard, URP and HDRP material pipelines.
Yes. The texture is available under the AITextured free commercial license. Review the license page for redistribution and AI-training restrictions.


Build, preview, and export seamless PBR materials. Generate full map sets from a single image, inspect them in a real-time WebGL viewer, and re-package maps for Unreal, Unity, and Blender—directly in your browser.
AI text-to-texture: type a prompt and get a seamless, tileable base image ready for PBR workflows (great starting point for materials).
Create a full PBR set (Normal, Roughness, AO, Metallic, etc.) from a single image. Seamless and tiling-friendly.
Instant WebGL viewer: inspect materials on a sphere, plane, and cube. Check tiling and lighting in real time.
Re-packages maps per engine: Unreal (BaseColor + ORM), Unity (Mask/MetallicSmoothness), Blender (separate channels).
PNG ↔ JPG ↔ SVG: fast convert, SVG rasterize, embed/trace options, quality & background controls.