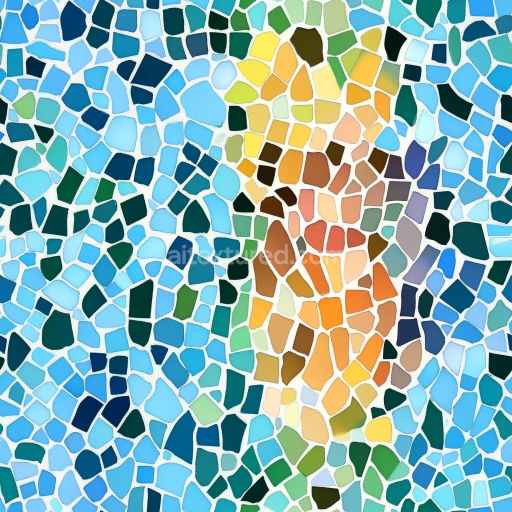
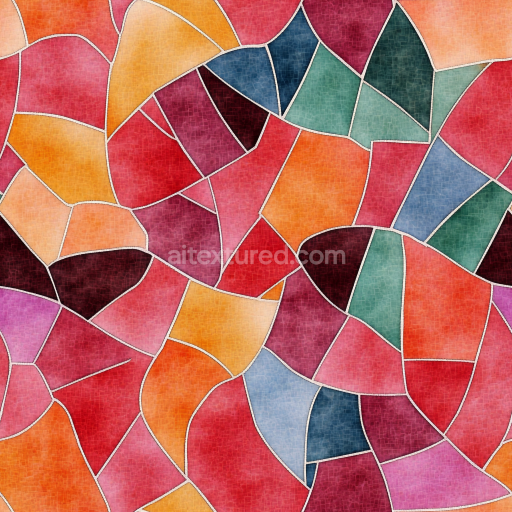
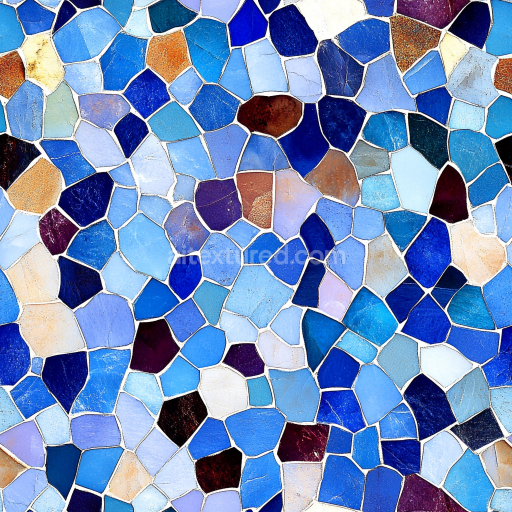
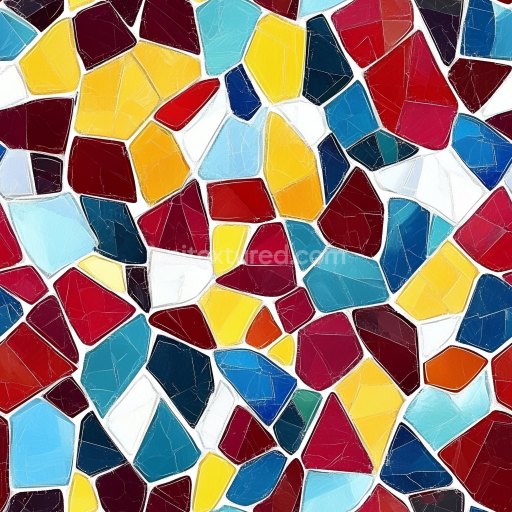
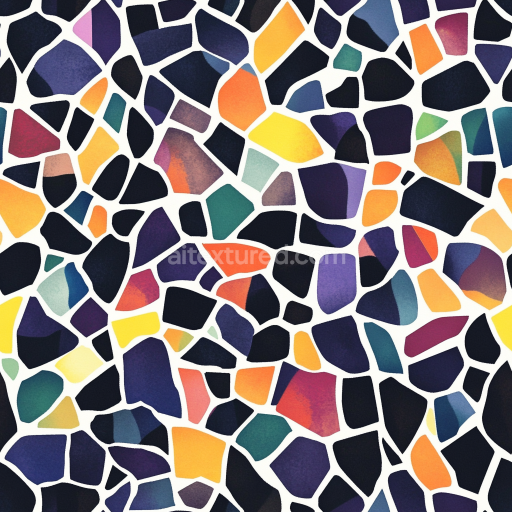
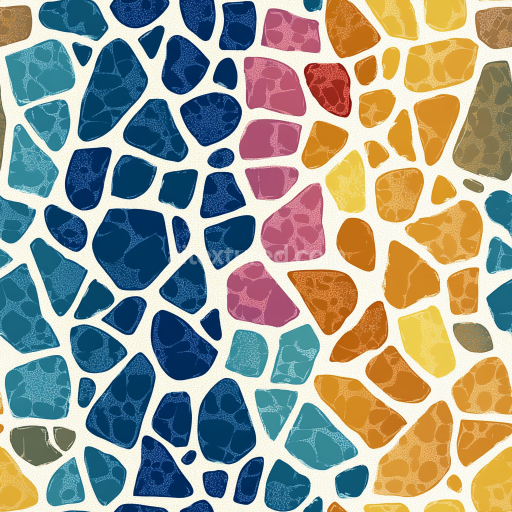
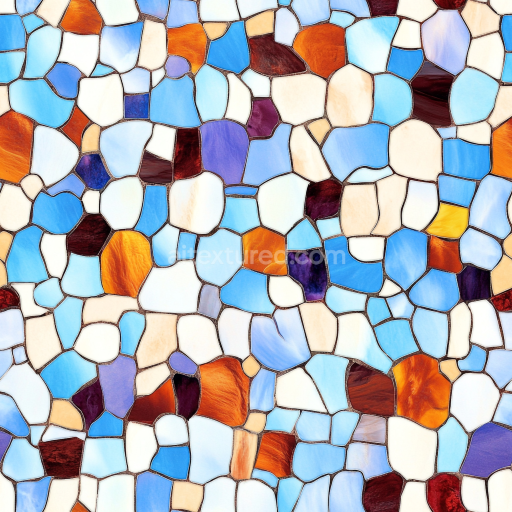
Mosaic PBR Texture Featuring Colorful Irregular Ceramic Tiles
Seamless texture (tileable) · PNG, WEBP, PBR ZIP. License: AITextured Free Commercial License (FCL) v1.1. Free personal and commercial use. Raw resale, standalone redistribution, mirroring/scraping, competing asset packs, and AI/ML training are not allowed without written permission. Attribution is not required, but appreciated..

| ID | seamless-3d-texture-pbr-8k-stone-pebbles-mosaic-with-natural-stone-and-rough-finish |
|---|---|
| Category | Mosaic |
| Formats | PNG, WEBP, PBR ZIP |
| Size | 1k (1024x1024px), 2k (2048x2048px), 4k (4096x4096px), 8k (8192x8192px) |
| Color | sRGB |
| Tileable | Yes |
This seamless 3D texture represents a meticulously crafted mosaic surface comprised of irregularly shaped natural stone pebbles embedded within a durable substrate. The base material mimics a cementitious binder that securely holds the stones in place, simulating realistic grout with subtle color variations designed to replicate mineral deposits and weathering effects. The pebbles themselves exhibit a rough finish with visible micro-fissures and uneven surfaces typical of natural river or quarry stones, enhancing tactile realism. Their geometry forms an organic, interlocking pattern without obvious repetition, emphasizing the mosaic’s naturalistic arrangement and irregular pebble sizes, creating a visually complex and authentic stone floor or wall covering.
In terms of composition, the texture simulates a composite of mineral aggregates—the pebbles—set in a slightly porous, sand-infused cement grout that allows for minor surface imperfections and natural aging. The grout features textured coloring with subtle pigment variations ranging from gray to earthy beige, lending the mosaic depth and nuance. The surface finish is matte with a distinctly rough feel, avoiding glossiness to maintain authenticity. This roughness is critical for emphasizing the tactile quality of both the stones and grout. The texture’s porosity and weathering are subtly conveyed through micro-height variations and ambient occlusion effects, lending shadows and depth where stones meet grout and where pebbles overlap or are slightly recessed.
Technically, this texture harnesses physically based rendering (PBR) principles to deliver highly accurate material representation. The BaseColor (Albedo) channel captures the nuanced pigmentation of both stone and grout, balancing natural earth tones. The Normal map conveys the intricate relief of each pebble’s rough surface and the grout’s textured fill, enhancing light interaction and shadow detail. Roughness maps emphasize the coarse finish of the stones and the slightly softer, granular texture of the grout, while the Metallic channel remains minimal or zero, as these natural materials are non-metallic. Ambient Occlusion enriches the crevices and gaps between pebbles, intensifying depth perception. Height or Displacement maps provide subtle relief that can be leveraged in rendering engines to enhance realism without excessive geometry.
This 8K resolution texture is optimized for seamless tiling, ensuring no visible edges or repetition artifacts when applied across large surfaces. It is compatible and ready for integration within Blender, Unreal Engine, and Unity, supporting advanced shader workflows for architectural visualization, game environments, and cinematic scenes. For best results, it is advisable to adjust UV scaling to maintain pebble size consistency relative to the scene scale. Additionally, fine-tuning the roughness channel can help achieve the desired balance between matte and slightly weathered surfaces, while blending height and normal maps can produce enhanced surface depth without compromising performance.
Import the texture maps into Blender with sRGB color space for albedo/base color and Non-Color for normal, roughness, metallic, AO, height, and ORM maps. Connect normal maps through a Normal Map node, then adjust UV scale with a Mapping node so the material repeats naturally on your model.
For the full step-by-step setup, see How to Use Seamless Textures in Blender. Browse related material examples in wood, concrete, and metal.
Yes. This texture is designed as a seamless tileable PBR material, so it can repeat across large surfaces without visible borders.
You can download PNG/WEBP versions and use 1K, 2K, 4K and 8K download options when available on the page.
Yes. The download options and engine-mapped ZIP workflow are designed for Blender, Unreal Engine, Unity Standard, URP and HDRP material pipelines.
Yes. The texture is available under the AITextured free commercial license. Review the license page for redistribution and AI-training restrictions.


Build, preview, and export seamless PBR materials. Generate full map sets from a single image, inspect them in a real-time WebGL viewer, and re-package maps for Unreal, Unity, and Blender—directly in your browser.
AI text-to-texture: type a prompt and get a seamless, tileable base image ready for PBR workflows (great starting point for materials).
Create a full PBR set (Normal, Roughness, AO, Metallic, etc.) from a single image. Seamless and tiling-friendly.
Instant WebGL viewer: inspect materials on a sphere, plane, and cube. Check tiling and lighting in real time.
Re-packages maps per engine: Unreal (BaseColor + ORM), Unity (Mask/MetallicSmoothness), Blender (separate channels).
PNG ↔ JPG ↔ SVG: fast convert, SVG rasterize, embed/trace options, quality & background controls.