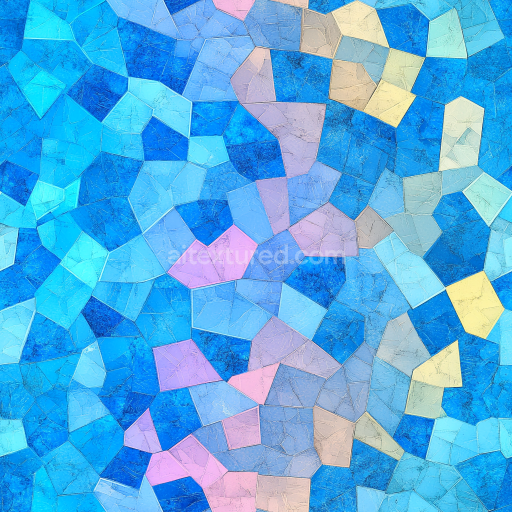
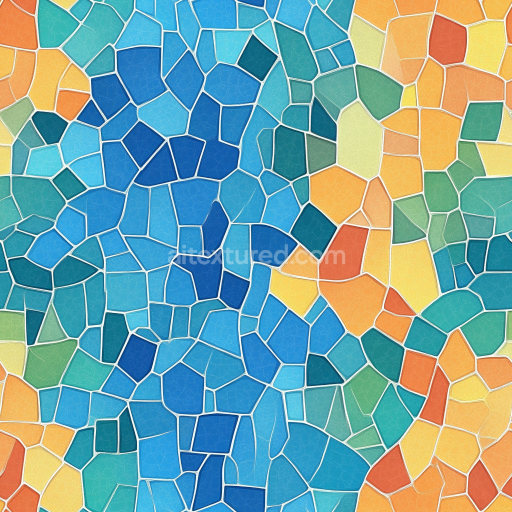
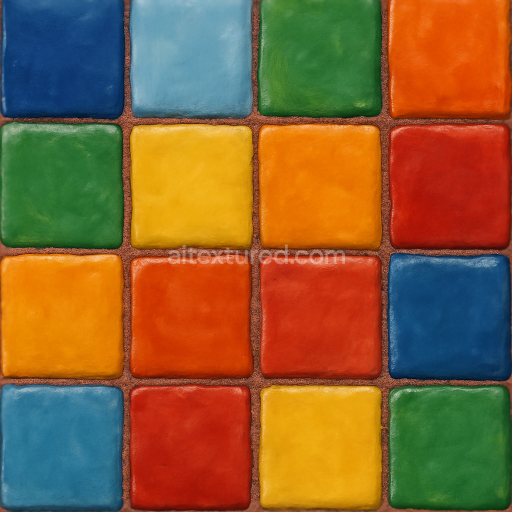
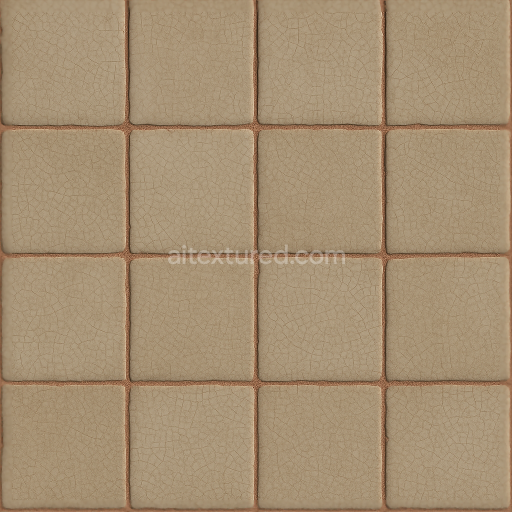
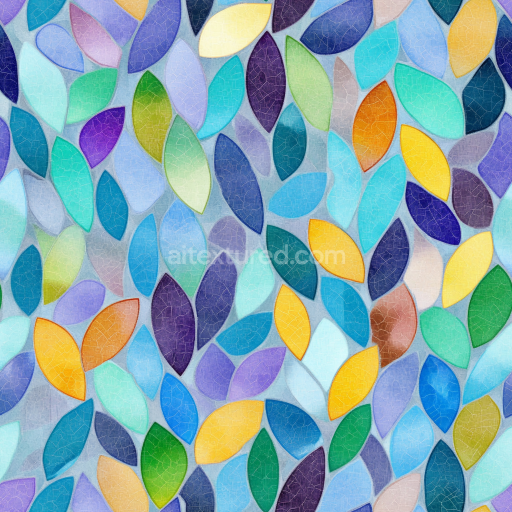
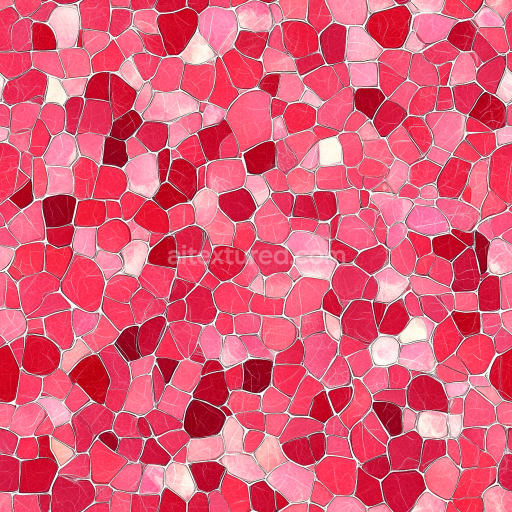
Irregular Mosaic PBR Texture with Vibrant Multicolor Tiles
Seamless texture (tileable) · PNG, WEBP, PBR ZIP. License: AITextured Free Commercial License (FCL) v1.1. Free personal and commercial use. Raw resale, standalone redistribution, mirroring/scraping, competing asset packs, and AI/ML training are not allowed without written permission. Attribution is not required, but appreciated..

| ID | seamless-3d-texture-pbr-8k-iridescent-tiles-mosaic-with-pastel-tiles-and-smooth-finish |
|---|---|
| Category | Mosaic |
| Formats | PNG, WEBP, PBR ZIP |
| Size | 1k (1024x1024px), 2k (2048x2048px), 4k (4096x4096px), 8k (8192x8192px) |
| Color | sRGB |
| Tileable | Yes |
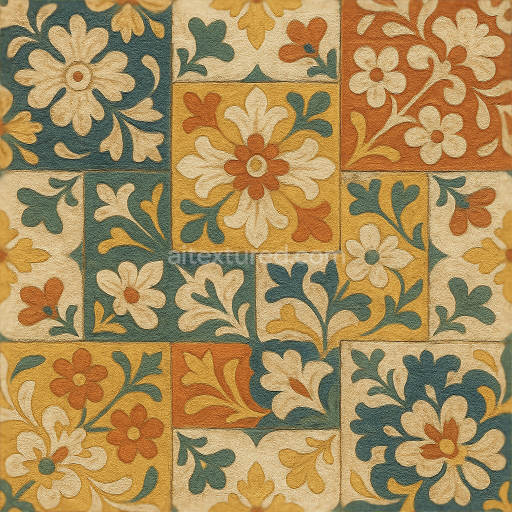
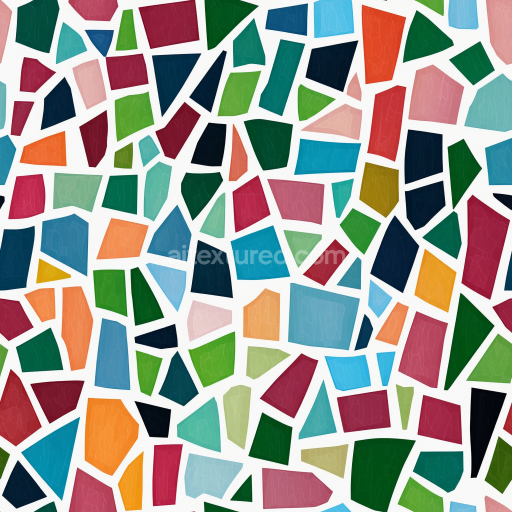
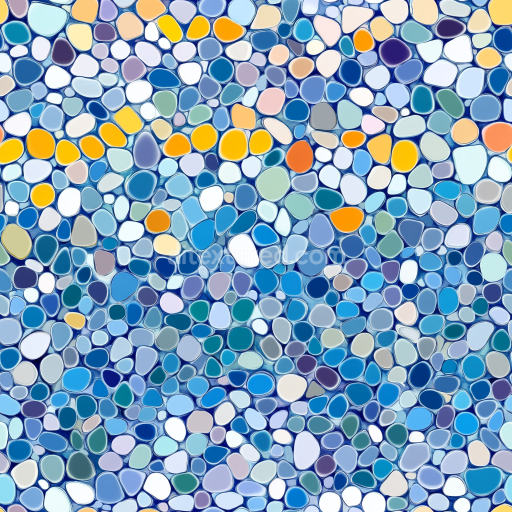
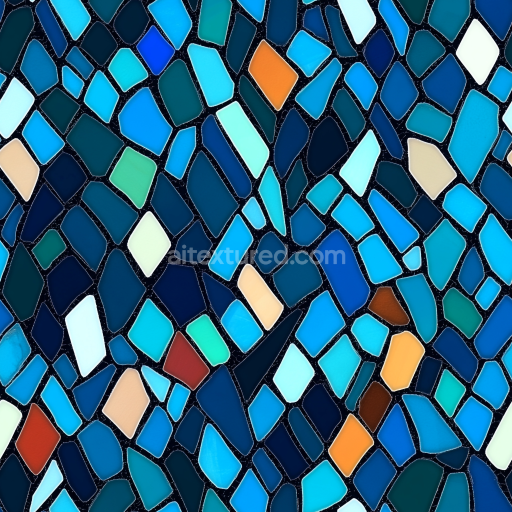
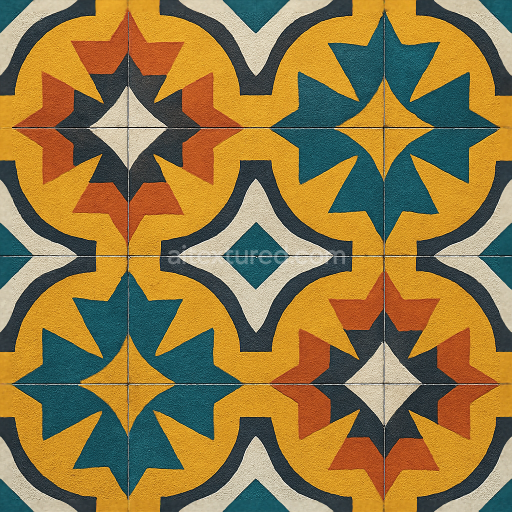
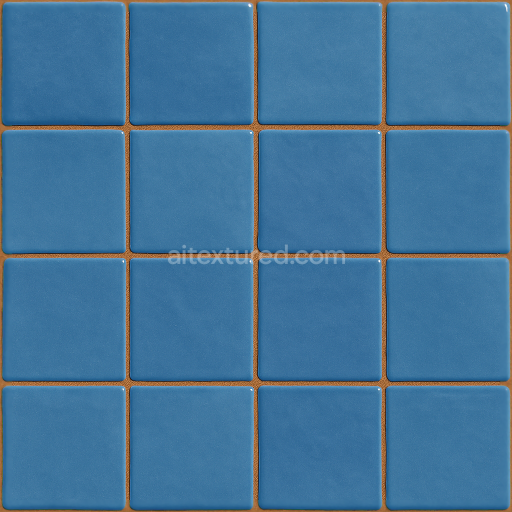
This seamless 3D texture showcases a meticulously crafted mosaic composed of iridescent pastel tiles arranged in a geometric grid pattern. Each tile features a smooth, glossy finish that accentuates subtle color shifts visible across the surface, resulting from the iridescent coating applied atop a ceramic or glass substrate. The base material combines a high-density ceramic body with a translucent glaze, providing both durability and a reflective quality. The mosaic tiles are adhered to the substrate with colored grout, adding a nuanced contrast that defines each element while preserving the overall pastel palette. The tiles’ geometric form is predominantly square with beveled edges, creating gentle depth variations that enhance the three-dimensional appearance when rendered.
The texture’s composition includes a non-porous tile surface treated with a thin iridescent film that interacts with light to produce dynamic color shifts depending on the viewing angle. Beneath the glaze, finely ground mineral pigments provide the pastel tones, carefully blended to achieve a balanced softness without saturation loss. The grout serves as both a mechanical binder and a visual separator, featuring a slightly rougher matte finish to contrast with the glossy tiles. In PBR workflow, the BaseColor channel represents the pastel hues and subtle iridescent highlights, while the Normal map captures the beveled edges and tile depth for realistic light interaction. The Roughness map is finely tuned to convey the polished, reflective nature of the tiles versus the more diffuse grout. Metallic values remain minimal, emphasizing the ceramic and glass-like qualities, while Ambient Occlusion enhances the depth perception around grout lines and tile edges. Height or displacement maps provide precise surface relief to simulate tile thickness and beveling under different lighting conditions.
Rendered at an 8K resolution, this texture ensures exceptional detail suitable for close-up views in high-fidelity 3D environments. It is fully optimized for use in Blender, Unreal Engine, and Unity, enabling artists and designers to integrate the seamless mosaic surface into architectural visualizations, interior design projects, and decorative object materials with ease. The high resolution preserves the intricate interplay of light on the iridescent surface and the subtle color gradations within the pastel tiles, maintaining realism even at large scales.
For optimal results, it is recommended to carefully adjust the UV scale to maintain tile proportions consistent with real-world dimensions, avoiding distortion of the geometric pattern. Additionally, fine-tuning the Roughness map can help balance the glossy finish to suit different lighting scenarios, such as reducing reflectivity for softer ambient environments or boosting it to emphasize specular highlights. When using height or parallax mapping, blending with the Normal map helps to preserve the intricate beveled edges and subtle depth cues without introducing artifacts, enhancing the overall tactile impression of the mosaic surface.
Import the texture maps into Blender with sRGB color space for albedo/base color and Non-Color for normal, roughness, metallic, AO, height, and ORM maps. Connect normal maps through a Normal Map node, then adjust UV scale with a Mapping node so the material repeats naturally on your model.
For the full step-by-step setup, see How to Use Seamless Textures in Blender. Browse related material examples in wood, concrete, and metal.
Yes. This texture is designed as a seamless tileable PBR material, so it can repeat across large surfaces without visible borders.
You can download PNG/WEBP versions and use 1K, 2K, 4K and 8K download options when available on the page.
Yes. The download options and engine-mapped ZIP workflow are designed for Blender, Unreal Engine, Unity Standard, URP and HDRP material pipelines.
Yes. The texture is available under the AITextured free commercial license. Review the license page for redistribution and AI-training restrictions.

Build, preview, and export seamless PBR materials. Generate full map sets from a single image, inspect them in a real-time WebGL viewer, and re-package maps for Unreal, Unity, and Blender—directly in your browser.
AI text-to-texture: type a prompt and get a seamless, tileable base image ready for PBR workflows (great starting point for materials).
Create a full PBR set (Normal, Roughness, AO, Metallic, etc.) from a single image. Seamless and tiling-friendly.
Instant WebGL viewer: inspect materials on a sphere, plane, and cube. Check tiling and lighting in real time.
Re-packages maps per engine: Unreal (BaseColor + ORM), Unity (Mask/MetallicSmoothness), Blender (separate channels).
PNG ↔ JPG ↔ SVG: fast convert, SVG rasterize, embed/trace options, quality & background controls.