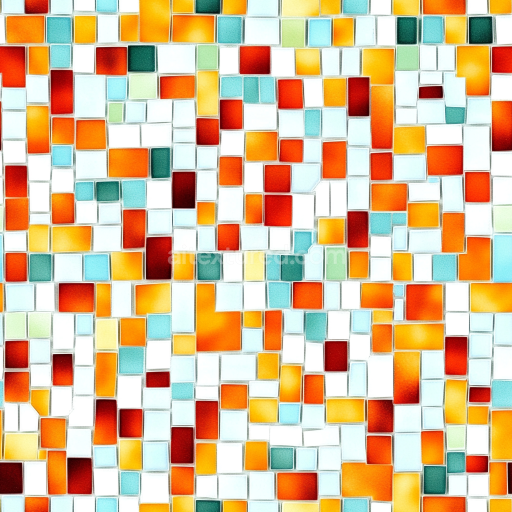
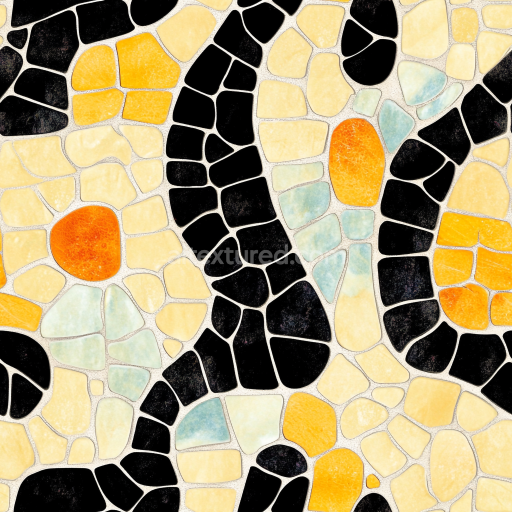
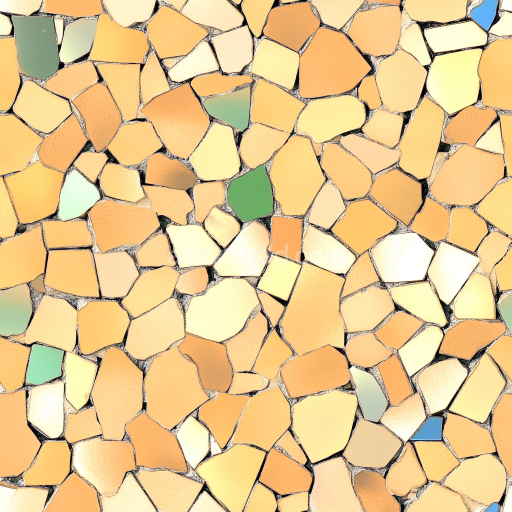
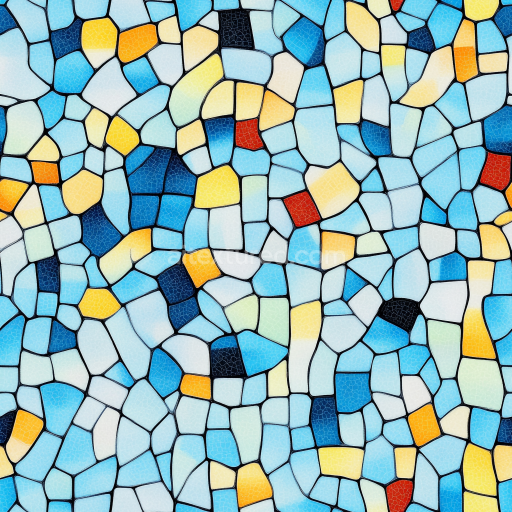
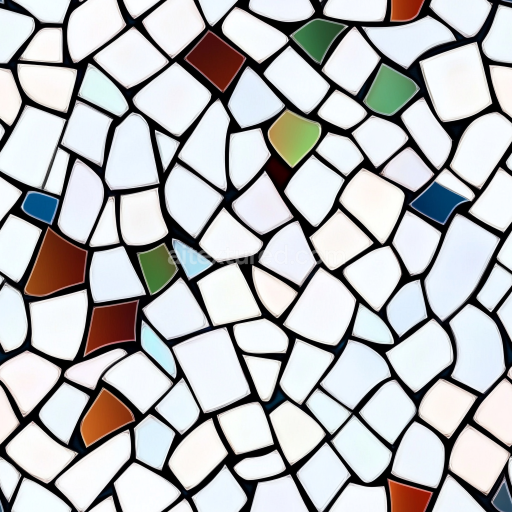
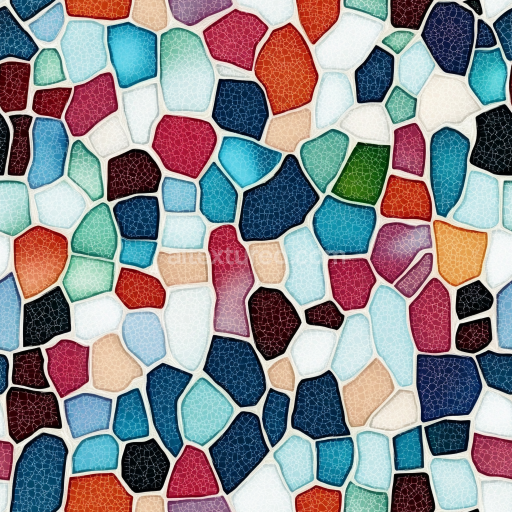
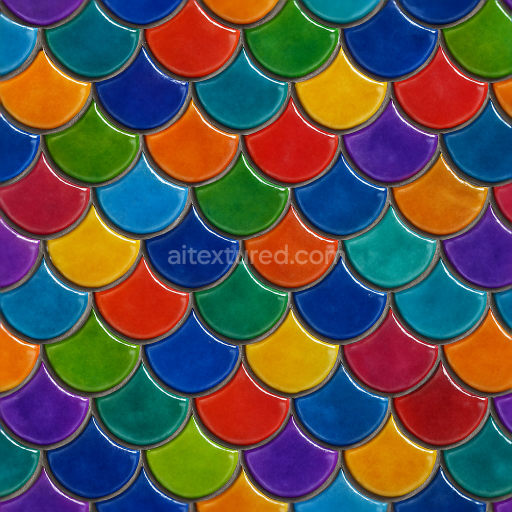
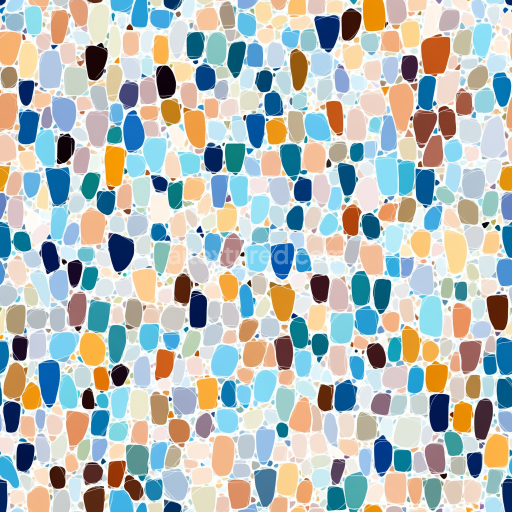
Mosaic PBR Texture Featuring Vibrant Ceramic Tiles in Warm and Cool Tones
Seamless texture (tileable) · PNG, WEBP, PBR ZIP. License: AITextured Free Commercial License (FCL) v1.1. Free personal and commercial use. Raw resale, standalone redistribution, mirroring/scraping, competing asset packs, and AI/ML training are not allowed without written permission. Attribution is not required, but appreciated..

| ID | seamless-3d-texture-pbr-8k-terracotta-tiles-mosaic-with-matte-finish-and-rustic-earth-tones-palette |
|---|---|
| Category | Mosaic |
| Formats | PNG, WEBP, PBR ZIP |
| Size | 1k (1024x1024px), 2k (2048x2048px), 4k (4096x4096px), 8k (8192x8192px) |
| Color | sRGB |
| Tileable | Yes |
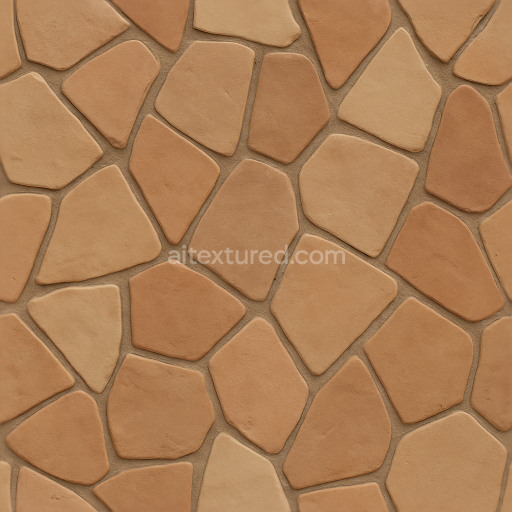
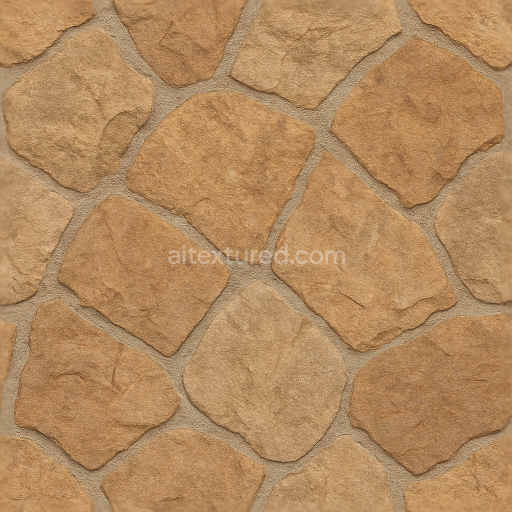
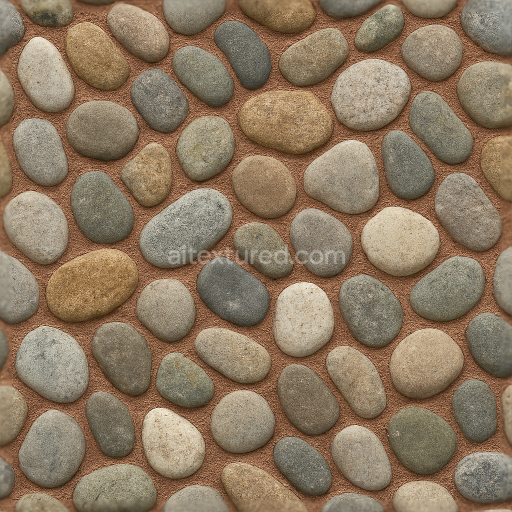
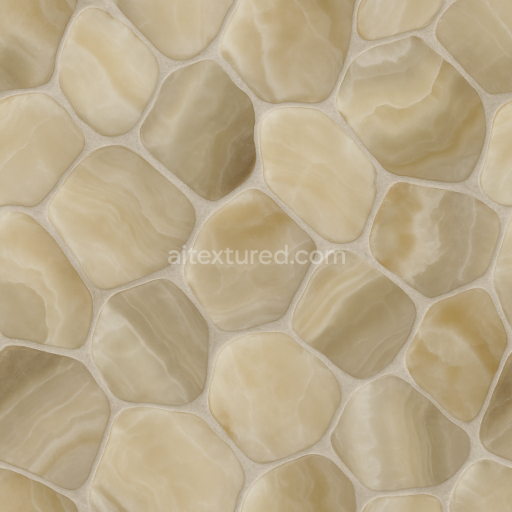
This seamless 3D texture showcases a meticulously crafted mosaic of terracotta tiles, rendered in an impressive 8K resolution to capture every fine detail. The base material consists predominantly of natural fired clay terracotta, known for its warm, earthy hues and porous structure. Each tile exhibits a slightly irregular rectangular form, arranged in a traditional mosaic pattern that emphasizes handcrafted authenticity. The substrate relies on a dense ceramic body, with iron oxide pigments providing the characteristic rustic earth tone palette ranging from deep ochres to muted burnt siennas. The tiles’ surfaces reveal subtle grain and fine sand aggregates embedded within the clay, contributing to the tactile roughness and natural imperfections visible in the normal and height maps.
The texture’s matte finish results from the absence of glazing, allowing the raw, unpolished clay to express its inherent porosity and weathering effects. This finish is captured through the roughness map, which maintains high values to simulate the diffuse reflection typical of unsealed terracotta surfaces. The grout lines between tiles exhibit a slightly eroded, weathered appearance, with a mix of fine sand and lime binder simulated in the ambient occlusion and displacement channels to give a sense of depth and age. The metallic map remains near zero throughout, reflecting the non-metallic nature of ceramic materials. This combination of PBR channels ensures photorealistic rendering of surface irregularities, subtle shadowing in crevices, and realistic light diffusion across the textured surface.
Designed for seamless tiling, this texture is optimized for real-time engines such as Unreal Engine and Unity, as well as offline renderers like Blender’s Cycles and Eevee. The high-resolution 8K detail supports close-up views without loss of clarity, making it ideal for architectural visualizations, outdoor patios, or interior spaces inspired by Mediterranean or rustic design themes. The normal and height maps work in tandem to provide convincing surface relief, while the roughness map allows fine-tuning of the matte finish to suit different lighting environments.
For practical application, adjusting the UV scale is recommended to ensure the mosaic pattern remains visually consistent and proportional to the modeled surface. Additionally, blending the height and normal maps can enhance the perception of tile edges and grout depth, especially in scenes with dynamic lighting. Modulating roughness can further tailor the worn, weathered look, allowing for variations from slightly smoother to more textured finishes depending on environmental context.
Import the texture maps into Blender with sRGB color space for albedo/base color and Non-Color for normal, roughness, metallic, AO, height, and ORM maps. Connect normal maps through a Normal Map node, then adjust UV scale with a Mapping node so the material repeats naturally on your model.
For the full step-by-step setup, see How to Use Seamless Textures in Blender. Browse related material examples in wood, concrete, and metal.
Yes. This texture is designed as a seamless tileable PBR material, so it can repeat across large surfaces without visible borders.
You can download PNG/WEBP versions and use 1K, 2K, 4K and 8K download options when available on the page.
Yes. The download options and engine-mapped ZIP workflow are designed for Blender, Unreal Engine, Unity Standard, URP and HDRP material pipelines.
Yes. The texture is available under the AITextured free commercial license. Review the license page for redistribution and AI-training restrictions.
Build, preview, and export seamless PBR materials. Generate full map sets from a single image, inspect them in a real-time WebGL viewer, and re-package maps for Unreal, Unity, and Blender—directly in your browser.
AI text-to-texture: type a prompt and get a seamless, tileable base image ready for PBR workflows (great starting point for materials).
Create a full PBR set (Normal, Roughness, AO, Metallic, etc.) from a single image. Seamless and tiling-friendly.
Instant WebGL viewer: inspect materials on a sphere, plane, and cube. Check tiling and lighting in real time.
Re-packages maps per engine: Unreal (BaseColor + ORM), Unity (Mask/MetallicSmoothness), Blender (separate channels).
PNG ↔ JPG ↔ SVG: fast convert, SVG rasterize, embed/trace options, quality & background controls.