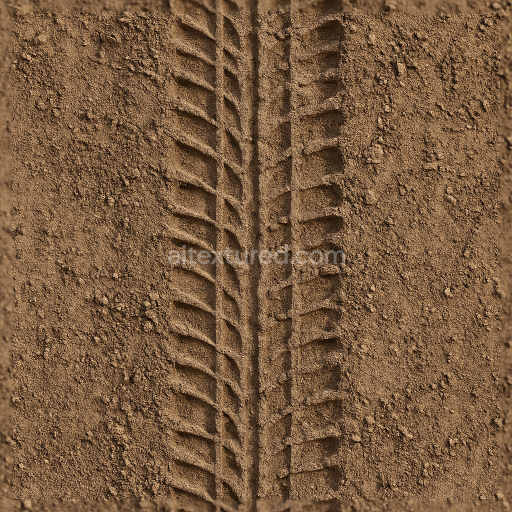
Dirt Road Track Tire Print Dirt Off Road Dirt Tire Track Texture
Seamless texture (tileable) · PNG, WEBP, PBR ZIP. License: AITextured Free Commercial License (FCL) v1.1. Free personal and commercial use. Raw resale, standalone redistribution, mirroring/scraping, competing asset packs, and AI/ML training are not allowed without written permission. Attribution is not required, but appreciated..

| ID | seamless-3d-texture-pbr-8k-dry-tire-print-on-concrete-print-with-hexagon-tread-and-dust-print-soil-imprint |
|---|---|
| Category | Tire prints |
| Formats | PNG, WEBP, PBR ZIP |
| Size | 1k (1024x1024px), 2k (2048x2048px), 4k (4096x4096px), 8k (8192x8192px) |
| Color | sRGB |
| Tileable | Yes |
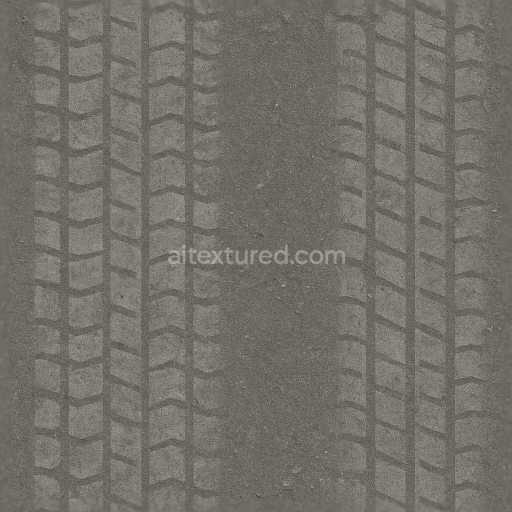
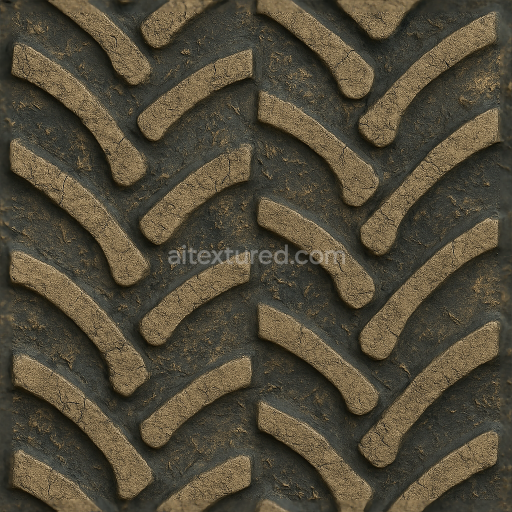
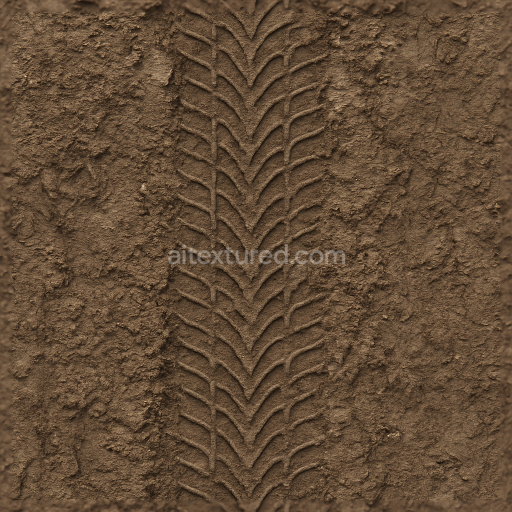
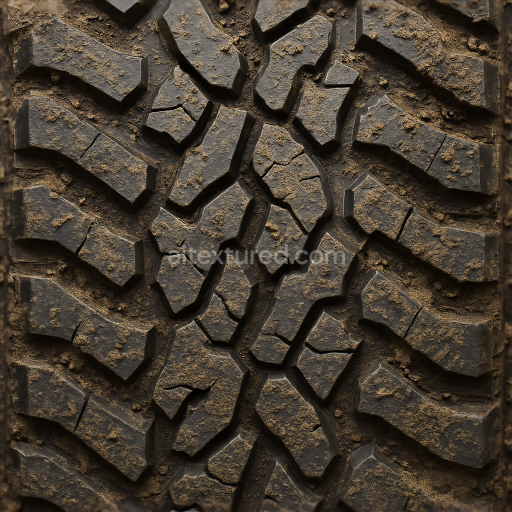
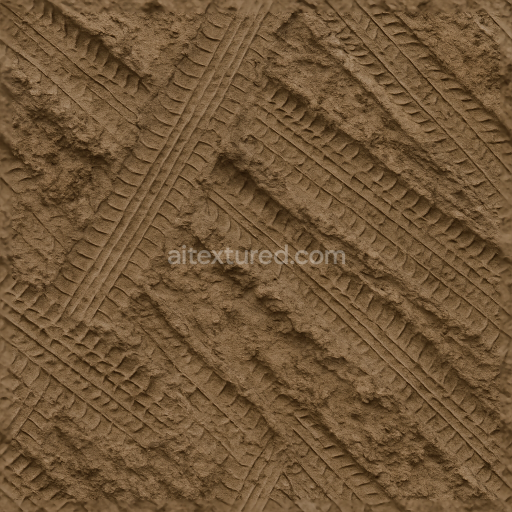
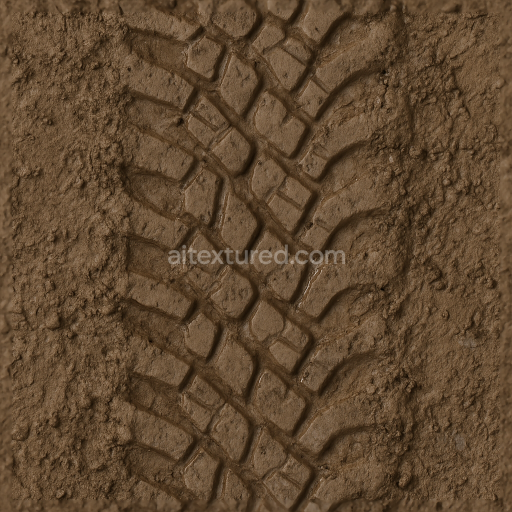
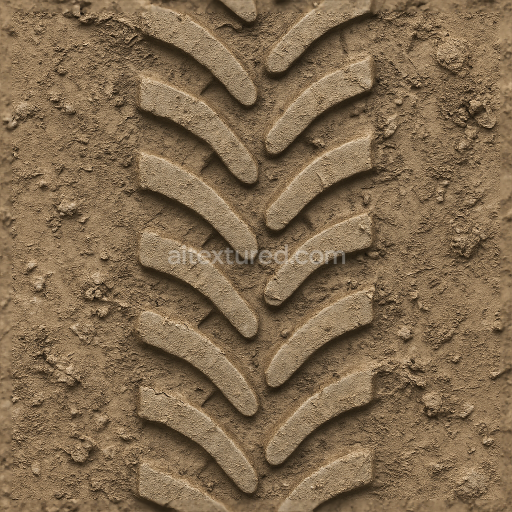
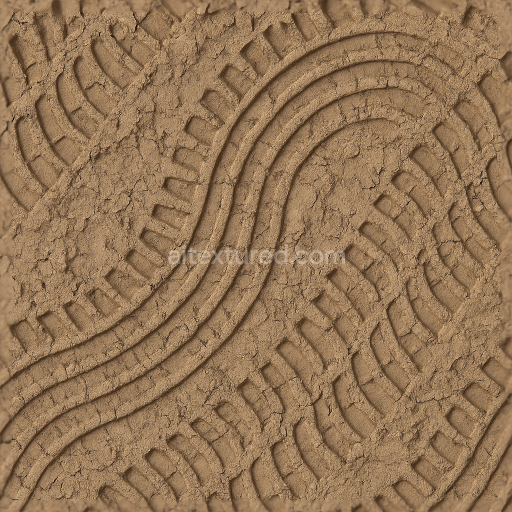
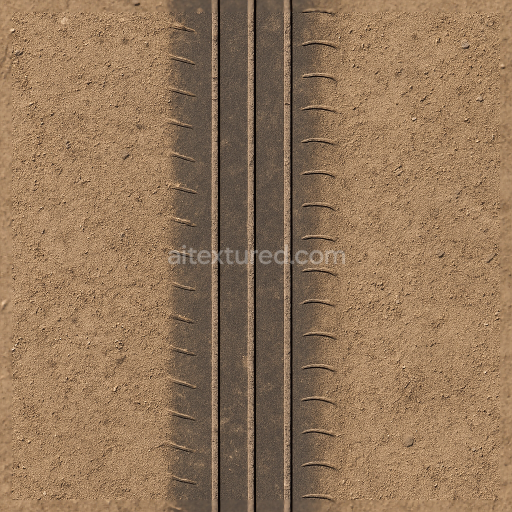
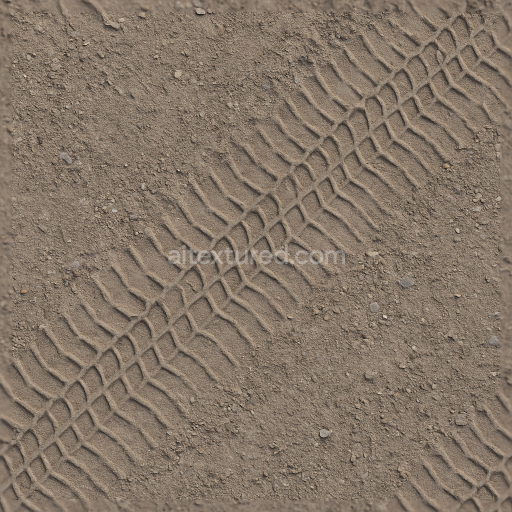
This seamless 8K PBR texture captures the intricate details of dry tire prints left on a concrete surface characterized by a distinctive hexagon tread pattern. The base material is a weathered concrete slab composed primarily of cement binder combined with fine aggregates such as sand and small gravel particles. The substrate exhibits moderate porosity typical of exterior pavements allowing dust and soil to settle within the tire imprints. Surface wear is evident through subtle micro-cracks and slight roughness variations reflecting natural aging and foot traffic exposure. The concrete’s finish is matte with a slightly abrasive texture lacking any polish or gloss which enhances the realism of the dry dusty tire imprint details.
The tire tread pattern is geometrically precise formed by repeating hexagonal blocks that create a recognizable and functional grip design. This pattern is manually imprinted onto the concrete’s surface leaving an embossed relief that varies in depth showcasing the soil and dust accumulation inside the tread cavities. The dust print and soil imprint add a layer of fine particulate matter that contrasts softly with the concrete’s muted gray tones. Colorants in the texture arise from natural concrete pigments and accumulated grime ranging from pale grays to earthy browns which are faithfully represented in the BaseColor (Albedo) map. The Normal and Height maps provide detailed surface relief information enabling accurate rendering of the embossed tread and soil deposits. Roughness values fluctuate to simulate the differing reflectivity between worn concrete and dusty tire marks while Metallic is negligible consistent with non-metallic concrete and Ambient Occlusion enhances shadowing within the tread depressions for added depth.
This texture is optimized for high-fidelity rendering in Blender Unreal Engine and Unity leveraging its 8K resolution to maintain sharp detail even at close camera angles. The pattern repeat is carefully tiled to allow seamless coverage over large surfaces without noticeable seams or distortions. The combination of maps supports advanced PBR workflows facilitating realistic light interaction and material response under various lighting conditions. When integrating this texture it is advisable to adjust the UV scale to match the real-world dimensions of tire prints for accurate scene placement. Additionally fine-tuning the roughness channel can help differentiate between freshly dried dust and more compacted soil within the tread enhancing visual authenticity. Blending height or parallax maps with normal maps can also improve perceived depth and surface complexity in interactive applications.
Import the texture maps into Blender with sRGB color space for albedo/base color and Non-Color for normal, roughness, metallic, AO, height, and ORM maps. Connect normal maps through a Normal Map node, then adjust UV scale with a Mapping node so the material repeats naturally on your model.
For the full step-by-step setup, see How to Use Seamless Textures in Blender. Browse related material examples in wood, concrete, and metal.
Yes. This texture is designed as a seamless tileable PBR material, so it can repeat across large surfaces without visible borders.
You can download PNG/WEBP versions and use 1K, 2K, 4K and 8K download options when available on the page.
Yes. The download options and engine-mapped ZIP workflow are designed for Blender, Unreal Engine, Unity Standard, URP and HDRP material pipelines.
Yes. The texture is available under the AITextured free commercial license. Review the license page for redistribution and AI-training restrictions.
Build, preview, and export seamless PBR materials. Generate full map sets from a single image, inspect them in a real-time WebGL viewer, and re-package maps for Unreal, Unity, and Blender—directly in your browser.
AI text-to-texture: type a prompt and get a seamless, tileable base image ready for PBR workflows (great starting point for materials).
Create a full PBR set (Normal, Roughness, AO, Metallic, etc.) from a single image. Seamless and tiling-friendly.
Instant WebGL viewer: inspect materials on a sphere, plane, and cube. Check tiling and lighting in real time.
Re-packages maps per engine: Unreal (BaseColor + ORM), Unity (Mask/MetallicSmoothness), Blender (separate channels).
PNG ↔ JPG ↔ SVG: fast convert, SVG rasterize, embed/trace options, quality & background controls.