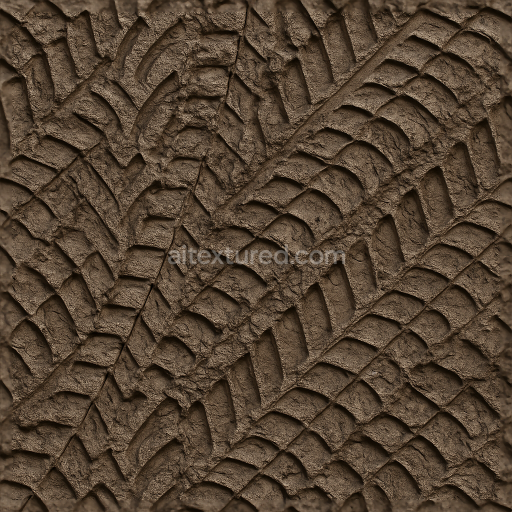
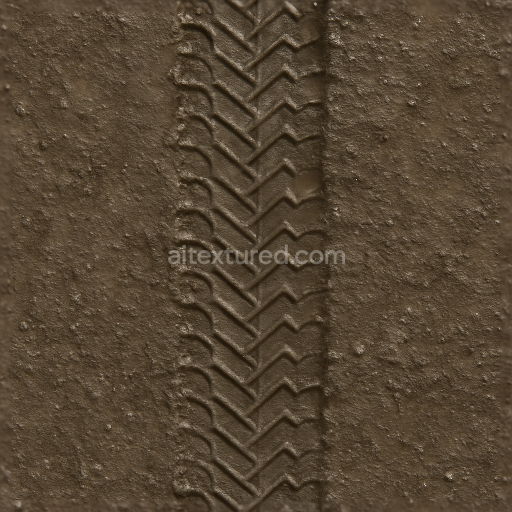
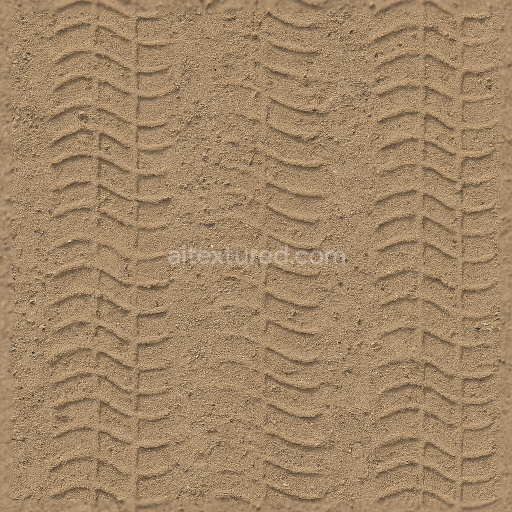
Wet Tire Print On Muddy Track With Natural Overlapping Prints Effect
Seamless texture (tileable) · PNG, WEBP, PBR ZIP. License: AITextured Free Commercial License (FCL) v1.1. Free personal and commercial use. Raw resale, standalone redistribution, mirroring/scraping, competing asset packs, and AI/ML training are not allowed without written permission. Attribution is not required, but appreciated..

| ID | seamless-3d-texture-pbr-8k-construction-tire-print-on-compacted-gravel-with-shallow-tread-and-dust-print |
|---|---|
| Category | Tire prints |
| Formats | PNG, WEBP, PBR ZIP |
| Size | 1k (1024x1024px), 2k (2048x2048px), 4k (4096x4096px), 8k (8192x8192px) |
| Color | sRGB |
| Tileable | Yes |
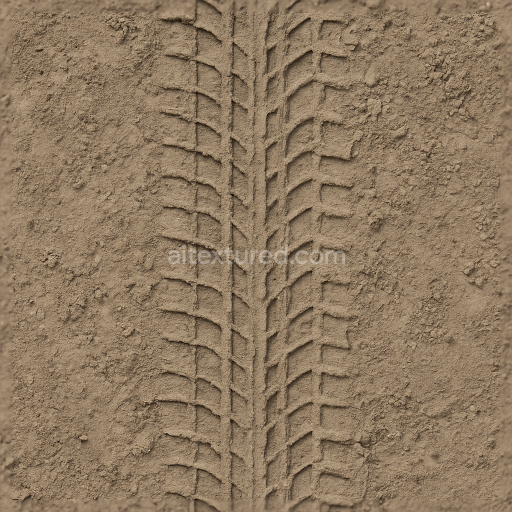
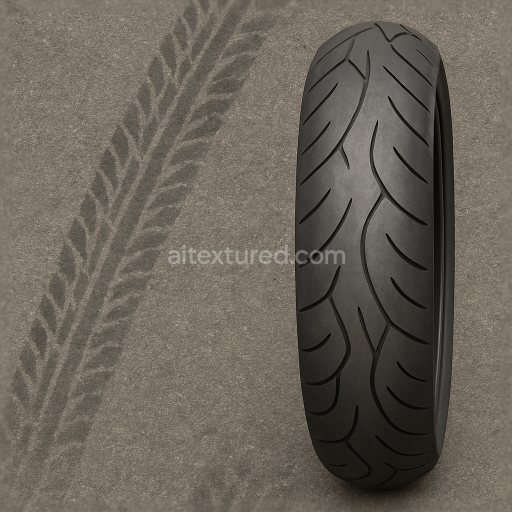
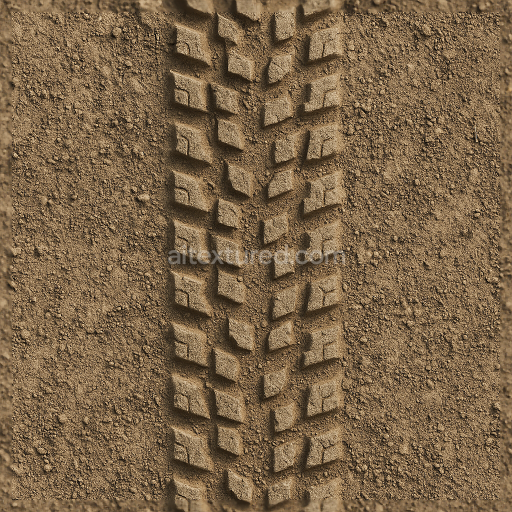
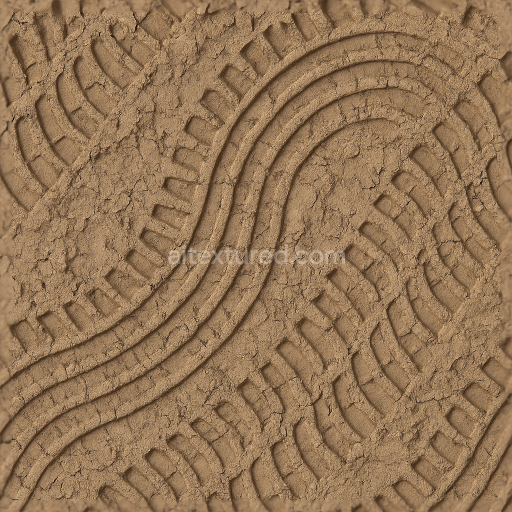
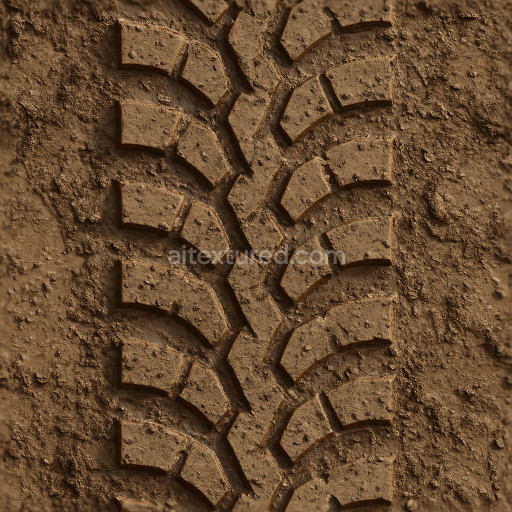
This seamless 8K PBR texture captures the intricate imprint of construction tire prints on a surface of compacted gravel. The base material is a tightly packed mixture of small angular gravel fragments and dry soil creating a dense substrate with subtle porosity. The gravel aggregates are bound together by fine soil particles acting as natural adhesives that fill the gaps between stones and produce a firm textured ground plane. The shallow tread pattern is manually pressed into this substrate leaving a clear yet gently worn impression that reflects consistent compaction and light usage. Dust deposits settle lightly on the tire print surface adding a thin matte layer that softens the contrast and enhances realism.
Geometrically the texture is characterized by repeating tire tread patterns arranged in a seamless tileable layout. The tire tread consists of shallow grooves and ridges which create shallow cavities and raised edges on the gravel surface producing a subtle relief pattern that is ideal for displacement and normal mapping. The soil imprint is finely detailed showing the granular structure of the compacted gravel interspersed with dusty soil patches which contribute to the surface roughness variation and ambient occlusion shading. The natural color palette ranges from muted grays and browns of the gravel to light ochre dust tones faithfully represented in the BaseColor (Albedo) channel.
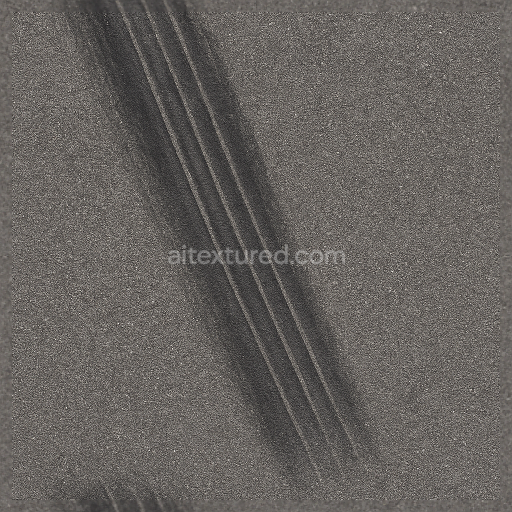
In terms of PBR channels the BaseColor map conveys the diffuse colors of gravel and soil enriched by dust overlays that break uniformity. The Normal map captures the micro-topography of gravel edges and tire tread depressions enhancing the perception of depth and structure. Roughness is carefully tuned to reflect the semi-matte finish of dry soil combined with the slightly rough texture of gravel surfaces while the Metallic channel remains near zero consistent with the non-metallic nature of the materials. Ambient Occlusion enhances shadowing within the tread cavities and gravel crevices emphasizing depth and form. The Height or Displacement map offers precise relief data to simulate the shallow tread indentations and gravel granularity during rendering.
This high-resolution 8K texture is fully optimized for seamless tiling and is compatible with Blender Unreal Engine and Unity workflows. Its neutral lighting setup ensures easy integration into various environments without requiring extensive adjustments. For practical use it is recommended to carefully adjust the UV scale to maintain the correct real-world dimensions of tire prints and to fine-tune roughness values if simulating wet or compacted soil conditions. Additionally blending height and normal maps can enhance the perception of gravel depth and tread sharpness especially when viewed up close in 3D scenes.
Import the texture maps into Blender with sRGB color space for albedo/base color and Non-Color for normal, roughness, metallic, AO, height, and ORM maps. Connect normal maps through a Normal Map node, then adjust UV scale with a Mapping node so the material repeats naturally on your model.
For the full step-by-step setup, see How to Use Seamless Textures in Blender. Browse related material examples in wood, concrete, and metal.
Yes. This texture is designed as a seamless tileable PBR material, so it can repeat across large surfaces without visible borders.
You can download PNG/WEBP versions and use 1K, 2K, 4K and 8K download options when available on the page.
Yes. The download options and engine-mapped ZIP workflow are designed for Blender, Unreal Engine, Unity Standard, URP and HDRP material pipelines.
Yes. The texture is available under the AITextured free commercial license. Review the license page for redistribution and AI-training restrictions.


Build, preview, and export seamless PBR materials. Generate full map sets from a single image, inspect them in a real-time WebGL viewer, and re-package maps for Unreal, Unity, and Blender—directly in your browser.
AI text-to-texture: type a prompt and get a seamless, tileable base image ready for PBR workflows (great starting point for materials).
Create a full PBR set (Normal, Roughness, AO, Metallic, etc.) from a single image. Seamless and tiling-friendly.
Instant WebGL viewer: inspect materials on a sphere, plane, and cube. Check tiling and lighting in real time.
Re-packages maps per engine: Unreal (BaseColor + ORM), Unity (Mask/MetallicSmoothness), Blender (separate channels).
PNG ↔ JPG ↔ SVG: fast convert, SVG rasterize, embed/trace options, quality & background controls.