
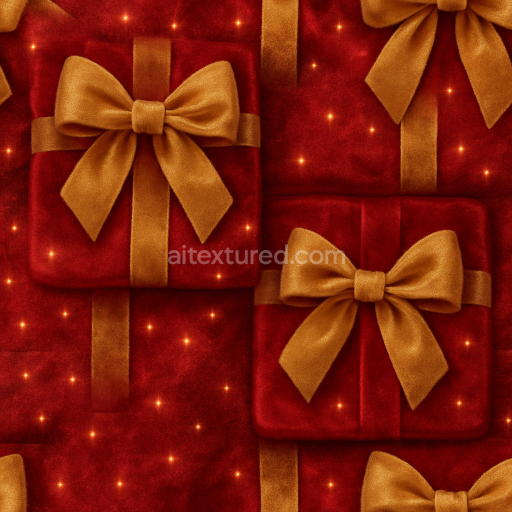
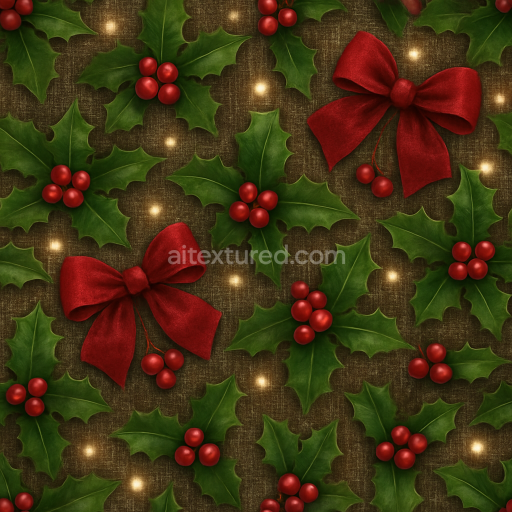
Christmas Stocking Snowy Ground Icicles Faux Fur Red Velvet
Seamless texture (tileable) · PNG, WEBP, PBR ZIP. License: AITextured Free Commercial License (FCL) v1.1. Free personal and commercial use. Raw resale, standalone redistribution, mirroring/scraping, competing asset packs, and AI/ML training are not allowed without written permission. Attribution is not required, but appreciated..

| ID | seamless-3d-texture-pbr-8k-frosted-glass-sparkle-dust-snowy-texture |
|---|---|
| Category | Merry christmas |
| Formats | PNG, WEBP, PBR ZIP |
| Size | 1k (1024x1024px), 2k (2048x2048px), 4k (4096x4096px), 8k (8192x8192px) |
| Color | sRGB |
| Tileable | Yes |
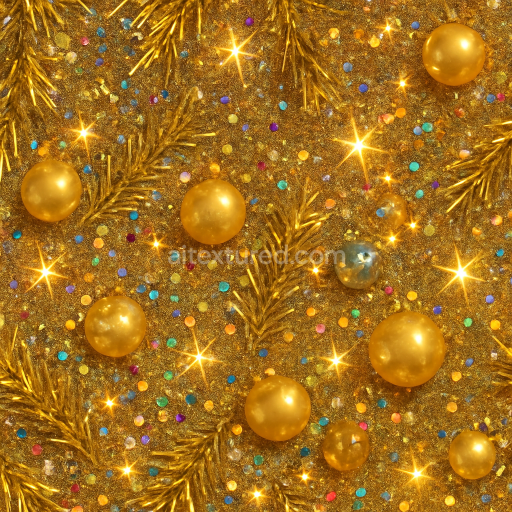
This seamless 3D texture presents a highly detailed frosted glass surface meticulously crafted to simulate the intricate interplay of icy crystal formations and delicate sparkle dust scattered across a snowy texture. The base material mimics translucent glass with a subtle micro-roughness that diffuses light softly evoking a natural frost pattern formed by mineral deposits on cold surfaces. Fine particulate binders resembling frost crystals and tiny snowflakes add complexity to the surface creating a visually rich layer of sparkling dust embedded within the glass matrix. The texture’s surface finish reflects a polished yet frost-covered glass capturing subtle white reflections and natural micro-variations that enhance realism. Colorants are neutral and primarily in cool whites and pale blues replicating natural ice and snow hues without overpowering saturation. Porosity is minimal consistent with a cold crystalline glass rather than porous ice ensuring the material reads as solid yet delicate.
Rendered in 8K resolution with physically based rendering (PBR) techniques this texture excels in realism and versatility across digital platforms. The BaseColor/Albedo channel displays the soft gradient of frosted glass interspersed with snowy dust highlights while the Normal map faithfully reproduces the fine crystal patterns and subtle surface undulations typical of frost. Roughness is tuned to balance the polished glass sheen with a diffused matte finish where snow and dust accumulate avoiding excessive glossiness. The Metallic map remains neutral as the material is non-metallic glass. Ambient Occlusion enhances depth around snow particles and frost crevices and the Height/Displacement channel defines micro-elevations for enhanced parallax and tactile realism. This 3D texture is fully seamless making it ideal for large-scale surfaces without visible tiling and it employs neutral flat lighting conditions to maintain versatility for photorealistic rendering in Blender Unreal Engine and Unity environments.
Ideal for creating chilly Christmas window decorations festive glass panels or icy decorative elements this texture brings a cool wintry atmosphere to any 3D scene. When applying the texture it is recommended to adjust the UV scale to maintain the delicate frost and sparkle dust details at realistic proportions. Additionally fine-tuning the roughness parameter can help control the balance between the frosted matte areas and the subtle glistening highlights enhancing visual interest without compromising realism. This frost-inspired texture is a practical choice for artists seeking a high-quality seamless 3D PBR material that captures the essence of snowy sparkling glass surfaces in ultra-high 8K resolution for next-level photorealism.
Import the texture maps into Blender with sRGB color space for albedo/base color and Non-Color for normal, roughness, metallic, AO, height, and ORM maps. Connect normal maps through a Normal Map node, then adjust UV scale with a Mapping node so the material repeats naturally on your model.
For the full step-by-step setup, see How to Use Seamless Textures in Blender. Browse related material examples in wood, concrete, and metal.
Yes. This texture is designed as a seamless tileable PBR material, so it can repeat across large surfaces without visible borders.
You can download PNG/WEBP versions and use 1K, 2K, 4K and 8K download options when available on the page.
Yes. The download options and engine-mapped ZIP workflow are designed for Blender, Unreal Engine, Unity Standard, URP and HDRP material pipelines.
Yes. The texture is available under the AITextured free commercial license. Review the license page for redistribution and AI-training restrictions.


Build, preview, and export seamless PBR materials. Generate full map sets from a single image, inspect them in a real-time WebGL viewer, and re-package maps for Unreal, Unity, and Blender—directly in your browser.
AI text-to-texture: type a prompt and get a seamless, tileable base image ready for PBR workflows (great starting point for materials).
Create a full PBR set (Normal, Roughness, AO, Metallic, etc.) from a single image. Seamless and tiling-friendly.
Instant WebGL viewer: inspect materials on a sphere, plane, and cube. Check tiling and lighting in real time.
Re-packages maps per engine: Unreal (BaseColor + ORM), Unity (Mask/MetallicSmoothness), Blender (separate channels).
PNG ↔ JPG ↔ SVG: fast convert, SVG rasterize, embed/trace options, quality & background controls.