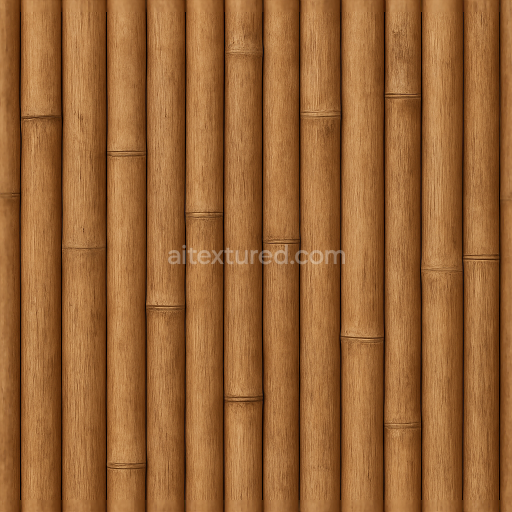
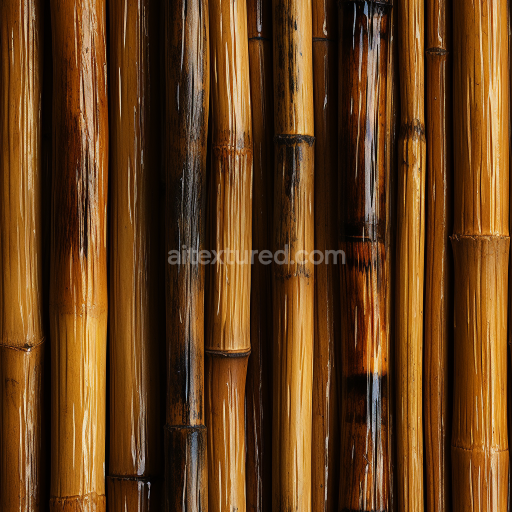
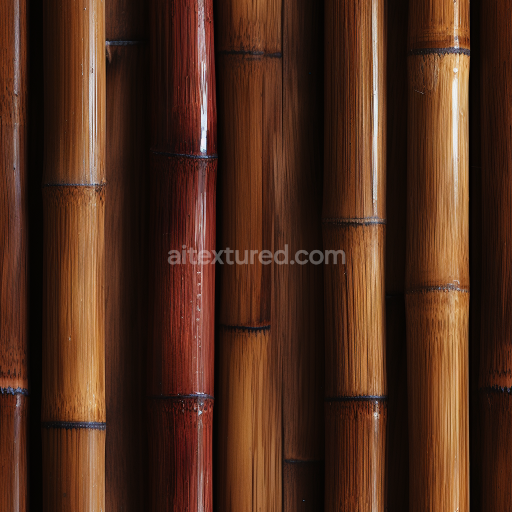
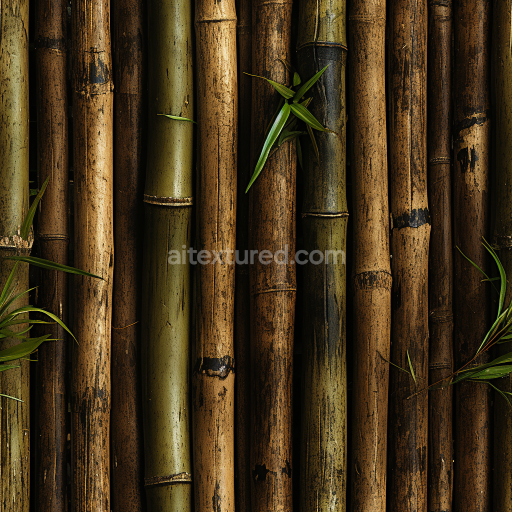
Bamboo Fence With Bamboo Plank Bamboo Strip And Bamboo Rough Natural Brown Tone Surface
Seamless texture (tileable) · PNG, WEBP, PBR ZIP. License: AITextured Free Commercial License (FCL) v1.1. Free personal and commercial use. Raw resale, standalone redistribution, mirroring/scraping, competing asset packs, and AI/ML training are not allowed without written permission. Attribution is not required, but appreciated..

| ID | seamless-3d-texture-pbr-8k-bamboo-split-end-with-bamboo-rough-surface-and-bamboo-brown-tone-natural-aged-bamboo-texture-detail |
|---|---|
| Category | Bamboo |
| Formats | PNG, WEBP, PBR ZIP |
| Size | 1k (1024x1024px), 2k (2048x2048px), 4k (4096x4096px), 8k (8192x8192px) |
| Color | sRGB |
| Tileable | Yes |
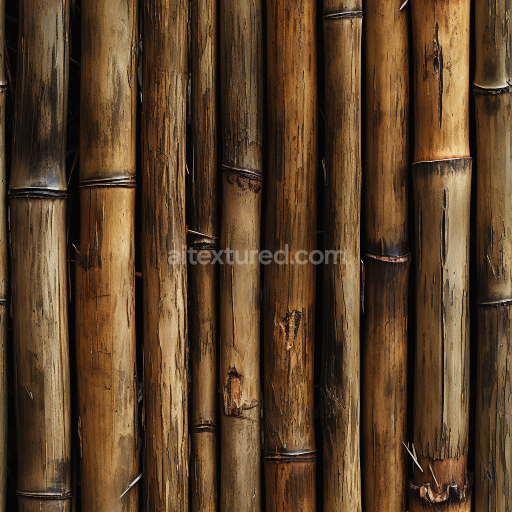
This seamless 8K PBR texture depicts the distinctive form of bamboo planks characterized by split ends and an inherently rough surface. The base material is natural bamboo culms, showcasing their fibrous composition and layered grain structure. The texture reveals detailed longitudinal splits along the bamboo fibers, highlighting the aged and weathered condition typical of outdoor exposure. Its geometric form is plank-like, with visible nodes and subtle curvatures that replicate authentic bamboo sections arranged in linear segments. The roughness varies across the surface, with deeper cracks and fissures creating pronounced shadows and highlights that enhance the tactile quality of the material.
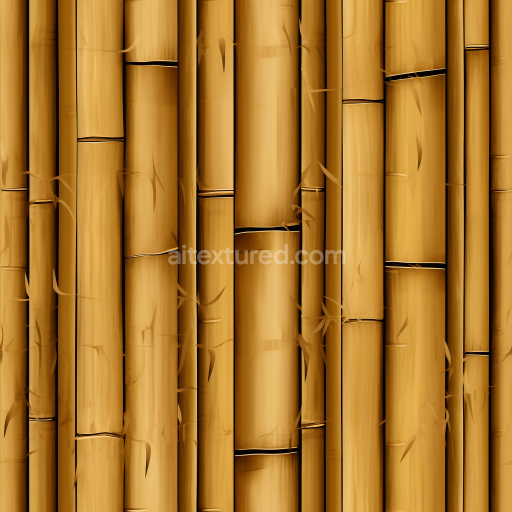
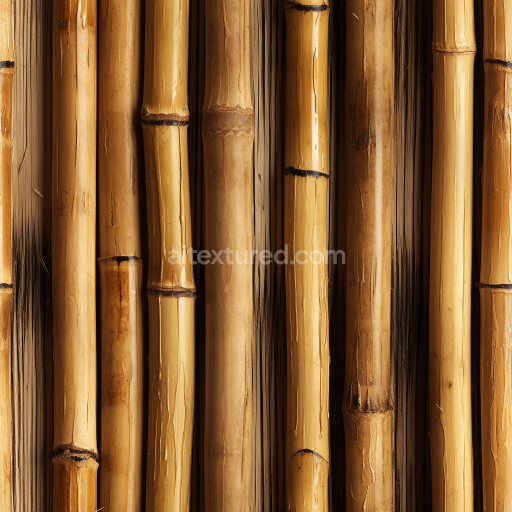
In composition, the bamboo substrate consists primarily of dense cellulose fibers bound together by lignin and natural resins, forming a rigid yet slightly porous surface. Over time, environmental factors cause the bamboo’s outer layers to weather and develop micro-cracks, which are captured in the texture’s height and normal maps. The surface finish is matte and rough, lacking any polished gloss, with natural brown tonal variations ranging from warm honey hues to darker, aged browns. These color nuances are reflected in the BaseColor map, while the Normal and Height maps emphasize the depth and irregularities of the split and rough surface. The Roughness channel is carefully calibrated to simulate the diffuse reflection typical of aged bamboo, avoiding metallic sheens, hence the Metallic channel is near zero. Ambient Occlusion enhances the subtle shadows within cracks and splits, contributing to a realistic sense of depth and wear.
This texture’s high resolution (8K) supports detailed close-up renders and is optimized for use in Blender, Unreal Engine, and Unity, ensuring compatibility across major 3D workflows. The detailed displacement and normal maps allow for effective parallax and bump blending, which can be tuned to achieve varying degrees of surface relief depending on scene requirements. When applying this texture, it is advisable to adjust the UV scale to maintain natural proportions of bamboo planks, avoiding repetitive patterns that might break immersion. Additionally, roughness can be fine-tuned to simulate different levels of weathering, from freshly cut bamboo to heavily aged surfaces.
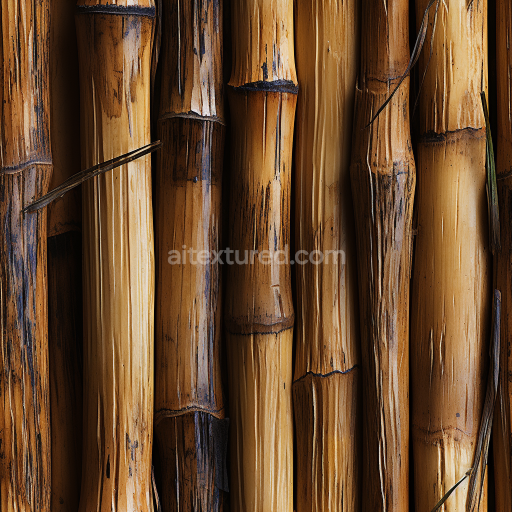
Overall, this texture offers a highly realistic representation of natural, aged bamboo surfaces with a focus on the intricate split ends and fibrous roughness. It is particularly suited for architectural visualizations, furniture design, and environmental scenes requiring authentic bamboo materials that exhibit both organic imperfections and subtle tonal variations inherent in natural aging processes.
Import the texture maps into Blender with sRGB color space for albedo/base color and Non-Color for normal, roughness, metallic, AO, height, and ORM maps. Connect normal maps through a Normal Map node, then adjust UV scale with a Mapping node so the material repeats naturally on your model.
For the full step-by-step setup, see How to Use Seamless Textures in Blender. Browse related material examples in wood, concrete, and metal.
Yes. This texture is designed as a seamless tileable PBR material, so it can repeat across large surfaces without visible borders.
You can download PNG/WEBP versions and use 1K, 2K, 4K and 8K download options when available on the page.
Yes. The download options and engine-mapped ZIP workflow are designed for Blender, Unreal Engine, Unity Standard, URP and HDRP material pipelines.
Yes. The texture is available under the AITextured free commercial license. Review the license page for redistribution and AI-training restrictions.
Build, preview, and export seamless PBR materials. Generate full map sets from a single image, inspect them in a real-time WebGL viewer, and re-package maps for Unreal, Unity, and Blender—directly in your browser.
AI text-to-texture: type a prompt and get a seamless, tileable base image ready for PBR workflows (great starting point for materials).
Create a full PBR set (Normal, Roughness, AO, Metallic, etc.) from a single image. Seamless and tiling-friendly.
Instant WebGL viewer: inspect materials on a sphere, plane, and cube. Check tiling and lighting in real time.
Re-packages maps per engine: Unreal (BaseColor + ORM), Unity (Mask/MetallicSmoothness), Blender (separate channels).
PNG ↔ JPG ↔ SVG: fast convert, SVG rasterize, embed/trace options, quality & background controls.