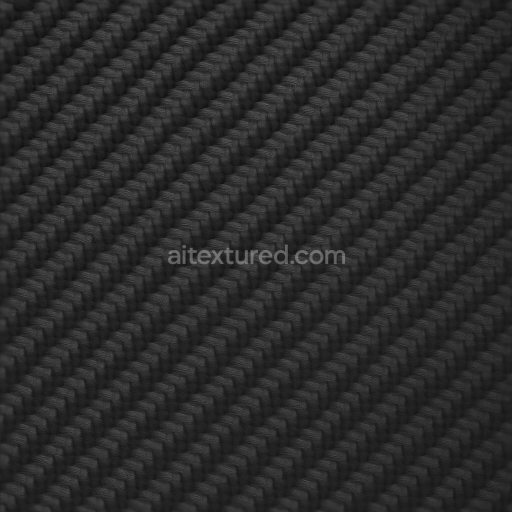
Carbon Synthetic Weave With Carbon Satin Finish For PBR 8K Realistic Renders
Seamless texture (tileable) · PNG, WEBP, PBR ZIP. License: AITextured Free Commercial License (FCL) v1.1. Free personal and commercial use. Raw resale, standalone redistribution, mirroring/scraping, competing asset packs, and AI/ML training are not allowed without written permission. Attribution is not required, but appreciated..

| ID | seamless-3d-pbr-texture-of-carbon-laminate-with-carbon-smooth-surface-for-8k-ultra-realistic-renders |
|---|---|
| Category | Carbon |
| Formats | PNG, WEBP, PBR ZIP |
| Size | 1k (1024x1024px), 2k (2048x2048px), 4k (4096x4096px), 8k (8192x8192px) |
| Color | sRGB |
| Tileable | Yes |
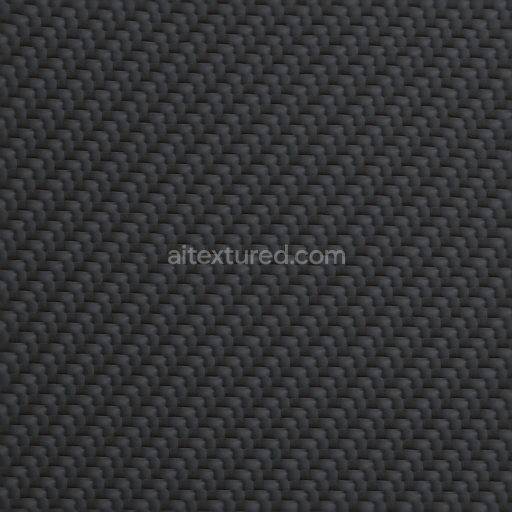
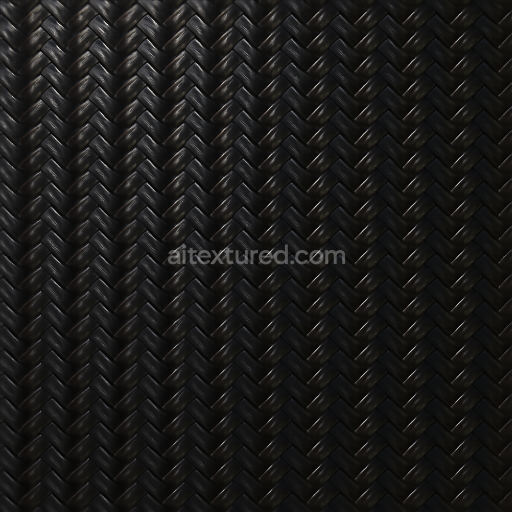
This seamless 3D PBR texture simulates a carbon laminate material characterized by a densely woven carbon fiber substrate embedded within a high-performance polymer resin matrix. The geometric form reveals a finely detailed twill weave pattern, typical of carbon fiber composites, with an interlacing of slender fibers creating a distinctive diagonal grid. The smooth surface finish reflects a polished, almost glass-like resin overlay that encapsulates the fibers, enhancing durability and providing a subtle gloss while preserving the intricate fiber detail beneath. The composite’s deep black coloration is achieved through carbon black pigments uniformly dispersed in the resin, offering a consistent and true-to-life dark tone essential for authentic carbon fiber representation.
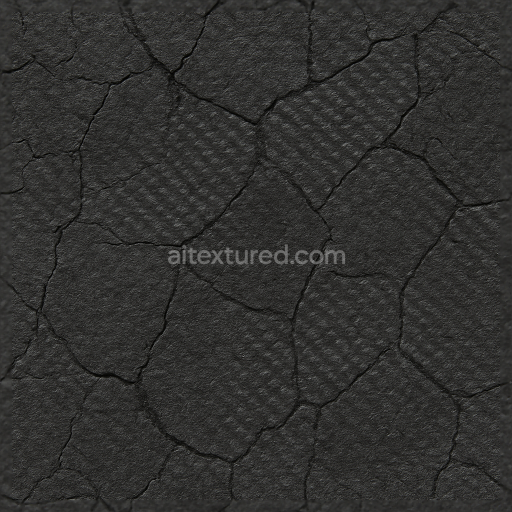
From a materials science perspective, the base consists of carbon fibers that provide exceptional strength and stiffness, tightly bound by a thermoset epoxy resin acting as the binder and surface sealant. The texture’s porosity is minimal, indicative of a high-quality laminate manufacturing process that eliminates air pockets and surface imperfections. The polished surface finish reduces roughness and highlights the reflective qualities of the resin, while the weave pattern introduces micro-variations in height and normal direction, critical for realistic light interaction in renders. Weathering effects are subtle or absent, ensuring a pristine appearance suitable for modern automotive and industrial design visualization.
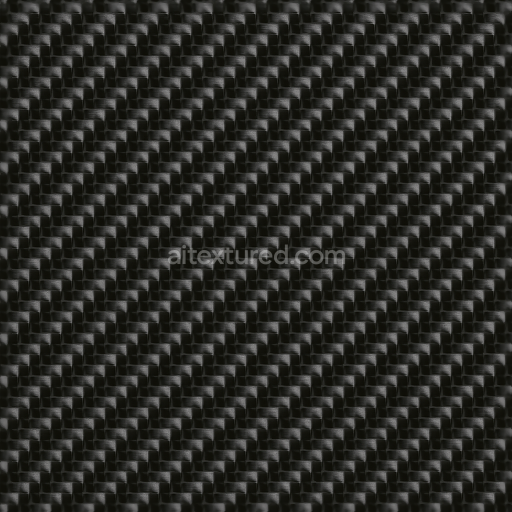
Technically, this texture’s PBR channels are carefully mapped to reflect the material’s physical properties: the BaseColor (Albedo) channel captures the uniform deep carbon black with slight tonal variation from the fiber weave; the Normal map encodes the fine weave relief and resin smoothness; Roughness is kept low and consistent to simulate the polished resin surface; Metallic is near zero, as carbon fiber composites are non-metallic; Ambient Occlusion enhances shadowing within the weave crevices, adding depth; Height/Displacement maps enable subtle parallax effects, emphasizing fiber texture under close inspection. The texture is delivered in an ultra-high 8K resolution to ensure crisp detail on large surfaces and close-up renders, fully compatible with Blender, Unreal Engine, and Unity workflows.
For optimal use, adjusting the UV scale to match the specific model dimensions is recommended to maintain the natural fiber pattern density. Additionally, fine-tuning the roughness values can simulate different resin finishes, from matte to high gloss. Combining height with normal maps enhances the tactile perception of the weave without heavy geometry. This seamless carbon laminate texture is ideal for applications requiring a realistic and durable carbon fiber appearance in automotive parts, consumer electronics, or architectural elements.
Import the texture maps into Blender with sRGB color space for albedo/base color and Non-Color for normal, roughness, metallic, AO, height, and ORM maps. Connect normal maps through a Normal Map node, then adjust UV scale with a Mapping node so the material repeats naturally on your model.
For the full step-by-step setup, see How to Use Seamless Textures in Blender. Browse related material examples in wood, concrete, and metal.
Yes. This texture is designed as a seamless tileable PBR material, so it can repeat across large surfaces without visible borders.
You can download PNG/WEBP versions and use 1K, 2K, 4K and 8K download options when available on the page.
Yes. The download options and engine-mapped ZIP workflow are designed for Blender, Unreal Engine, Unity Standard, URP and HDRP material pipelines.
Yes. The texture is available under the AITextured free commercial license. Review the license page for redistribution and AI-training restrictions.


Build, preview, and export seamless PBR materials. Generate full map sets from a single image, inspect them in a real-time WebGL viewer, and re-package maps for Unreal, Unity, and Blender—directly in your browser.
AI text-to-texture: type a prompt and get a seamless, tileable base image ready for PBR workflows (great starting point for materials).
Create a full PBR set (Normal, Roughness, AO, Metallic, etc.) from a single image. Seamless and tiling-friendly.
Instant WebGL viewer: inspect materials on a sphere, plane, and cube. Check tiling and lighting in real time.
Re-packages maps per engine: Unreal (BaseColor + ORM), Unity (Mask/MetallicSmoothness), Blender (separate channels).
PNG ↔ JPG ↔ SVG: fast convert, SVG rasterize, embed/trace options, quality & background controls.