
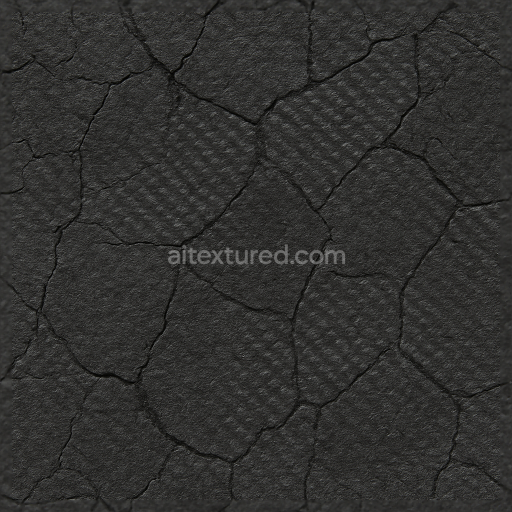
Carbon Honeycomb Weave For PBR 8K Resolution Realistic Surface Renders
Seamless texture (tileable) · PNG, WEBP, PBR ZIP. License: AITextured Free Commercial License (FCL) v1.1. Free personal and commercial use. Raw resale, standalone redistribution, mirroring/scraping, competing asset packs, and AI/ML training are not allowed without written permission. Attribution is not required, but appreciated..

| ID | seamless-3d-texture-of-carbon-layered-composite-with-carbon-matte-finish-for-pbr-8k-renders |
|---|---|
| Category | Carbon |
| Formats | PNG, WEBP, PBR ZIP |
| Size | 1k (1024x1024px), 2k (2048x2048px), 4k (4096x4096px), 8k (8192x8192px) |
| Color | sRGB |
| Tileable | Yes |
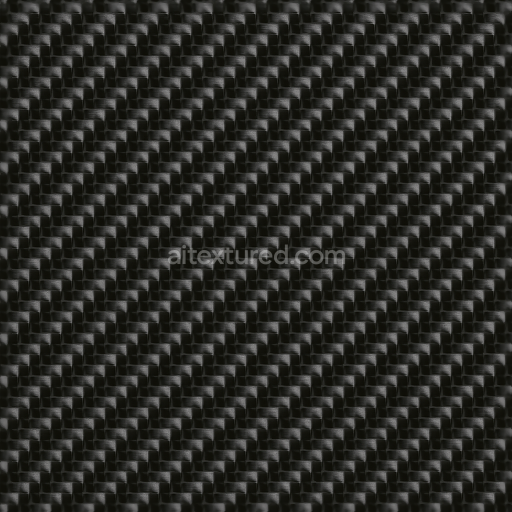
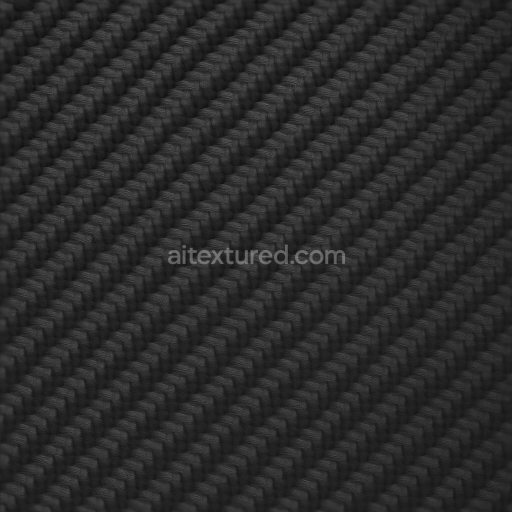
This seamless 3D texture represents a sophisticated carbon layered composite material, designed with an intricate laminated structure that captures the distinctive geometry of carbon fiber sheets. The surface reveals tightly woven carbon fiber bundles embedded within a resin matrix, forming a durable, lightweight substrate commonly used in high-performance automotive and aerospace applications. The composite layers are clearly visible, showcasing the overlapping fiber plies that contribute both to mechanical strength and visual depth. The pattern follows a subtle, repetitive weave that emphasizes the anisotropic nature of carbon fiber, with each fiber strand rendered in fine detail to accurately mimic the microscopic geometry of the material.
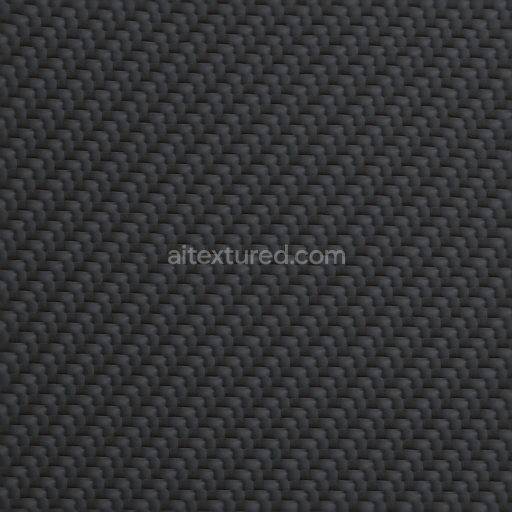
The base material consists of carbon fiber filaments, typically made from polyacrylonitrile (PAN) precursors, arranged in a textile weave and bonded with an epoxy resin binder. This resin acts as an adhesive, filling the interstitial spaces between fibers while maintaining low porosity and contributing to the overall rigidity of the composite. The resulting surface is characterized by a matte carbon black finish, achieved through a combination of pigment dispersion in the resin and a finely textured surface that diffuses light softly rather than reflecting it sharply. This finish helps reduce glare and enhances the modern, industrial aesthetic associated with carbon fiber components. The texture’s roughness channel conveys this subtle surface microstructure, balancing smoothness with fine graininess, while the normal and height maps emphasize the layered fiber contours and resin boundaries.
From a PBR workflow perspective, the BaseColor (Albedo) map captures the deep black tones interspersed with dark gray highlights reflecting the carbon fiber’s natural color variation. The Normal map provides detailed surface relief, simulating the woven fiber pattern and slight undulations from the resin layers. Roughness is calibrated to reflect the matte finish, avoiding glossy reflections to preserve authenticity. The Metallic channel remains near zero, as carbon composites are non-metallic, while Ambient Occlusion enhances the perception of depth between fiber bundles and resin matrix, adding realism to crevices and edges. Height and displacement maps contribute subtle elevation differences that support parallax effects and detailed shading in close-up renders.
This texture is optimized at an 8K resolution, ensuring exceptional clarity and detail suitable for photorealistic rendering in Blender, Unreal Engine, and Unity. Its seamless tiling capability allows for extensive coverage on large surfaces without visible repetition or distortion, making it ideal for automotive body panels, sporting equipment, or industrial design prototypes. When applying this texture, it is advisable to adjust the UV scale carefully to maintain the correct fiber pattern proportion relative to the object’s size. Additionally, fine-tuning the roughness parameter can simulate different resin finishes, from more matte to slightly polished, depending on the desired visual outcome. For enhanced realism, blending the height map with normal details can produce convincing parallax effects that accentuate the layered carbon weave under dynamic lighting.
Import the texture maps into Blender with sRGB color space for albedo/base color and Non-Color for normal, roughness, metallic, AO, height, and ORM maps. Connect normal maps through a Normal Map node, then adjust UV scale with a Mapping node so the material repeats naturally on your model.
For the full step-by-step setup, see How to Use Seamless Textures in Blender. Browse related material examples in wood, concrete, and metal.
Yes. This texture is designed as a seamless tileable PBR material, so it can repeat across large surfaces without visible borders.
You can download PNG/WEBP versions and use 1K, 2K, 4K and 8K download options when available on the page.
Yes. The download options and engine-mapped ZIP workflow are designed for Blender, Unreal Engine, Unity Standard, URP and HDRP material pipelines.
Yes. The texture is available under the AITextured free commercial license. Review the license page for redistribution and AI-training restrictions.


Generate, preview, and export seamless PBR materials for Blender, Unity, and Unreal Engine—directly in your browser.
AI text-to-texture: type a prompt and get a seamless, tileable base image ready for PBR workflows (great starting point for materials).
Create a full PBR set (Normal, Roughness, AO, Metallic, etc.) from a single image. Seamless and tiling-friendly.
Instant WebGL viewer: inspect materials on a sphere, plane, and cube. Check tiling and lighting in real time.
Re-packages maps per engine: Unreal (BaseColor + ORM), Unity (Mask/MetallicSmoothness), Blender (separate channels).
PNG ↔ JPG ↔ SVG: fast convert, SVG rasterize, embed/trace options, quality & background controls.