
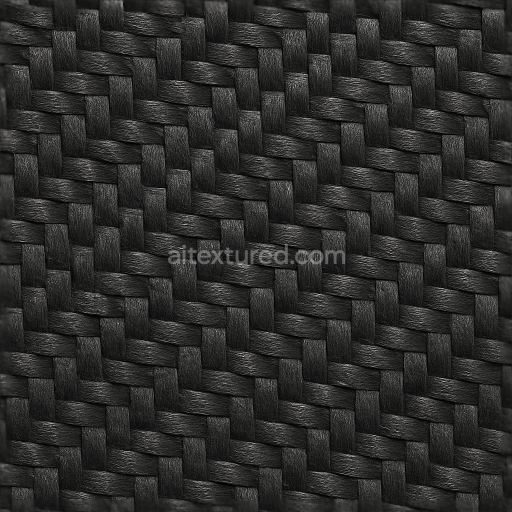
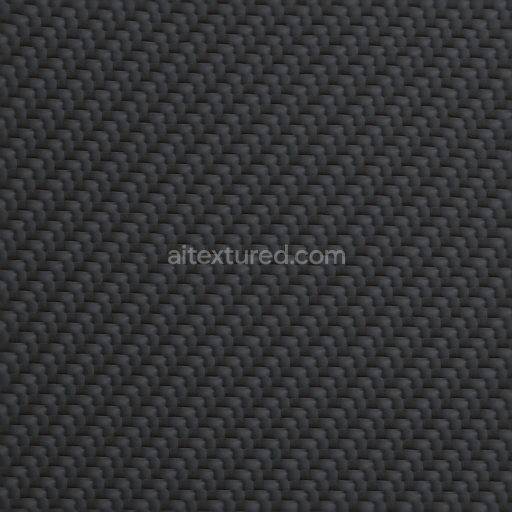
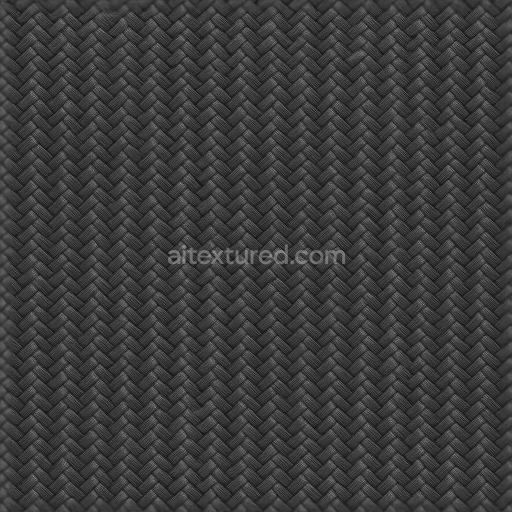
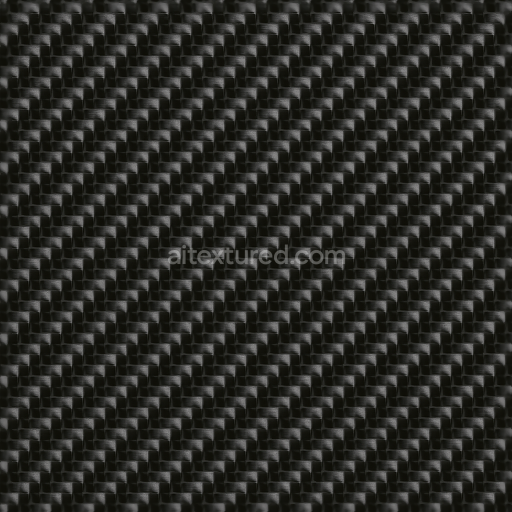
PBR Seamless 3D Texture Of Carbon Twill Weave In 8K For Realistic Material Rendering
Seamless texture (tileable) · PNG, WEBP, PBR ZIP. License: AITextured Free Commercial License (FCL) v1.1. Free personal and commercial use. Raw resale, standalone redistribution, mirroring/scraping, competing asset packs, and AI/ML training are not allowed without written permission. Attribution is not required, but appreciated..

| ID | seamless-3d-texture-of-carbon-cracked-surface-with-pbr-8k-quality-for-realistic-material-rendering |
|---|---|
| Category | Carbon |
| Formats | PNG, WEBP, PBR ZIP |
| Size | 1k (1024x1024px), 2k (2048x2048px), 4k (4096x4096px), 8k (8192x8192px) |
| Color | sRGB |
| Tileable | Yes |
This seamless 3D texture presents a cracked carbon surface that captures the intricate details of an aged carbon fiber composite. The base material consists of tightly woven carbon fibers embedded within a durable epoxy resin matrix, creating a robust industrial substrate commonly used in automotive and high-performance applications. The cracked pattern reflects natural wear and stress fractures in the resin layer, revealing the underlying fiber bundles with their characteristic fine weave. These fractures introduce irregular geometric fissures that break the otherwise uniform woven pattern, giving the texture a rough and weathered appearance that emphasizes the material’s resilience and functional complexity.
The surface finish is matte with subtle variations in roughness to simulate a partially eroded resin coating, exposing the textured carbon fiber beneath. The carbon black color dominates the BaseColor (Albedo) channel, enriched with slight tonal shifts that mimic dust accumulation and slight oxidation effects. The Normal and Height maps capture the depth and relief of the cracked resin and underlying fiber weave, enhancing the three-dimensionality and tactile feel of the surface. Roughness is carefully calibrated to reflect the uneven glossiness caused by surface damage, ranging from dull matte areas in the cracked resin to slightly shinier fiber strands. The Metallic channel remains minimal, as carbon composites are non-metallic, while Ambient Occlusion accentuates crevices and fissures, adding realistic shadowing to the cracks.
Rendered in 8K resolution, this texture is optimized for photorealistic material rendering in Blender, Unreal Engine, and Unity, ensuring maximum detail when applied to 3D models. The seamless tiling capability allows for large-scale coverage without visible repetition, making it ideal for automotive panels, industrial equipment, or any design requiring an authentic cracked carbon fiber finish. The high-resolution maps maintain fine fiber details and subtle surface imperfections, crucial for close-up visualizations and dynamic lighting environments.
For practical use, adjusting the UV scale is recommended to balance the crack size and fiber weave detail according to the model’s dimensions. Additionally, fine-tuning the roughness map can help achieve the desired level of surface wear or gloss, while blending height and normal maps can enhance parallax effects, adding depth to the fissures without excessive mesh displacement. This approach ensures a versatile and realistic material representation that responds well to various lighting conditions and rendering engines.
Import the texture maps into Blender with sRGB color space for albedo/base color and Non-Color for normal, roughness, metallic, AO, height, and ORM maps. Connect normal maps through a Normal Map node, then adjust UV scale with a Mapping node so the material repeats naturally on your model.
For the full step-by-step setup, see How to Use Seamless Textures in Blender. Browse related material examples in wood, concrete, and metal.
Yes. This texture is designed as a seamless tileable PBR material, so it can repeat across large surfaces without visible borders.
You can download PNG/WEBP versions and use 1K, 2K, 4K and 8K download options when available on the page.
Yes. The download options and engine-mapped ZIP workflow are designed for Blender, Unreal Engine, Unity Standard, URP and HDRP material pipelines.
Yes. The texture is available under the AITextured free commercial license. Review the license page for redistribution and AI-training restrictions.


Generate, preview, and export seamless PBR materials for Blender, Unity, and Unreal Engine—directly in your browser.
AI text-to-texture: type a prompt and get a seamless, tileable base image ready for PBR workflows (great starting point for materials).
Create a full PBR set (Normal, Roughness, AO, Metallic, etc.) from a single image. Seamless and tiling-friendly.
Instant WebGL viewer: inspect materials on a sphere, plane, and cube. Check tiling and lighting in real time.
Re-packages maps per engine: Unreal (BaseColor + ORM), Unity (Mask/MetallicSmoothness), Blender (separate channels).
PNG ↔ JPG ↔ SVG: fast convert, SVG rasterize, embed/trace options, quality & background controls.