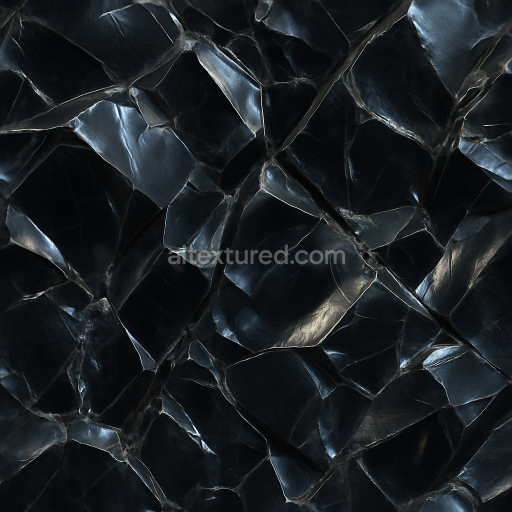
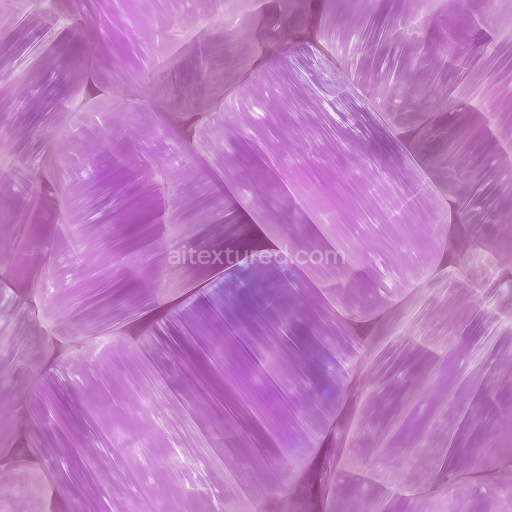
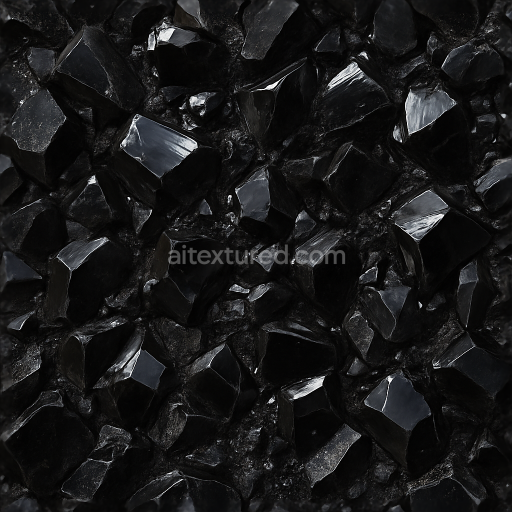
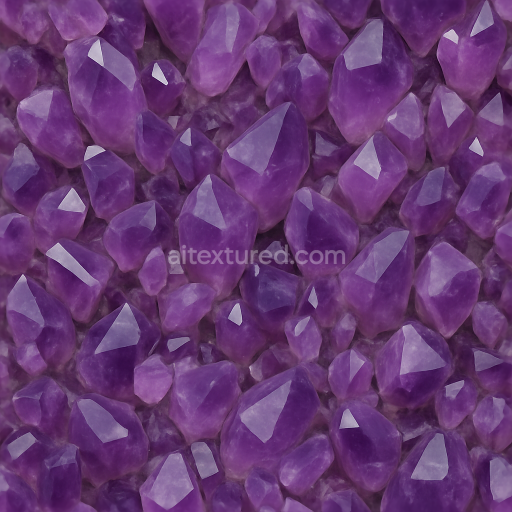
Obsidian Glassy Surface With Fractures And Metallic Sheen Highlights
Seamless texture (tileable) · PNG, WEBP, PBR ZIP. License: AITextured Free Commercial License (FCL) v1.1. Free personal and commercial use. Raw resale, standalone redistribution, mirroring/scraping, competing asset packs, and AI/ML training are not allowed without written permission. Attribution is not required, but appreciated..

| ID | seamless-3d-texture-pbr-8k-of-iridescent-opal-with-multicolor-banded-patterns-and-smooth-glossy-surface-reflecting-rainbow-sheen |
|---|---|
| Category | Crystals |
| Formats | PNG, WEBP, PBR ZIP |
| Size | 1k (1024x1024px), 2k (2048x2048px), 4k (4096x4096px), 8k (8192x8192px) |
| Color | sRGB |
| Tileable | Yes |
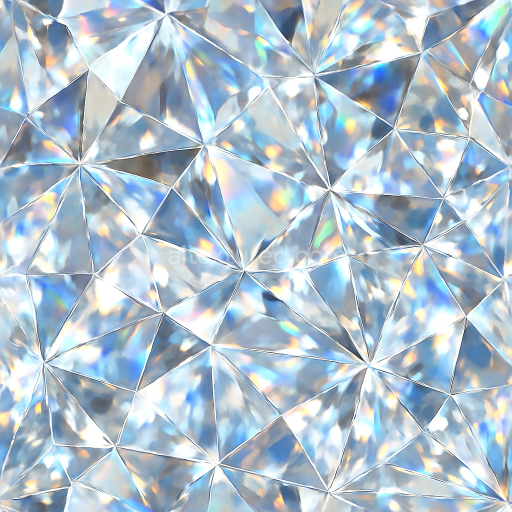
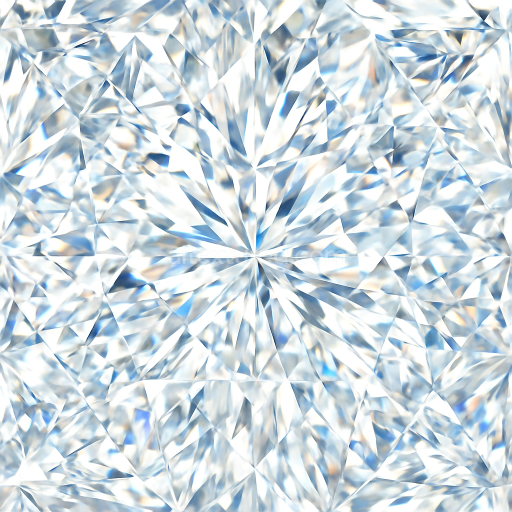
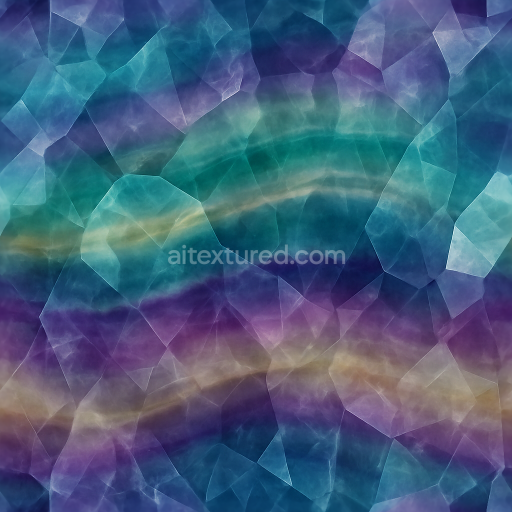
This seamless 3D PBR texture, rendered in ultra-high 8K resolution, replicates the intricate material qualities of iridescent opal, a gemstone known for its vibrant multicolor banded patterns and smooth glossy surface. The base material mimics the natural silica-rich substrate of opal, characterized by a dense yet slightly porous structure that allows internal light diffraction, creating its signature rainbow sheen. The texture’s form reveals layered, banded geometry resembling thin, undulating strata that flow organically, capturing the opal’s geological formation. These bands vary subtly in thickness and color intensity, ranging from translucent milky whites to vivid flashes of blues, greens, and reds, enhanced by finely detailed inclusions and vein-like microfractures that add complexity and realism.
From a material composition standpoint, the texture simulates a polished, vitreous surface finish, reflecting light with a high gloss typical of well-cut gemstones. The smooth surface suggests minimal weathering, preserving the opal’s lustrous clarity and depth. The fused silica matrix is complemented by internal diffraction effects, which are represented through carefully calibrated PBR channels: the BaseColor (Albedo) maps the multicolor banding and subtle translucency, while the Normal map captures the micro-relief of the band edges and surface undulations, ensuring realistic light interaction. The Roughness map is finely tuned to reflect the glossy polished finish, maintaining low values to enhance specular highlights and the characteristic rainbow sheen without appearing overly slick.
The Metallic channel remains largely neutral, as opals are non-metallic gemstones, focusing instead on subsurface scattering and refractive qualities simulated within the shader setup. Ambient Occlusion details emphasize the depth of band transitions and internal veins, adding dimensionality without excessive darkening, while the Height/Displacement map encodes subtle relief in the banded structure, enhancing the tactile feel of the texture when applied with parallax or displacement techniques. This comprehensive channel setup ensures compatibility and optimal visual fidelity across major 3D platforms such as Blender, Unreal Engine, and Unity, supporting physically based rendering workflows.
For practical application, it is recommended to carefully adjust the UV scale to balance detail density with polygon count, especially when using this texture on larger surfaces to maintain the natural appearance of the banded opal layers. Additionally, fine-tuning the Roughness channel can help to simulate varying degrees of polish or wear, depending on whether the opal is intended to appear freshly cut or subtly weathered. Blending the Height and Normal maps can further enhance surface depth, providing a richer tactile sensation that responds dynamically to lighting conditions in real-time rendering environments.
Import the texture maps into Blender with sRGB color space for albedo/base color and Non-Color for normal, roughness, metallic, AO, height, and ORM maps. Connect normal maps through a Normal Map node, then adjust UV scale with a Mapping node so the material repeats naturally on your model.
For the full step-by-step setup, see How to Use Seamless Textures in Blender. Browse related material examples in wood, concrete, and metal.
Yes. This texture is designed as a seamless tileable PBR material, so it can repeat across large surfaces without visible borders.
You can download PNG/WEBP versions and use 1K, 2K, 4K and 8K download options when available on the page.
Yes. The download options and engine-mapped ZIP workflow are designed for Blender, Unreal Engine, Unity Standard, URP and HDRP material pipelines.
Yes. The texture is available under the AITextured free commercial license. Review the license page for redistribution and AI-training restrictions.
Build, preview, and export seamless PBR materials. Generate full map sets from a single image, inspect them in a real-time WebGL viewer, and re-package maps for Unreal, Unity, and Blender—directly in your browser.
AI text-to-texture: type a prompt and get a seamless, tileable base image ready for PBR workflows (great starting point for materials).
Create a full PBR set (Normal, Roughness, AO, Metallic, etc.) from a single image. Seamless and tiling-friendly.
Instant WebGL viewer: inspect materials on a sphere, plane, and cube. Check tiling and lighting in real time.
Re-packages maps per engine: Unreal (BaseColor + ORM), Unity (Mask/MetallicSmoothness), Blender (separate channels).
PNG ↔ JPG ↔ SVG: fast convert, SVG rasterize, embed/trace options, quality & background controls.