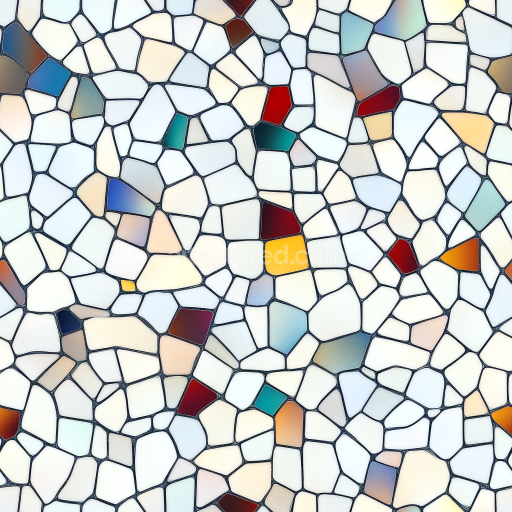
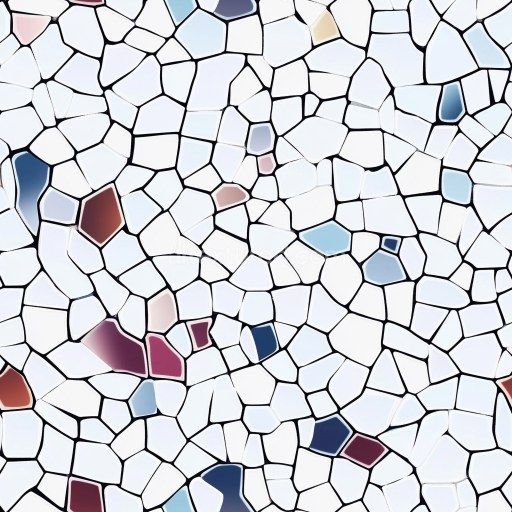
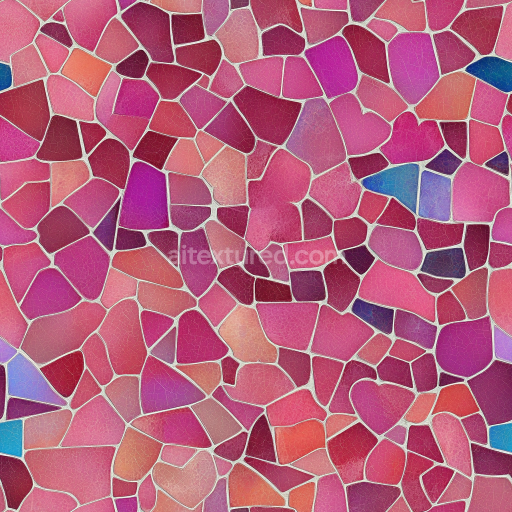
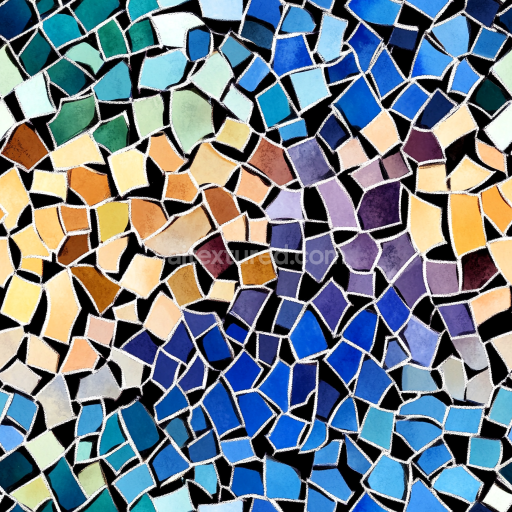
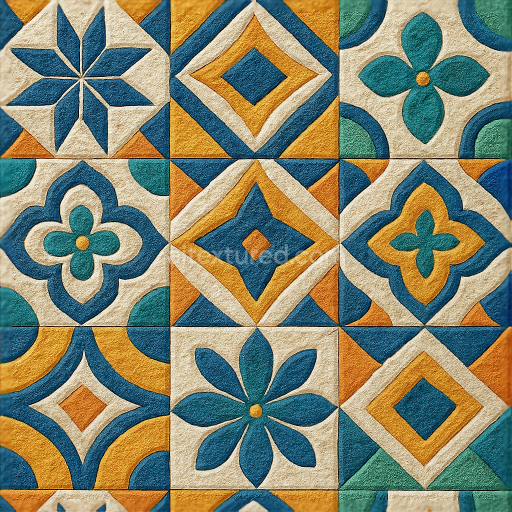
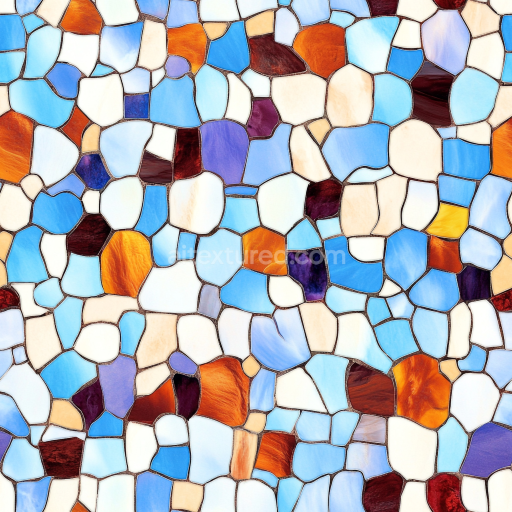
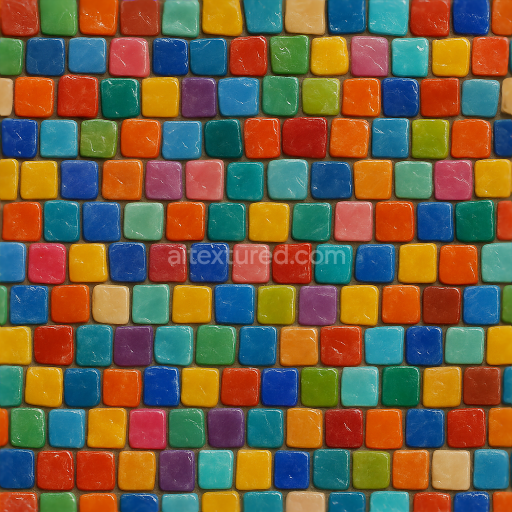
Mosaic PBR Texture Featuring Multicolor Glossy Irregular Chips
Seamless texture (tileable) · PNG, WEBP, PBR ZIP. License: AITextured Free Commercial License (FCL) v1.1. Free personal and commercial use. Raw resale, standalone redistribution, mirroring/scraping, competing asset packs, and AI/ML training are not allowed without written permission. Attribution is not required, but appreciated..

| ID | seamless-3d-texture-pbr-8k-ceramic-tiles-mosaic-with-geometric-shapes-and-glossy-finish |
|---|---|
| Category | Mosaic |
| Formats | PNG, WEBP, PBR ZIP |
| Size | 1k (1024x1024px), 2k (2048x2048px), 4k (4096x4096px), 8k (8192x8192px) |
| Color | sRGB |
| Tileable | Yes |
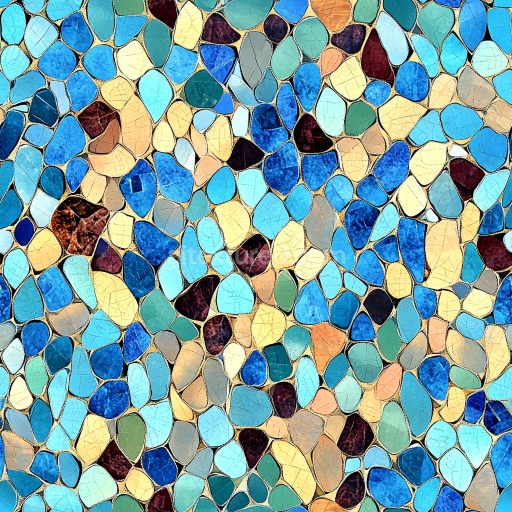
This seamless 3D texture presents a meticulously crafted mosaic composed of high-quality ceramic tiles shaped into precise geometric patterns, such as hexagons and interlocking polygons. The base material consists primarily of vitrified ceramic, known for its durability and smooth surface, laid upon a sturdy substrate that mimics traditional cement or mortar beds. The tiles feature a glossy finish achieved through a polished glaze, which not only provides a reflective surface but also enhances the vibrant coloration. Between the tiles, colored grout with subtle texturing adds depth and realism, simulating the slight irregularities found in real-world installations. This grout layer integrates fine aggregates and pigments, simulating a slightly porous yet firm fill that resists weathering and wear over time.
The texture’s photorealistic quality is achieved by carefully mapping material properties across multiple PBR channels. The BaseColor (Albedo) channel captures the rich, varied hues of the ceramic tiles and the contrasting colored grout, while the Normal map conveys the subtle surface undulations of the tile edges and the textured grout lines, enhancing the three-dimensional feel. Roughness values are finely tuned to reflect the glossy finish of the ceramic glaze versus the matte, slightly rougher grout, creating believable light interactions. The Metallic channel remains minimal or near zero, consistent with ceramic’s non-metallic nature, while Ambient Occlusion is used to emphasize the natural shadowing at tile borders and grout recesses. Height and displacement maps add realistic depth by simulating the slight elevation difference between tile surfaces and grout joints, enriching the tactile perception of the mosaic.
Rendered at an impressive 8K resolution, this texture ensures extraordinary detail and sharpness, making it highly suitable for architectural visualizations, interior renderings, and immersive game environments. Its seamless design allows for flawless tiling across large surfaces without visible repetition, supporting workflows in Blender, Unreal Engine, and Unity with full PBR compatibility. The ceramic tiles’ geometric forms, combined with the colored and textured grout, create a visually engaging pattern that can be customized through shader adjustments to fit various design needs.
For optimal results, it is recommended to adjust the UV scale carefully to maintain the natural proportions of the geometric tiles and grout lines when applied to 3D models. Additionally, fine-tuning the roughness parameter can help balance the reflective quality of the glazed ceramic against the softer matte of the grout, while blending height or parallax maps with normal maps can enhance the perception of depth without adding excessive geometry. This approach ensures both visual fidelity and performance efficiency in real-time applications.
Import the texture maps into Blender with sRGB color space for albedo/base color and Non-Color for normal, roughness, metallic, AO, height, and ORM maps. Connect normal maps through a Normal Map node, then adjust UV scale with a Mapping node so the material repeats naturally on your model.
For the full step-by-step setup, see How to Use Seamless Textures in Blender. Browse related material examples in wood, concrete, and metal.
Yes. This texture is designed as a seamless tileable PBR material, so it can repeat across large surfaces without visible borders.
You can download PNG/WEBP versions and use 1K, 2K, 4K and 8K download options when available on the page.
Yes. The download options and engine-mapped ZIP workflow are designed for Blender, Unreal Engine, Unity Standard, URP and HDRP material pipelines.
Yes. The texture is available under the AITextured free commercial license. Review the license page for redistribution and AI-training restrictions.
Build, preview, and export seamless PBR materials. Generate full map sets from a single image, inspect them in a real-time WebGL viewer, and re-package maps for Unreal, Unity, and Blender—directly in your browser.
AI text-to-texture: type a prompt and get a seamless, tileable base image ready for PBR workflows (great starting point for materials).
Create a full PBR set (Normal, Roughness, AO, Metallic, etc.) from a single image. Seamless and tiling-friendly.
Instant WebGL viewer: inspect materials on a sphere, plane, and cube. Check tiling and lighting in real time.
Re-packages maps per engine: Unreal (BaseColor + ORM), Unity (Mask/MetallicSmoothness), Blender (separate channels).
PNG ↔ JPG ↔ SVG: fast convert, SVG rasterize, embed/trace options, quality & background controls.