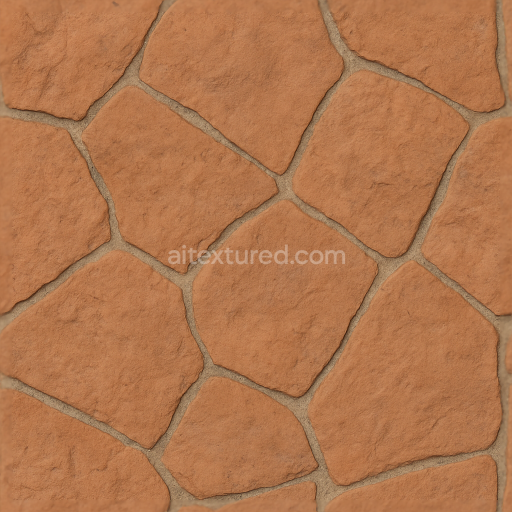
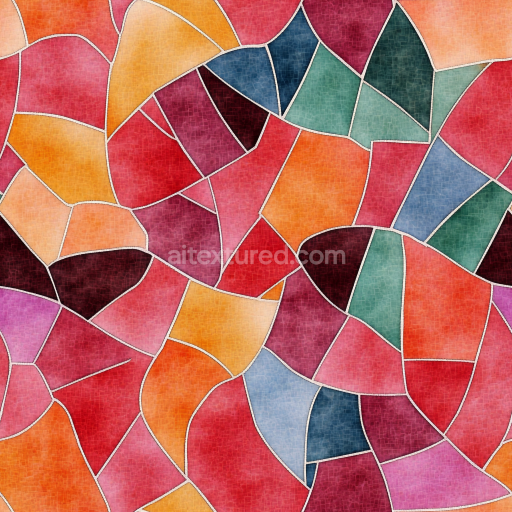
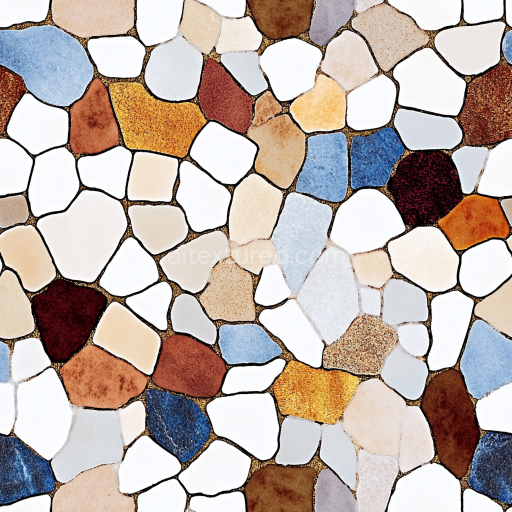
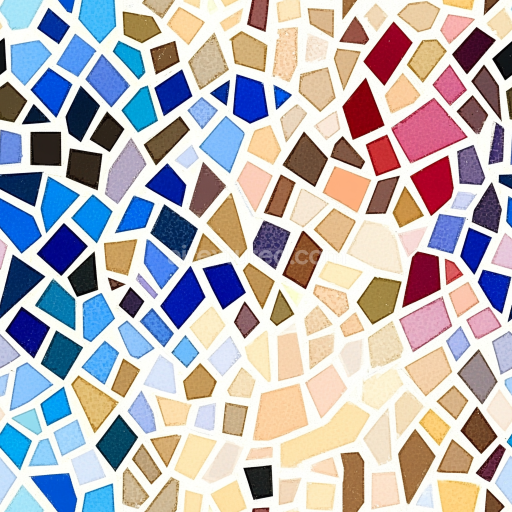
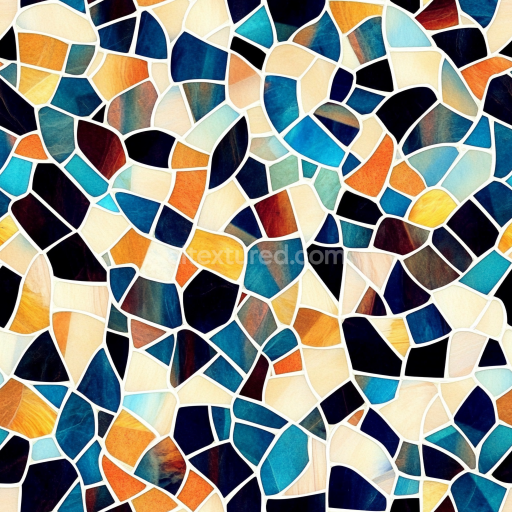
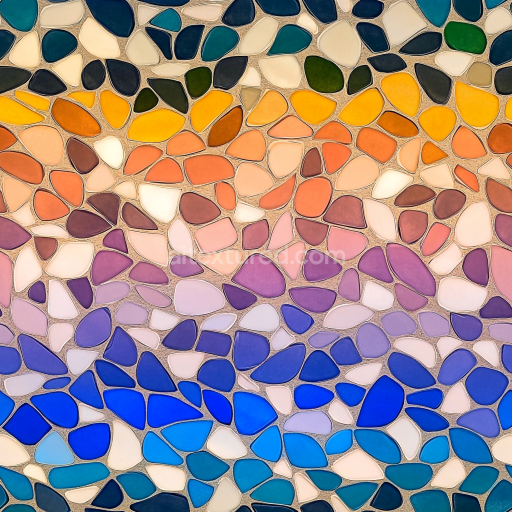
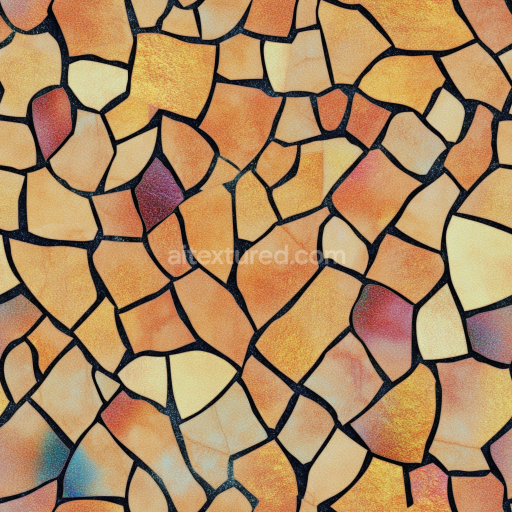
Terracotta Pieces Mosaic With Earth Tones And Rough Texture
Seamless texture (tileable) · PNG, WEBP, PBR ZIP. License: AITextured Free Commercial License (FCL) v1.1. Free personal and commercial use. Raw resale, standalone redistribution, mirroring/scraping, competing asset packs, and AI/ML training are not allowed without written permission. Attribution is not required, but appreciated..

| ID | seamless-3d-texture-pbr-8k-metal-tiles-mosaic-with-octagonal-tiles-and-glossy-finish |
|---|---|
| Category | Mosaic |
| Formats | PNG, WEBP, PBR ZIP |
| Size | 1k (1024x1024px), 2k (2048x2048px), 4k (4096x4096px), 8k (8192x8192px) |
| Color | sRGB |
| Tileable | Yes |
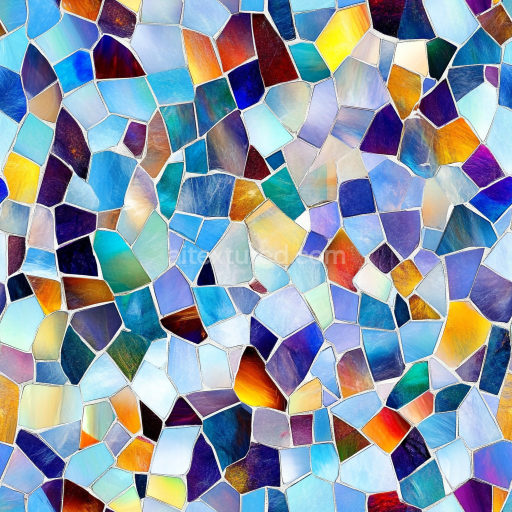
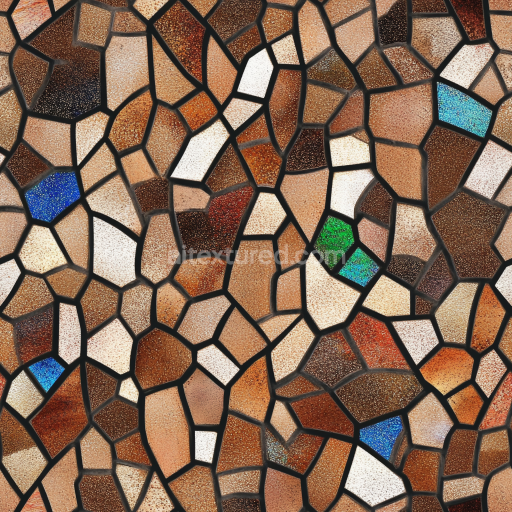
This seamless 3D texture features a meticulously crafted mosaic composed of octagonal metal tiles arranged in a precise geometric pattern. Each tile exhibits a polished metal substrate, likely stainless steel or brushed aluminum, characterized by a smooth, reflective surface that captures ambient lighting with a high-gloss finish. The octagonal shape contributes to a distinctive tessellated layout, creating visual interest through its angular form and regular repetition. Between the tiles, a textured grout layer with subtle color variations introduces depth and complexity, simulating a slightly roughened binding material that contrasts with the sleek metal surfaces.
The composition of the texture suggests a base metal layer with inherent metallic properties, enhanced by a thin, protective coating that maintains the glossy sheen while preventing oxidation or weathering. The grout acts as a synthetic binder, possibly resembling a polymer cement infused with fine aggregates to create a tactile surface that interrupts the tile’s uniformity. The grout’s coloration, mapped through the BaseColor channel, adds richness and realism, while its micro-texture is captured in the Normal and Roughness maps, providing nuanced surface detail and subtle light scattering variations.
In terms of Physically Based Rendering (PBR) attributes, the metal tiles’ BaseColor reflects the natural hue of the metal with slight chromatic shifts due to reflections and lighting conditions. The Metallic channel is set high to represent the metal’s conductivity, whereas the Roughness map is finely tuned to balance the glossy finish without introducing excessive specular highlights that could appear artificial. The Ambient Occlusion map enhances the perception of depth in the grout crevices, while the Height/Displacement map subtly accentuates the tile edges and grout texture, adding realism through simulated surface relief. This texture is provided in an ultra-high 8K resolution, ensuring exceptional detail and clarity even in close-up renders.
Designed for versatile use, this texture seamlessly integrates into 3D environments within Blender, Unreal Engine, and Unity, supporting realistic material creation for architectural visualizations, industrial design, or futuristic settings. When applying this texture, it is advisable to carefully adjust the UV scale to maintain the natural size of the octagonal tiles and avoid stretching. Additionally, fine-tuning the Roughness parameter allows for control over the glossiness level to suit different lighting scenarios, while blending the Height and Normal maps can enhance the perception of depth without compromising performance.
Import the texture maps into Blender with sRGB color space for albedo/base color and Non-Color for normal, roughness, metallic, AO, height, and ORM maps. Connect normal maps through a Normal Map node, then adjust UV scale with a Mapping node so the material repeats naturally on your model.
For the full step-by-step setup, see How to Use Seamless Textures in Blender. Browse related material examples in wood, concrete, and metal.
Yes. This texture is designed as a seamless tileable PBR material, so it can repeat across large surfaces without visible borders.
You can download PNG/WEBP versions and use 1K, 2K, 4K and 8K download options when available on the page.
Yes. The download options and engine-mapped ZIP workflow are designed for Blender, Unreal Engine, Unity Standard, URP and HDRP material pipelines.
Yes. The texture is available under the AITextured free commercial license. Review the license page for redistribution and AI-training restrictions.

Build, preview, and export seamless PBR materials. Generate full map sets from a single image, inspect them in a real-time WebGL viewer, and re-package maps for Unreal, Unity, and Blender—directly in your browser.
AI text-to-texture: type a prompt and get a seamless, tileable base image ready for PBR workflows (great starting point for materials).
Create a full PBR set (Normal, Roughness, AO, Metallic, etc.) from a single image. Seamless and tiling-friendly.
Instant WebGL viewer: inspect materials on a sphere, plane, and cube. Check tiling and lighting in real time.
Re-packages maps per engine: Unreal (BaseColor + ORM), Unity (Mask/MetallicSmoothness), Blender (separate channels).
PNG ↔ JPG ↔ SVG: fast convert, SVG rasterize, embed/trace options, quality & background controls.