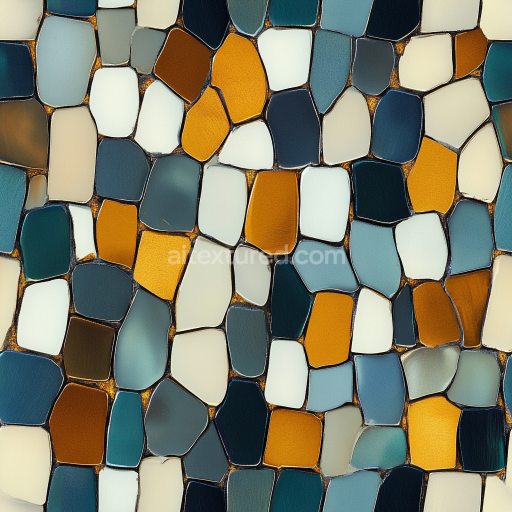
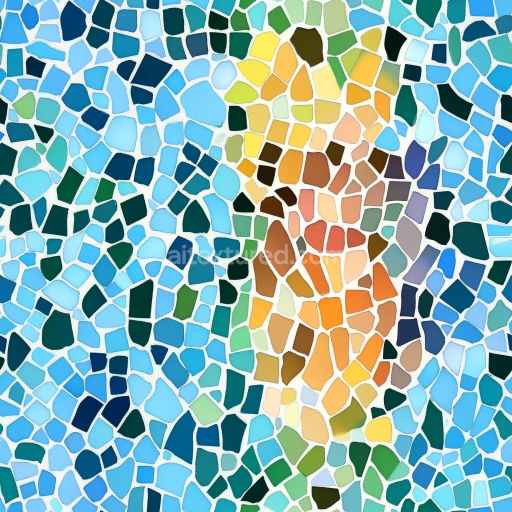
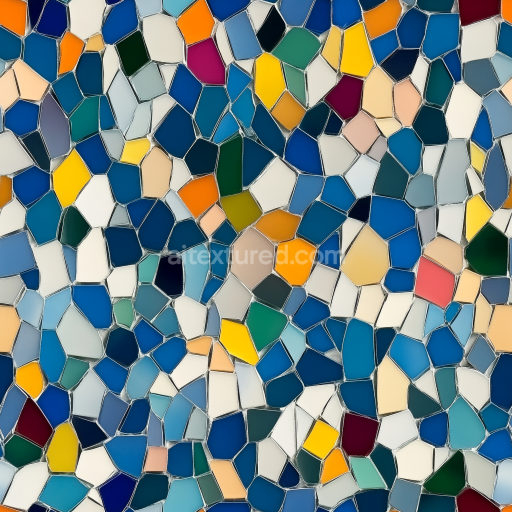
Mosaic PBR Texture Featuring Blue and Mustard Ceramic Chips with Matte Finish
Seamless texture (tileable) · PNG, WEBP, PBR ZIP. License: AITextured Free Commercial License (FCL) v1.1. Free personal and commercial use. Raw resale, standalone redistribution, mirroring/scraping, competing asset packs, and AI/ML training are not allowed without written permission. Attribution is not required, but appreciated..

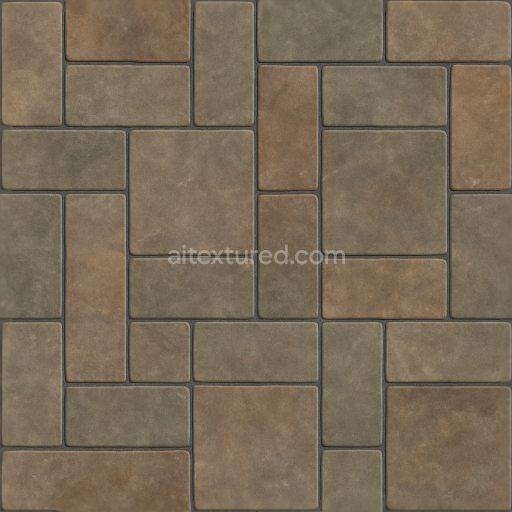
| ID | seamless-3d-texture-pbr-8k-encaustic-tiles-with-pastel-colors-and-smooth-grout-for-classic-ornamental-floors |
|---|---|
| Category | Mosaic |
| Formats | PNG, WEBP, PBR ZIP |
| Size | 1k (1024x1024px), 2k (2048x2048px), 4k (4096x4096px), 8k (8192x8192px) |
| Color | sRGB |
| Tileable | Yes |
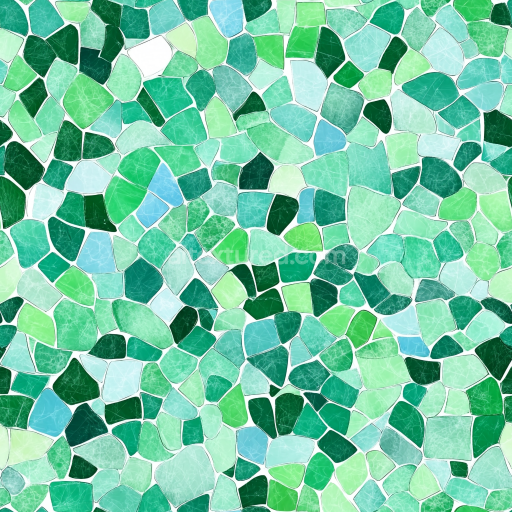
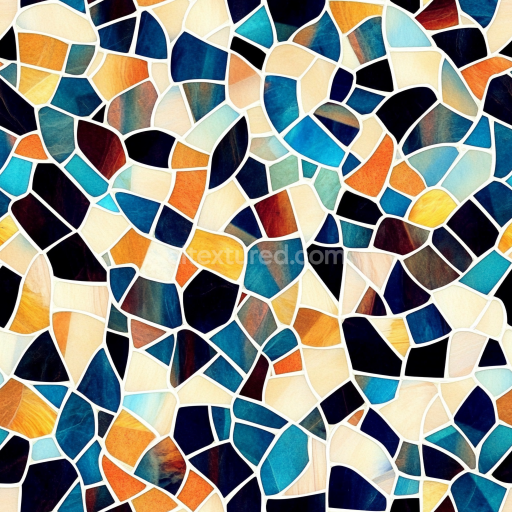
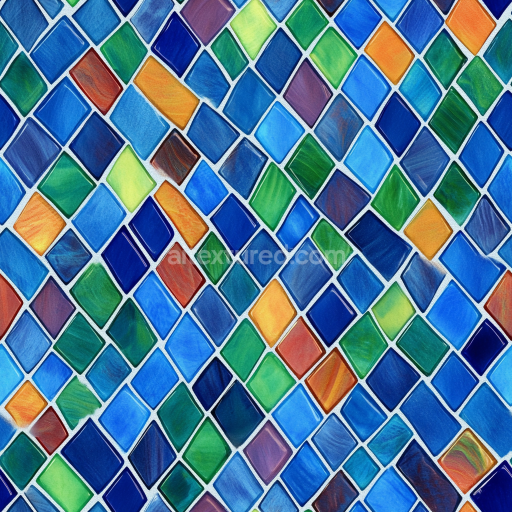
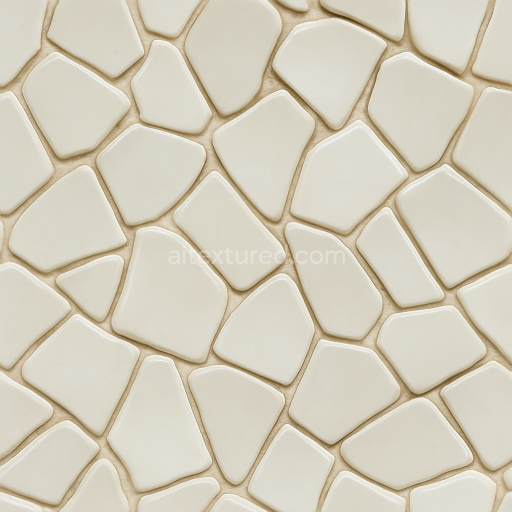
This seamless 3D texture presents a meticulously crafted encaustic tile surface, rendered in an impressive 8K resolution to capture every subtle detail of its classic ornamental design. The tiles are composed of a dense cementitious substrate, traditionally formed by mixing hydraulic lime with fine aggregates such as marble powder and natural mineral pigments. This mixture creates a durable yet slightly porous base that supports the intricate pastel-colored motifs applied on the tile surface. The pastel palette features muted hues—soft blues, gentle pinks, and warm creams—that are embedded into the tile using natural mineral pigments, resulting in a matte, softly weathered finish. This color information is accurately represented in the BaseColor (Albedo) map, ensuring true-to-life color rendition in any rendering engine.
The form of the texture is based on square encaustic tiles arranged in a classic grid pattern, separated by smooth grout lines that are subtly recessed to create depth and separation. The grout material itself is a fine, cement-based filler with a slightly lighter tone and a smooth, almost polished surface finish. This smoothness is reflected in the Roughness map, where the grout exhibits a lower roughness value compared to the tiles’ naturally matte bodies, enhancing the material contrast and realism. The Normal and Height maps convey the gentle relief of the tile edges and the slight undulations found in handcrafted encaustic tiles, emphasizing the subtle embossing of the ornamental patterns and the shallow grout channels. Ambient Occlusion adds depth to the crevices between tiles and within the decorative motifs, enhancing spatial definition without exaggerating shadows.
The texture is designed for physically based rendering (PBR), with no metallic component, so the Metallic map remains consistently black. The Height map allows for fine displacement or parallax effects, which can be especially useful to simulate the tactile quality of the tile surface in real-time engines or offline renders. The seamless aspect of this texture ensures that the elaborate tile patterns repeat flawlessly over large surfaces without visible seams or pattern breaks, making it ideal for expansive floors or wall coverings in vintage-inspired interiors, historic building visualizations, or ornamental architectural elements.
Optimized for use in Blender, Unreal Engine, and Unity, this 8K PBR texture supports high-fidelity rendering workflows and real-time applications alike. For practical implementation, it is advisable to carefully adjust the UV scale so the tile size corresponds to real-world measurements, preserving the texture’s intricate detail. Additionally, fine-tuning the roughness values can help balance reflections under different lighting conditions, while subtle blending of the Height and Normal maps can enhance the sense of depth without introducing harsh edges. This attention to detail ensures that the texture delivers both visual accuracy and performance efficiency across diverse 3D projects.
Import the texture maps into Blender with sRGB color space for albedo/base color and Non-Color for normal, roughness, metallic, AO, height, and ORM maps. Connect normal maps through a Normal Map node, then adjust UV scale with a Mapping node so the material repeats naturally on your model.
For the full step-by-step setup, see How to Use Seamless Textures in Blender. Browse related material examples in wood, concrete, and metal.
Yes. This texture is designed as a seamless tileable PBR material, so it can repeat across large surfaces without visible borders.
You can download PNG/WEBP versions and use 1K, 2K, 4K and 8K download options when available on the page.
Yes. The download options and engine-mapped ZIP workflow are designed for Blender, Unreal Engine, Unity Standard, URP and HDRP material pipelines.
Yes. The texture is available under the AITextured free commercial license. Review the license page for redistribution and AI-training restrictions.

Build, preview, and export seamless PBR materials. Generate full map sets from a single image, inspect them in a real-time WebGL viewer, and re-package maps for Unreal, Unity, and Blender—directly in your browser.
AI text-to-texture: type a prompt and get a seamless, tileable base image ready for PBR workflows (great starting point for materials).
Create a full PBR set (Normal, Roughness, AO, Metallic, etc.) from a single image. Seamless and tiling-friendly.
Instant WebGL viewer: inspect materials on a sphere, plane, and cube. Check tiling and lighting in real time.
Re-packages maps per engine: Unreal (BaseColor + ORM), Unity (Mask/MetallicSmoothness), Blender (separate channels).
PNG ↔ JPG ↔ SVG: fast convert, SVG rasterize, embed/trace options, quality & background controls.