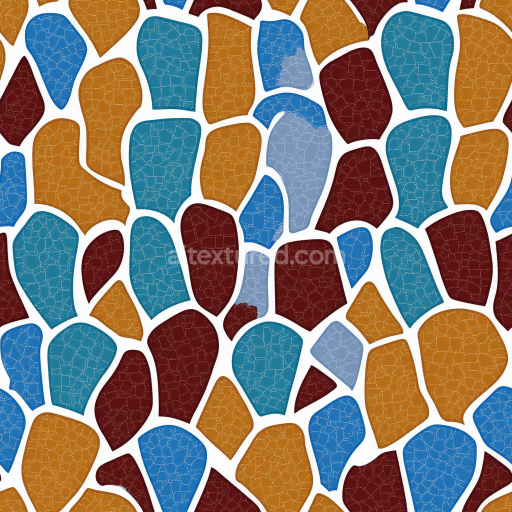
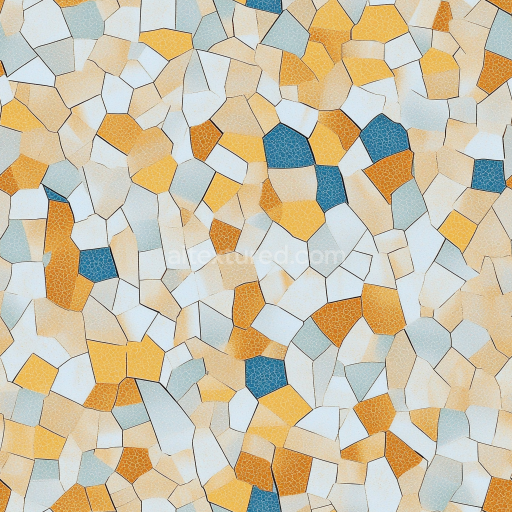
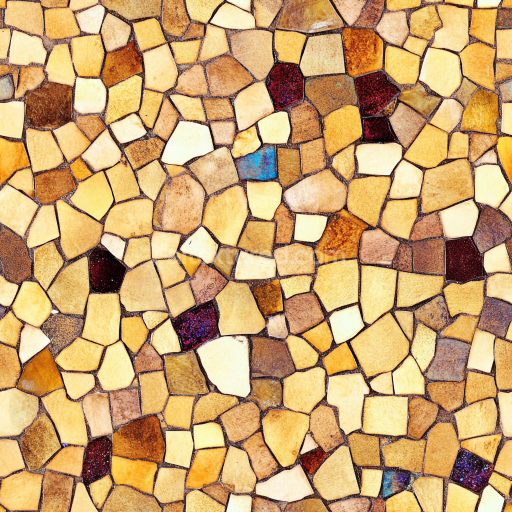
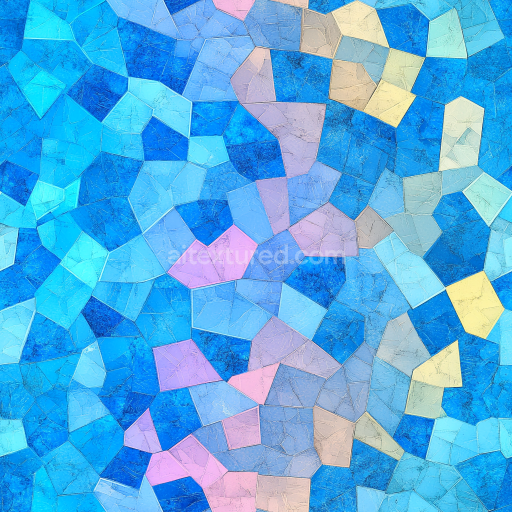
mosaic PBR texture with colorful cracked stone chip pattern
Seamless texture (tileable) · PNG, WEBP, PBR ZIP. License: AITextured Free Commercial License (FCL) v1.1. Free personal and commercial use. Raw resale, standalone redistribution, mirroring/scraping, competing asset packs, and AI/ML training are not allowed without written permission. Attribution is not required, but appreciated..

| ID | seamless-3d-texture-pbr-8k-encaustic-tiles-mosaic-with-colorful-tiles-and-intricate-floral-motifs |
|---|---|
| Category | Mosaic |
| Formats | PNG, WEBP, PBR ZIP |
| Size | 1k (1024x1024px), 2k (2048x2048px), 4k (4096x4096px), 8k (8192x8192px) |
| Color | sRGB |
| Tileable | Yes |
This seamless 3D texture features a meticulously crafted mosaic of encaustic tiles, distinguished by colorful geometric forms and intricate floral motifs. The base material of these tiles is traditionally a mixture of fine cement and natural pigments, pressed and cured to create a dense, durable substrate. The surface exhibits a matte finish with subtle porosity typical of encaustic cement tiles, allowing for a slightly weathered and tactile appearance. The floral patterns are formed through carefully applied mineral-based pigments, embedded within the tile surface rather than merely painted on, ensuring vibrant and lasting coloration. The grout lines between tiles show realistic aging and slight unevenness, enhancing the authenticity of the mosaic’s overall form and texture.
Geometrically, the texture is composed of square tiles arranged in a tightly interlocking grid, each tile measuring uniformly to enable seamless repetition. The floral motifs are intricately detailed, combining curved petal forms and delicate leaf shapes that overlap with the tile edges, creating a continuous ornamental flow across the surface. The physical depth of the floral decorations is subtly raised, contributing to the textured relief and allowing detailed light interaction. This is effectively captured through the PBR channels: the BaseColor map delivers the vivid, multicolored palette; the Normal map encodes the fine height variations and embossed floral patterns; Roughness channels represent the matte cement finish with slight variations for grout and tile wear; Ambient Occlusion enhances the shadowing within grout crevices; Height/Displacement maps provide micro-relief for realistic parallax effects, while the Metallic map remains near zero, consistent with non-metallic cement materials.
Rendered in 8K resolution, this texture ensures exceptional detail and sharpness, ideal for close-up views in high-end 3D environments. Its PBR setup is optimized for use in industry-standard platforms such as Blender, Unreal Engine, and Unity, maintaining physical accuracy and efficient real-time rendering. The high-resolution maps allow artists to scale and tile the mosaic without loss of detail or visible seams, preserving the intricate floral elements and subtle surface imperfections across large surfaces.
For practical application, it is recommended to carefully adjust the UV scale to maintain the natural size of encaustic tiles, avoiding excessive repetition that could undermine realism. Additionally, fine-tuning the roughness map can adapt the surface finish from matte to slightly satin, depending on environmental lighting conditions. When incorporating height and normal maps together, blending them with subtle parallax occlusion can enhance the perception of depth in the floral motifs without excessive computational cost, perfect for architectural visualizations or detailed game environments.
Import the texture maps into Blender with sRGB color space for albedo/base color and Non-Color for normal, roughness, metallic, AO, height, and ORM maps. Connect normal maps through a Normal Map node, then adjust UV scale with a Mapping node so the material repeats naturally on your model.
For the full step-by-step setup, see How to Use Seamless Textures in Blender. Browse related material examples in wood, concrete, and metal.
Yes. This texture is designed as a seamless tileable PBR material, so it can repeat across large surfaces without visible borders.
You can download PNG/WEBP versions and use 1K, 2K, 4K and 8K download options when available on the page.
Yes. The download options and engine-mapped ZIP workflow are designed for Blender, Unreal Engine, Unity Standard, URP and HDRP material pipelines.
Yes. The texture is available under the AITextured free commercial license. Review the license page for redistribution and AI-training restrictions.

Build, preview, and export seamless PBR materials. Generate full map sets from a single image, inspect them in a real-time WebGL viewer, and re-package maps for Unreal, Unity, and Blender—directly in your browser.
AI text-to-texture: type a prompt and get a seamless, tileable base image ready for PBR workflows (great starting point for materials).
Create a full PBR set (Normal, Roughness, AO, Metallic, etc.) from a single image. Seamless and tiling-friendly.
Instant WebGL viewer: inspect materials on a sphere, plane, and cube. Check tiling and lighting in real time.
Re-packages maps per engine: Unreal (BaseColor + ORM), Unity (Mask/MetallicSmoothness), Blender (separate channels).
PNG ↔ JPG ↔ SVG: fast convert, SVG rasterize, embed/trace options, quality & background controls.