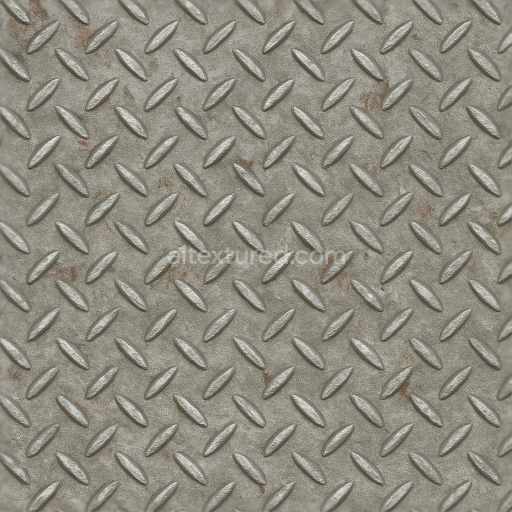
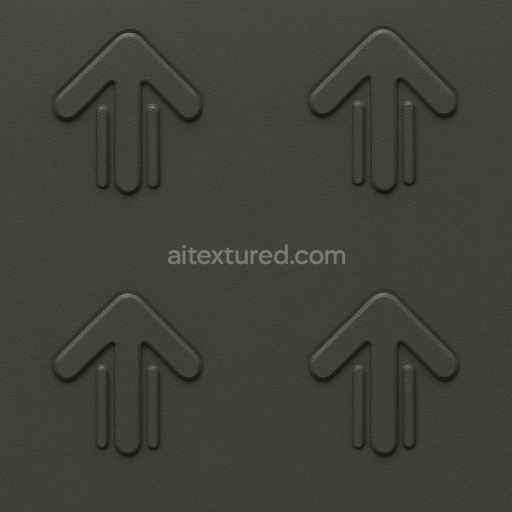
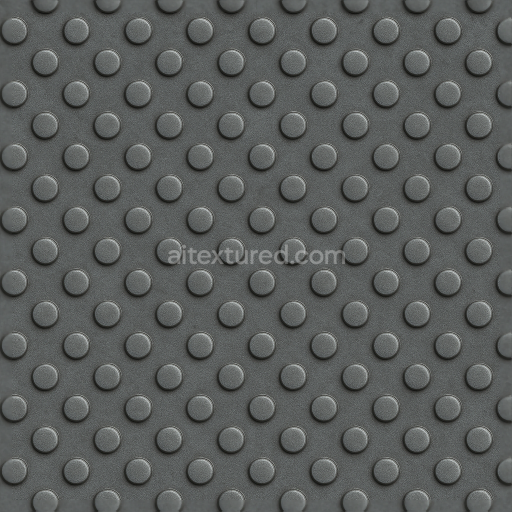
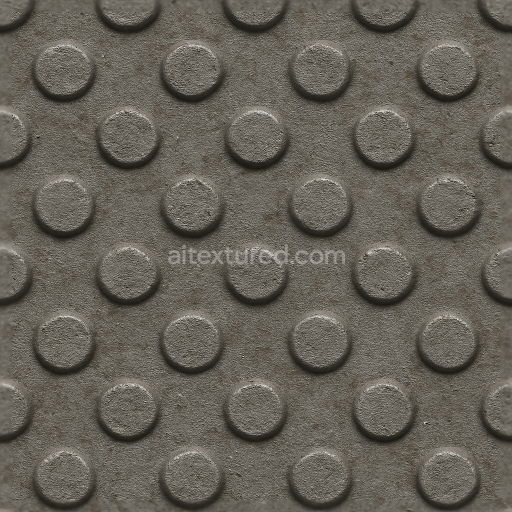
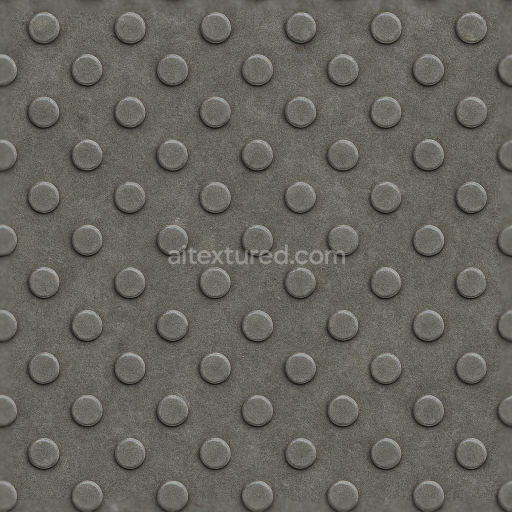
Tactile Plate With Raised Discs And Anti Fatigue Steel Surface
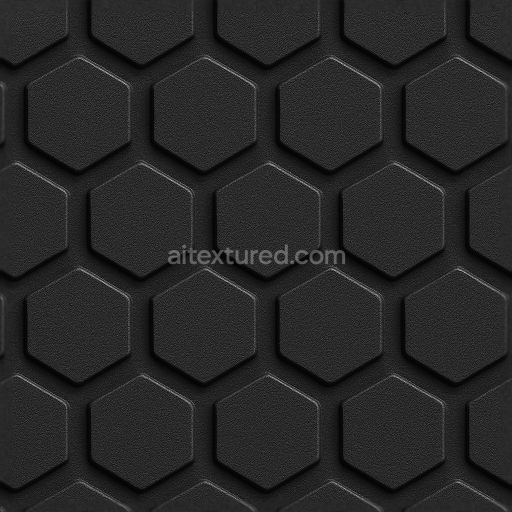
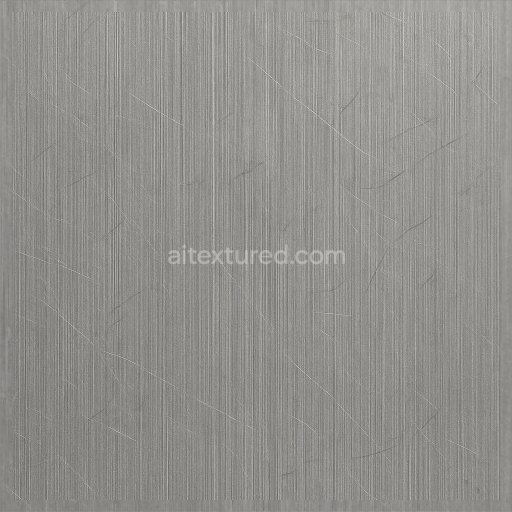
Seamless texture (tileable) · PNG, WEBP, PBR ZIP. License: AITextured Free Commercial License (FCL) v1.1. Free personal and commercial use. Raw resale, standalone redistribution, mirroring/scraping, competing asset packs, and AI/ML training are not allowed without written permission. Attribution is not required, but appreciated..

| ID | seamless-3d-texture-pbr-8k-tactile-plate-with-directional-bumps-and-matte-surface-in-industrial-gray |
|---|---|
| Category | Tactile Plate |
| Formats | PNG, WEBP, PBR ZIP |
| Size | 1k (1024x1024px), 2k (2048x2048px), 4k (4096x4096px), 8k (8192x8192px) |
| Color | sRGB |
| Tileable | Yes |
This industrial gray tactile plate showcases a seamless 3D texture rendered at an impressive 8K resolution designed specifically for PBR workflows. The base substrate simulates a durable polymer composite with embedded mineral aggregates that create a robust abrasion-resistant surface. Directional bumps are precisely oriented to enhance tactile feedback while maintaining a refined matte surface finish achieved through micro-etched roughness and subtle pigment layering. The composition includes specialized binders and adhesives that replicate a weather-resistant anti-skid coating essential for public safety applications in urban environments such as transportation hubs and station platforms.
In physically based rendering channels the BaseColor (Albedo) captures the muted industrial gray tone with carefully blended oxide pigments to simulate a realistic non-reflective finish. The Normal map encodes the fine directional bumps and subtle surface imperfections adding depth and tactile realism. The Roughness map defines the matte non-glossy texture that prevents glare under various lighting conditions. Metallic values are kept minimal to emphasize the polymeric nature of the material while Ambient Occlusion enhances shadowing around the bumps improving visual contrast. Height/Displacement maps provide accurate surface elevation for parallax effects ensuring the plate responds authentically to dynamic lighting and camera angles.
This texture is fully optimized and Unreal Engine Blender and Unity ready making it ideal for architectural visualization urban planning and safety-oriented design projects. For best results it is recommended to adjust the UV scale to maintain consistent bump spacing relative to the environment and fine-tune the roughness parameters to balance wear simulation with anti-skid performance. This tactile plate ensures long-lasting durability and functional compliance with modern paving and accessibility standards while delivering a clean industrial aesthetic that integrates seamlessly into contemporary public spaces.
Import the texture maps into Blender with sRGB color space for albedo/base color and Non-Color for normal, roughness, metallic, AO, height, and ORM maps. Connect normal maps through a Normal Map node, then adjust UV scale with a Mapping node so the material repeats naturally on your model.
For the full step-by-step setup, see How to Use Seamless Textures in Blender. Browse related material examples in wood, concrete, and metal.
Yes. This texture is designed as a seamless tileable PBR material, so it can repeat across large surfaces without visible borders.
You can download PNG/WEBP versions and use 1K, 2K, 4K and 8K download options when available on the page.
Yes. The download options and engine-mapped ZIP workflow are designed for Blender, Unreal Engine, Unity Standard, URP and HDRP material pipelines.
Yes. The texture is available under the AITextured free commercial license. Review the license page for redistribution and AI-training restrictions.


Build, preview, and export seamless PBR materials. Generate full map sets from a single image, inspect them in a real-time WebGL viewer, and re-package maps for Unreal, Unity, and Blender—directly in your browser.
AI text-to-texture: type a prompt and get a seamless, tileable base image ready for PBR workflows (great starting point for materials).
Create a full PBR set (Normal, Roughness, AO, Metallic, etc.) from a single image. Seamless and tiling-friendly.
Instant WebGL viewer: inspect materials on a sphere, plane, and cube. Check tiling and lighting in real time.
Re-packages maps per engine: Unreal (BaseColor + ORM), Unity (Mask/MetallicSmoothness), Blender (separate channels).
PNG ↔ JPG ↔ SVG: fast convert, SVG rasterize, embed/trace options, quality & background controls.