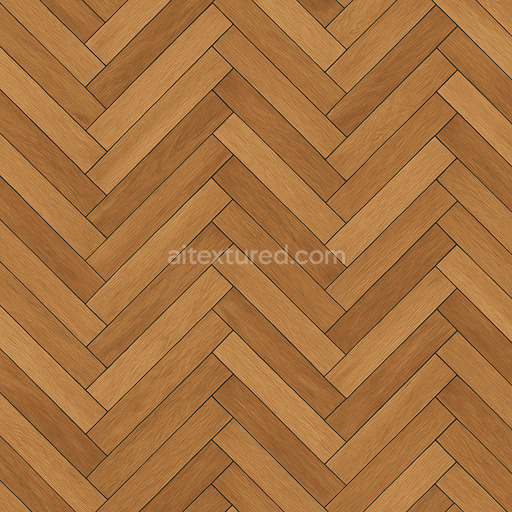
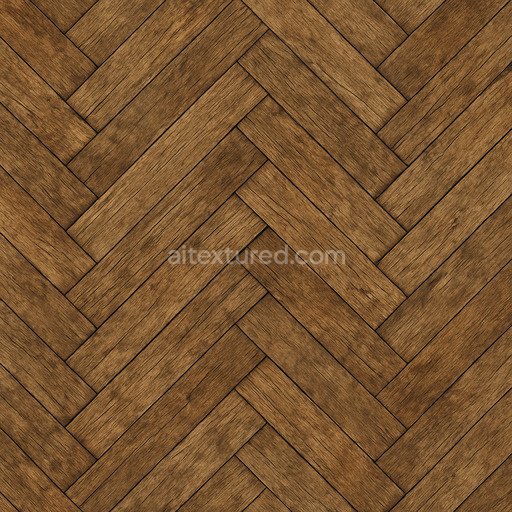
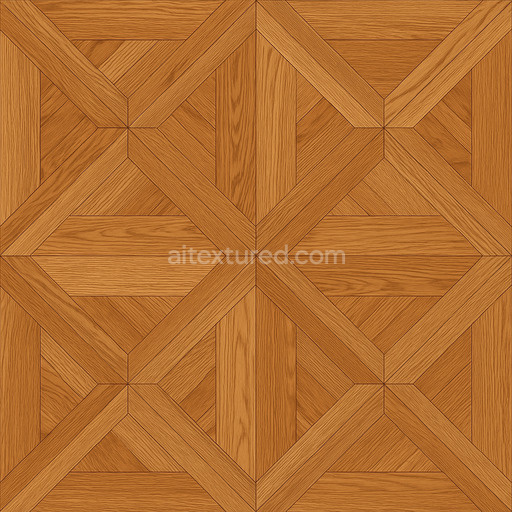
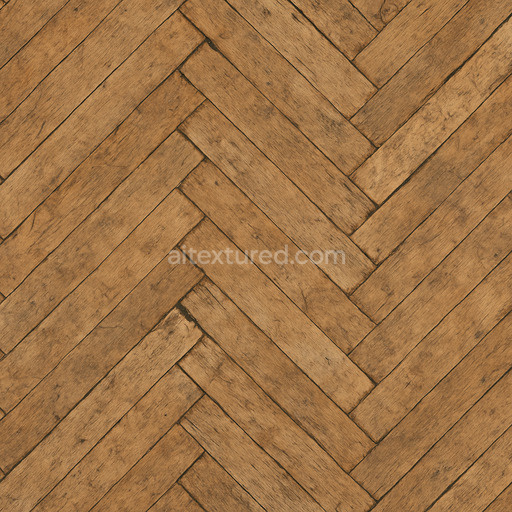
Decorative Herringbone Parquet Seamless Texture
Seamless texture (tileable) · PNG, WEBP, PBR ZIP. License: AITextured Free Commercial License (FCL) v1.1. Free personal and commercial use. Raw resale, standalone redistribution, mirroring/scraping, competing asset packs, and AI/ML training are not allowed without written permission. Attribution is not required, but appreciated..

| ID | aged-herringbone-parquet-texture-seamless |
|---|---|
| Category | Parquet |
| Formats | PNG, WEBP, PBR ZIP |
| Size | 1k (1024x1024px), 2k (2048x2048px), 4k (4096x4096px), 8k (8192x8192px) |
| Color | sRGB |
| Tileable | Yes |
This aged herringbone parquet texture seamless high resolution up to 8K represents a meticulously crafted digital material designed to replicate the authentic characteristics of traditional parquet flooring. The base substrate is a dense organic hardwood fiber defined by fine grain orientation and subtle porosity that naturally develops over years of use. This texture captures the interlocking arrangement of aged wooden planks in a classic herringbone pattern showcasing intricate grain details and natural weathering effects such as mild surface wear faded varnish and gentle micro-scratches. The wood’s warm muted earth tones are enriched by carefully rendered natural pigments and oxide layers contributing to the timeworn appearance. Although adhesive layers between planks remain unseen the seamless tiling ensures consistent joint spacing and alignment reinforcing the flooring’s realistic assembly without visible breaks or distortions.
From a materials and composition perspective this tileable aged herringbone parquet texture seamless high resolution up to 8K demonstrates a gently brushed finish with mild surface imperfections that lend tactile depth and authenticity. The texture’s PBR channels are thoughtfully optimized to convey these physical properties: the BaseColor/Albedo map reveals the reddish-brown hues and subtle discolorations characteristic of aged hardwood while the Normal map emphasizes the fine relief of wood grain and the beveled edges of the herringbone pattern adding dimensionality without overstating surface bumps. The Roughness map balances semi-matte reflections typical of worn wood—softly diffusing light without any metallic shine confirmed by a flat Metallic channel. Ambient Occlusion enhances the depth of crevices between planks and the Height/Displacement map introduces gentle surface undulations that respond naturally to lighting and camera angles enhancing realism in 3D preview scenarios.
Optimized for high-fidelity workflows this seamless aged herringbone parquet texture seamless high resolution up to 8K is fully compatible with industry-standard platforms like Blender Unreal Engine and Unity. Its ultra-high resolution ensures that even close-up shots retain crisp detail preserving the nuanced aging effects and organic complexity of the wood fibers. To maximize realism it is advisable to fine-tune roughness and normal map intensities based on your scene’s lighting setup allowing the texture to interact convincingly with environmental light while maintaining its grounded natural finish. Adjusting the UV scale can also effectively manage pattern repetition on various surface sizes ensuring seamless integration within architectural visualizations game environments or digital set dressings that require authentic parquet textures with high-resolution detail and seamless tiling.
Import the texture maps into Blender with sRGB color space for albedo/base color and Non-Color for normal, roughness, metallic, AO, height, and ORM maps. Connect normal maps through a Normal Map node, then adjust UV scale with a Mapping node so the material repeats naturally on your model.
For the full step-by-step setup, see How to Use Seamless Textures in Blender. Browse related material examples in wood, concrete, and metal.
Yes. This texture is designed as a seamless tileable PBR material, so it can repeat across large surfaces without visible borders.
You can download PNG/WEBP versions and use 1K, 2K, 4K and 8K download options when available on the page.
Yes. The download options and engine-mapped ZIP workflow are designed for Blender, Unreal Engine, Unity Standard, URP and HDRP material pipelines.
Yes. The texture is available under the AITextured free commercial license. Review the license page for redistribution and AI-training restrictions.
Generate, preview, and export seamless PBR materials for Blender, Unity, and Unreal Engine—directly in your browser.
AI text-to-texture: type a prompt and get a seamless, tileable base image ready for PBR workflows (great starting point for materials).
Create a full PBR set (Normal, Roughness, AO, Metallic, etc.) from a single image. Seamless and tiling-friendly.
Instant WebGL viewer: inspect materials on a sphere, plane, and cube. Check tiling and lighting in real time.
Re-packages maps per engine: Unreal (BaseColor + ORM), Unity (Mask/MetallicSmoothness), Blender (separate channels).
PNG ↔ JPG ↔ SVG: fast convert, SVG rasterize, embed/trace options, quality & background controls.