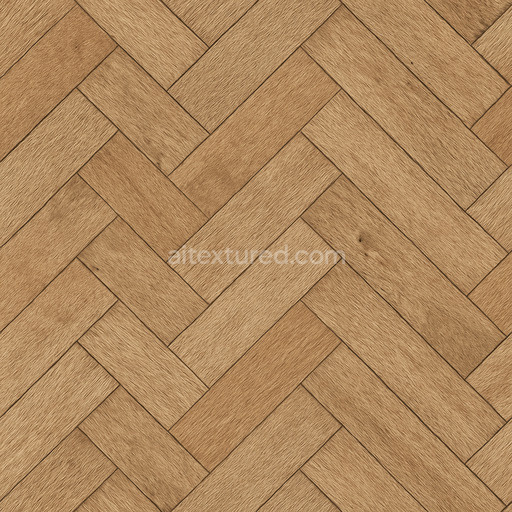
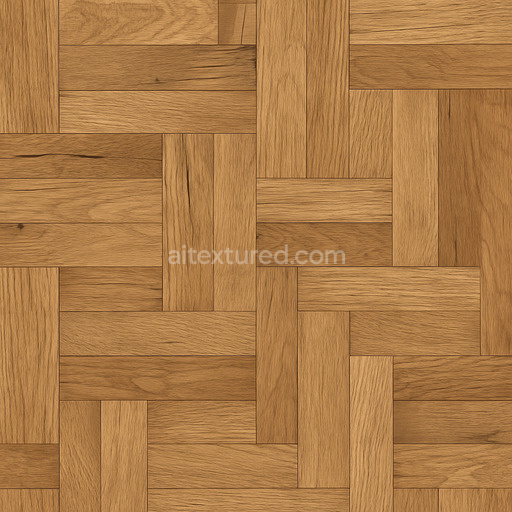
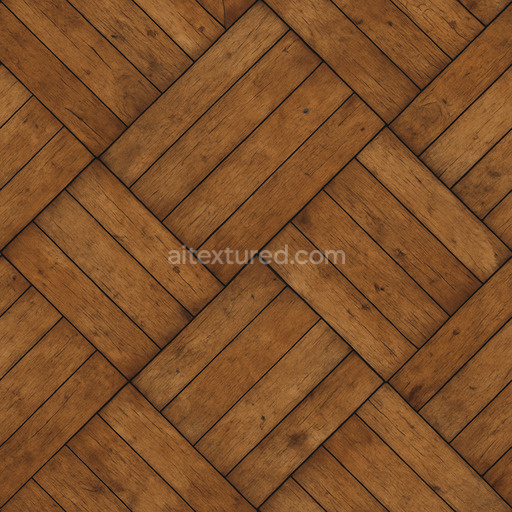
Rough Maple Parquet Seamless Texture
Seamless texture (tileable) · PNG, WEBP, PBR ZIP. License: AITextured Free Commercial License (FCL) v1.1. Free personal and commercial use. Raw resale, standalone redistribution, mirroring/scraping, competing asset packs, and AI/ML training are not allowed without written permission. Attribution is not required, but appreciated..

| ID | smooth-herringbone-parquet-texture-seamless |
|---|---|
| Category | Parquet |
| Formats | PNG, WEBP, PBR ZIP |
| Size | 1k (1024x1024px), 2k (2048x2048px), 4k (4096x4096px), 8k (8192x8192px) |
| Color | sRGB |
| Tileable | Yes |
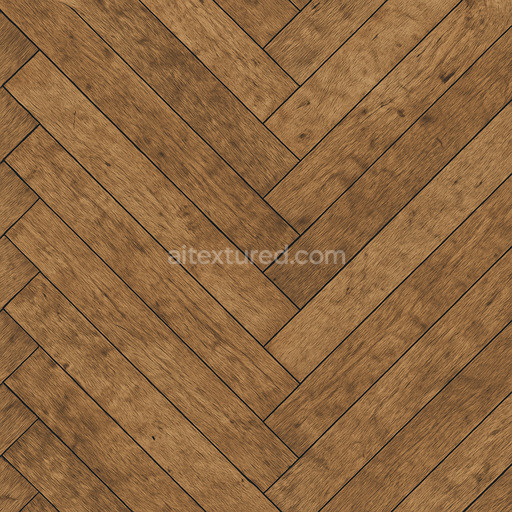
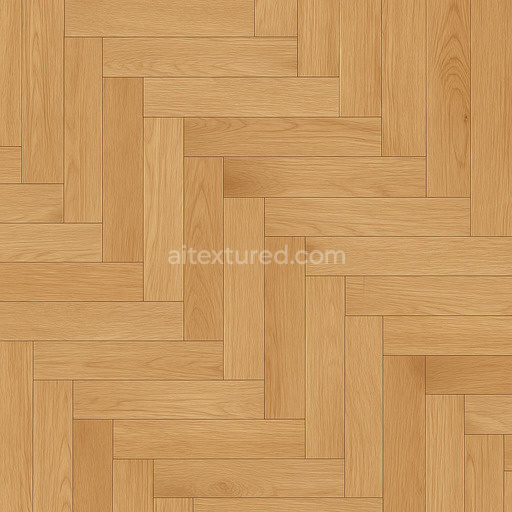
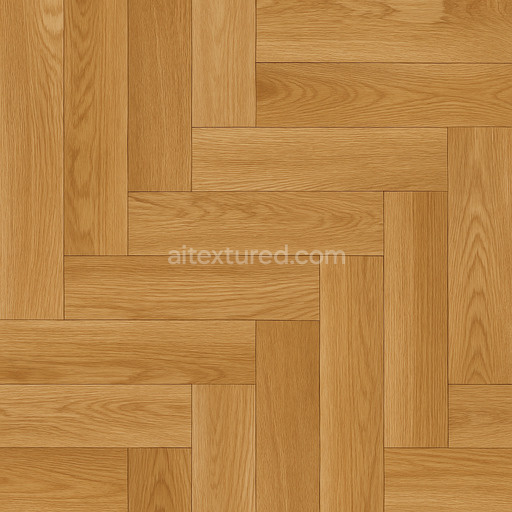
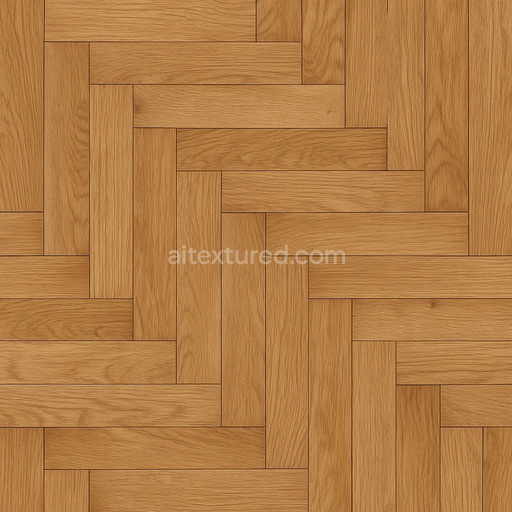
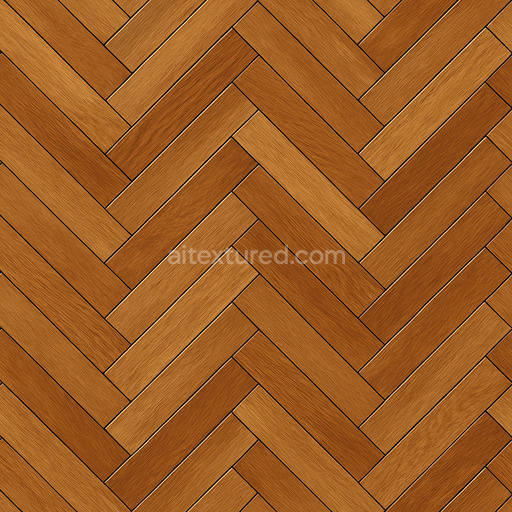
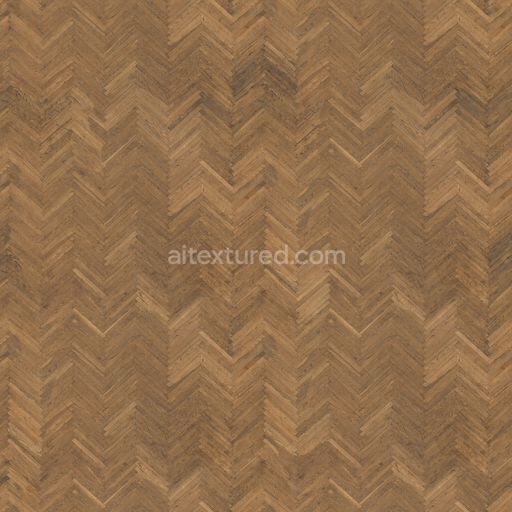
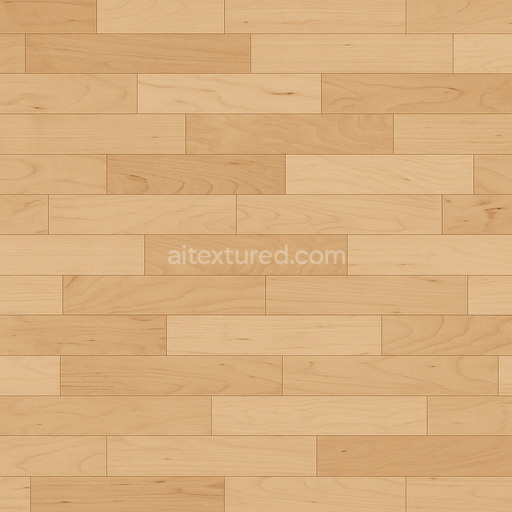
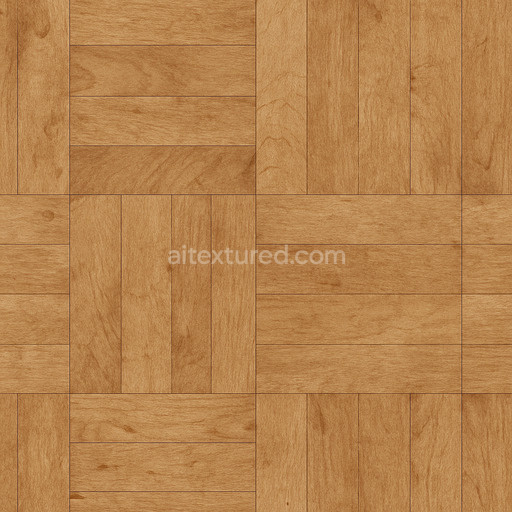
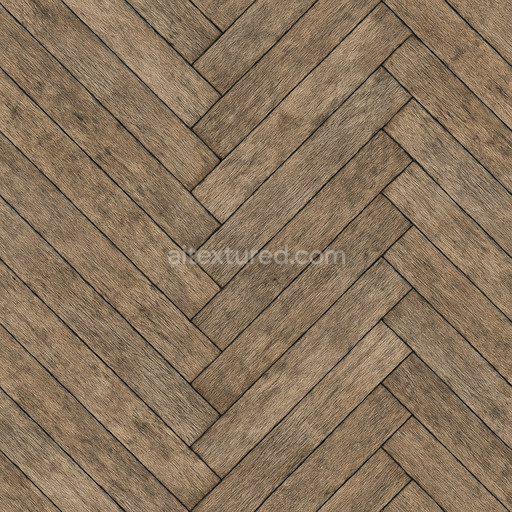
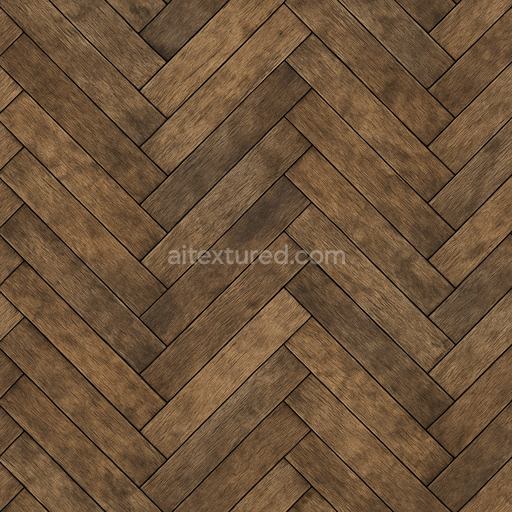
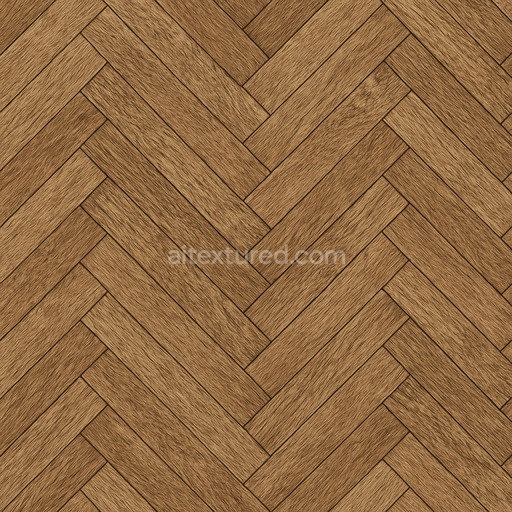
The smooth herringbone parquet texture seamless high resolution up to 8K is a finely detailed digital material that authentically captures the intricate beauty and structural complexity of traditional wooden parquet flooring. This texture features a classic herringbone design composed of slender wooden planks meticulously arranged in a smooth interlocking zigzag pattern. The base substrate is natural hardwood with a carefully replicated fine grain orientation that highlights subtle wood fibers and natural porosity typical of premium parquet floors. The surface finish is rendered with a polished satin sheen designed to realistically simulate how light softly reflects off a well-maintained parquet surface enhancing the wood’s warmth and depth without excessive gloss or artificial shine. Natural pigments and wood tones are skillfully blended to convey warm browns and gentle highlights suggesting subtle aging and minimal wear that preserves an authentic organic appearance. Adhesive layers and grain boundaries are delicately implied through fine textural details contributing to a cohesive and believable wooden surface without distracting artifacts or unnatural separations.
Optimized for physically based rendering (PBR) workflows this tileable smooth herringbone parquet texture seamless high resolution up to 8K enables highly realistic visualization across 3D platforms such as Blender Unreal Engine and Unity. The BaseColor (Albedo) channel delivers rich consistent wood hues with nuanced pigment variations that avoid flatness while the Normal map accurately conveys the grain’s fine ridges and plank separations adding tactile depth and dimensionality. Roughness values are balanced to reflect the satin finish striking an ideal harmony between matte and glossy ensuring a natural polished look. The Metallic channel is minimal as expected for natural wood whereas the Ambient Occlusion channel enhances subtle shadows in crevices and between planks accentuating the texture’s realism. Height and displacement maps provide gentle surface undulations that support realistic parallax effects in 3D environments further enhancing immersion. Thanks to its seamless tileability and ultra-high resolution up to 8K this parquet texture maintains sharp detail and clarity even on expansive surfaces making it suitable for architectural visualization game environments and interior design projects requiring precision and visual fidelity.
For best results it is recommended to carefully adjust the UV scale to match actual plank dimensions ensuring accurate proportion and spatial realism within your 3D scenes. Additionally fine-tuning roughness values can help customize the finish from a soft satin to a more polished surface adapting to diverse lighting conditions and stylistic needs. Incorporating a subtle ambient occlusion pass alongside a light normal map can further enhance surface breakup and visual interest without oversharpening textures. The seamless smooth herringbone parquet texture high resolution up to 8K also offers a detailed 3D preview that faithfully represents its PBR channels and realistic wood parquet appearance providing users with confidence in its integration and performance across multiple rendering engines.
The seamless smooth herringbone parquet texture in high resolution up to 8K offers a generated photorealistic parquet texture with a consistent smooth finish and detailed grain suitable for advanced PBR material applications.
Import the texture maps into Blender with sRGB color space for albedo/base color and Non-Color for normal, roughness, metallic, AO, height, and ORM maps. Connect normal maps through a Normal Map node, then adjust UV scale with a Mapping node so the material repeats naturally on your model.
For the full step-by-step setup, see How to Use Seamless Textures in Blender. Browse related material examples in wood, concrete, and metal.
Yes. This texture is designed as a seamless tileable PBR material, so it can repeat across large surfaces without visible borders.
You can download PNG/WEBP versions and use 1K, 2K, 4K and 8K download options when available on the page.
Yes. The download options and engine-mapped ZIP workflow are designed for Blender, Unreal Engine, Unity Standard, URP and HDRP material pipelines.
Yes. The texture is available under the AITextured free commercial license. Review the license page for redistribution and AI-training restrictions.

Generate, preview, and export seamless PBR materials for Blender, Unity, and Unreal Engine—directly in your browser.
AI text-to-texture: type a prompt and get a seamless, tileable base image ready for PBR workflows (great starting point for materials).
Create a full PBR set (Normal, Roughness, AO, Metallic, etc.) from a single image. Seamless and tiling-friendly.
Instant WebGL viewer: inspect materials on a sphere, plane, and cube. Check tiling and lighting in real time.
Re-packages maps per engine: Unreal (BaseColor + ORM), Unity (Mask/MetallicSmoothness), Blender (separate channels).
PNG ↔ JPG ↔ SVG: fast convert, SVG rasterize, embed/trace options, quality & background controls.