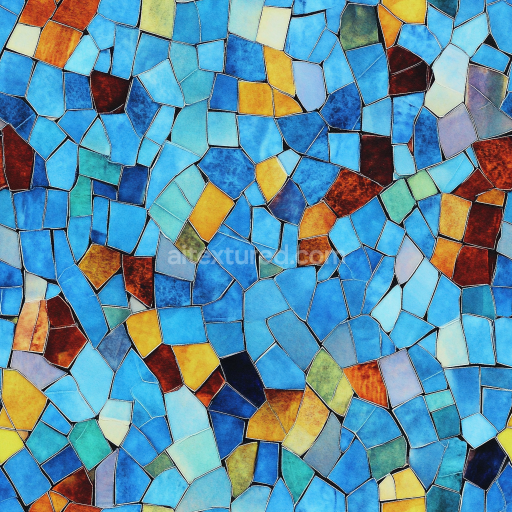
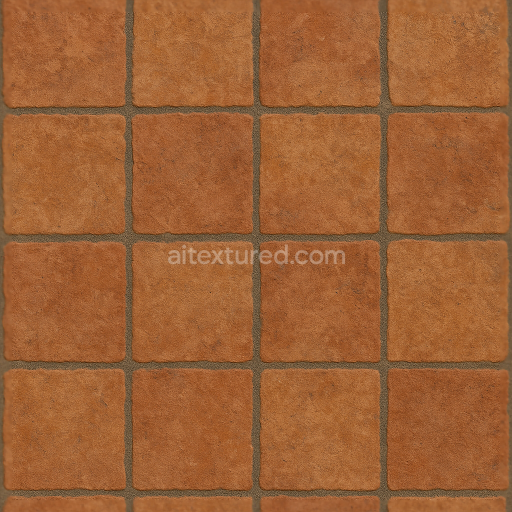
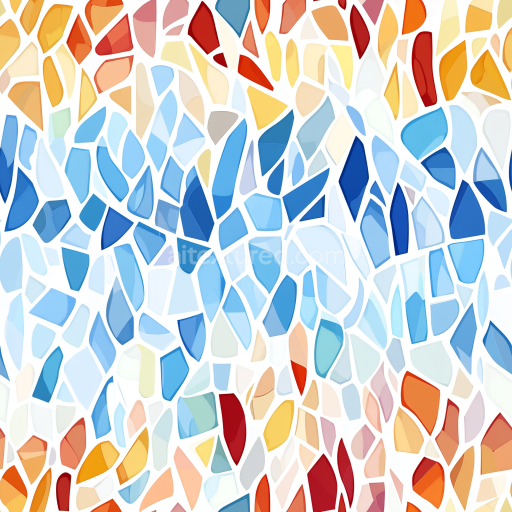
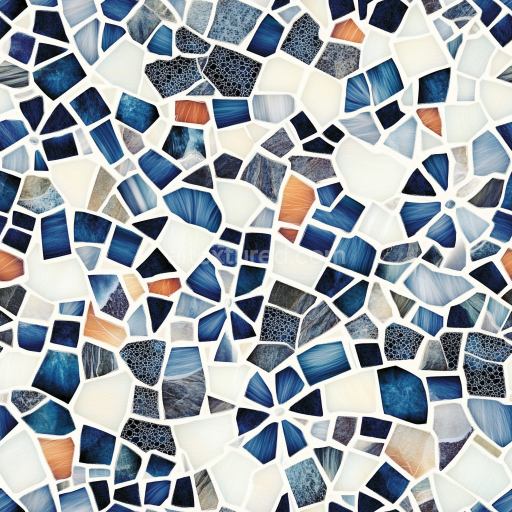
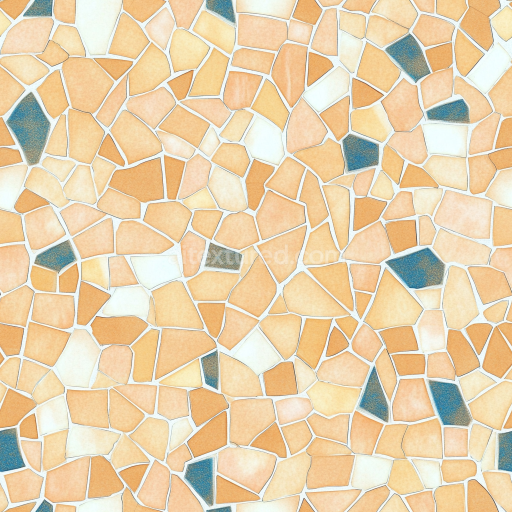
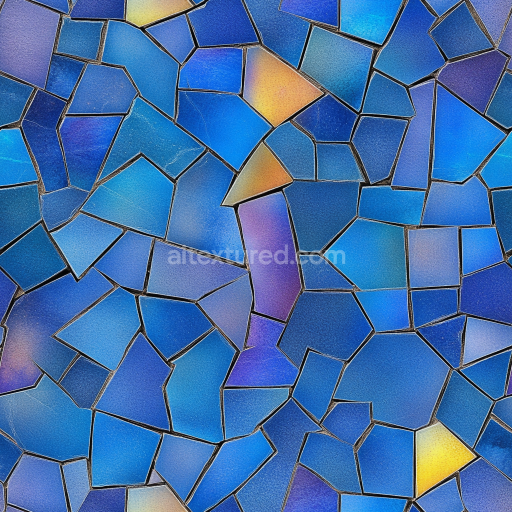
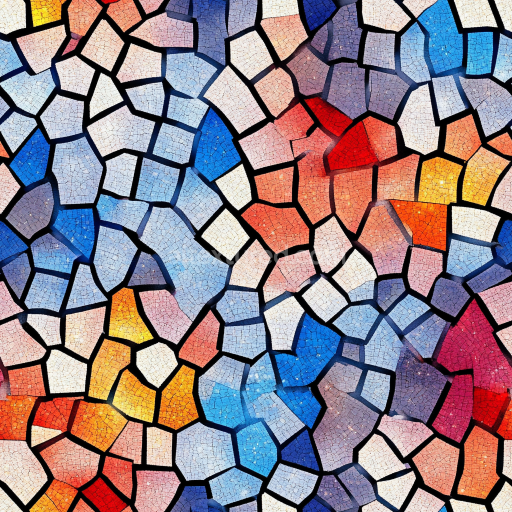
Mosaic PBR Texture of Vibrant Glazed Irregular Tiles in Blue, Yellow, and Earth Tones
Seamless texture (tileable) · PNG, WEBP, PBR ZIP. License: AITextured Free Commercial License (FCL) v1.1. Free personal and commercial use. Raw resale, standalone redistribution, mirroring/scraping, competing asset packs, and AI/ML training are not allowed without written permission. Attribution is not required, but appreciated..

| ID | seamless-3d-texture-pbr-8k-basketweave-tiles-mosaic-with-blended-colors-and-smooth-stone-finish |
|---|---|
| Category | Mosaic |
| Formats | PNG, WEBP, PBR ZIP |
| Size | 1k (1024x1024px), 2k (2048x2048px), 4k (4096x4096px), 8k (8192x8192px) |
| Color | sRGB |
| Tileable | Yes |
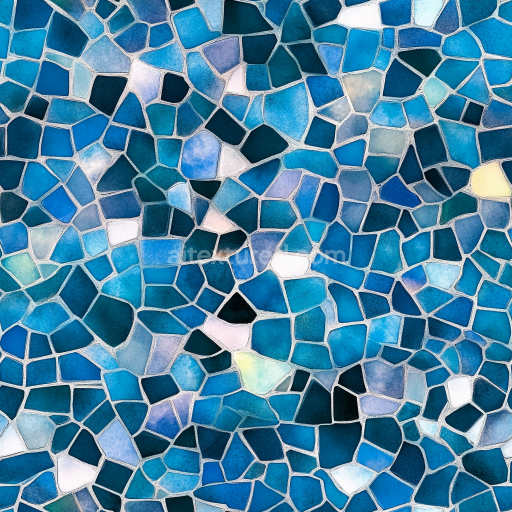
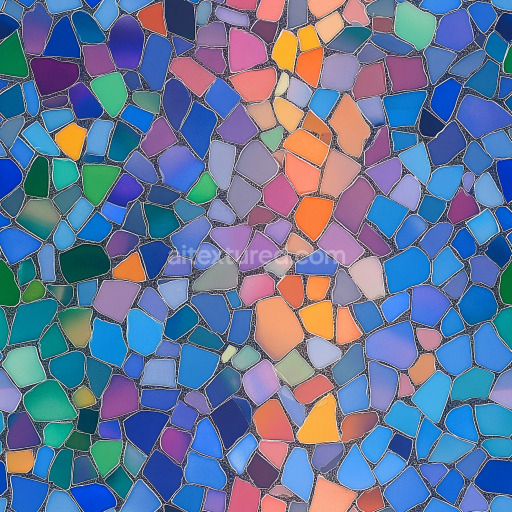
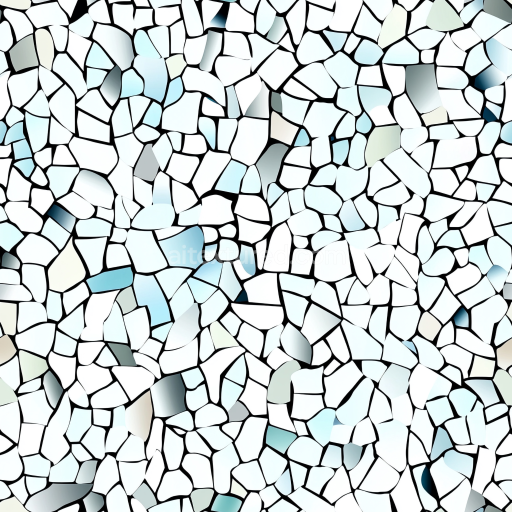
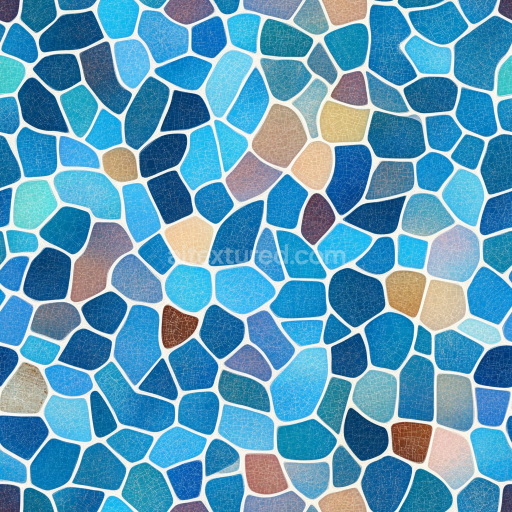
This seamless 3D texture showcases a meticulously crafted basketweave tile mosaic, constructed from natural stone materials that exhibit a smooth, refined surface finish. The geometric pattern features interlaced rectangular tiles arranged in a classic basketweave formation, creating a rhythmic and visually engaging modular design. Each tile displays subtle variations in blended colors, ranging from soft earth tones to muted grays, achieved through natural mineral inclusions and pigment dispersion within the stone substrate. The base material is a dense, fine-grained natural stone, such as limestone or travertine, known for its durability and smooth tactile quality. The stone’s surface has been finely honed to a satin polish, reducing surface roughness while preserving slight textural nuances that enhance realism.
The composition of this mosaic texture involves a natural stone substrate bound by minimal cementitious grout, which is carefully matched in color to the tiles to maintain the seamless appearance. Mineral pigments contribute to the blended color palette, resulting in a softly variegated surface that mimics natural weathering and mineral deposits. The grout lines are narrow and shallow, exhibiting low porosity to prevent staining and moisture ingress, consistent with the texture’s use in interior and sheltered exterior applications. Surface weathering is subtle, with no signs of heavy erosion or pitting, preserving the integrity of the smooth stone finish while adding a touch of natural imperfection.
From a PBR workflow perspective, the texture’s BaseColor (Albedo) channel captures the nuanced blended colors and subtle color gradients inherent to the natural stone and grout. The Normal map encodes the fine relief of the tile edges and smooth surface undulations, providing depth without harsh shadows. Roughness values are calibrated to reflect the satin-polished finish, offering moderate specularity and soft reflections that avoid glossiness. The Metallic channel is uniformly set to zero, as the material is purely non-metallic stone. Ambient Occlusion enhances the shadowing around grout lines and tile intersections, increasing the sense of depth in 3D renders. The Height/Displacement map accurately represents the shallow relief of the basketweave tile edges and grout recesses, enabling realistic parallax effects and surface detail when used in engines supporting displacement or tessellation.
Rendered at an exceptional 8K resolution, this seamless texture ensures sharp detail retention even at close camera distances, making it suitable for high-fidelity projects. It is fully compatible with major 3D software and game engines such as Blender, Unreal Engine, and Unity, facilitating seamless integration into various workflows. For practical implementation, it is recommended to adjust the UV scaling to maintain tile proportions relative to the scene’s scale, and to fine-tune the roughness map to balance specular reflections depending on lighting conditions. Additionally, blending height and normal maps can enhance the perception of depth without excessive geometry, optimizing performance while preserving visual quality.
Import the texture maps into Blender with sRGB color space for albedo/base color and Non-Color for normal, roughness, metallic, AO, height, and ORM maps. Connect normal maps through a Normal Map node, then adjust UV scale with a Mapping node so the material repeats naturally on your model.
For the full step-by-step setup, see How to Use Seamless Textures in Blender. Browse related material examples in wood, concrete, and metal.
Yes. This texture is designed as a seamless tileable PBR material, so it can repeat across large surfaces without visible borders.
You can download PNG/WEBP versions and use 1K, 2K, 4K and 8K download options when available on the page.
Yes. The download options and engine-mapped ZIP workflow are designed for Blender, Unreal Engine, Unity Standard, URP and HDRP material pipelines.
Yes. The texture is available under the AITextured free commercial license. Review the license page for redistribution and AI-training restrictions.

Build, preview, and export seamless PBR materials. Generate full map sets from a single image, inspect them in a real-time WebGL viewer, and re-package maps for Unreal, Unity, and Blender—directly in your browser.
AI text-to-texture: type a prompt and get a seamless, tileable base image ready for PBR workflows (great starting point for materials).
Create a full PBR set (Normal, Roughness, AO, Metallic, etc.) from a single image. Seamless and tiling-friendly.
Instant WebGL viewer: inspect materials on a sphere, plane, and cube. Check tiling and lighting in real time.
Re-packages maps per engine: Unreal (BaseColor + ORM), Unity (Mask/MetallicSmoothness), Blender (separate channels).
PNG ↔ JPG ↔ SVG: fast convert, SVG rasterize, embed/trace options, quality & background controls.