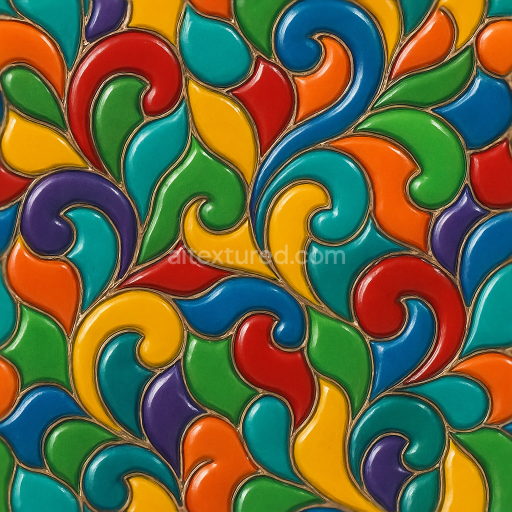
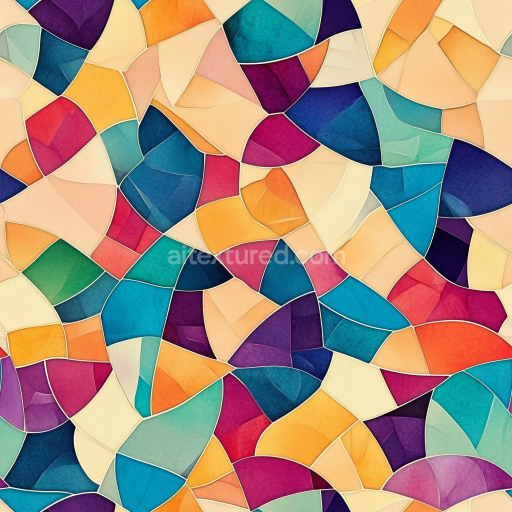
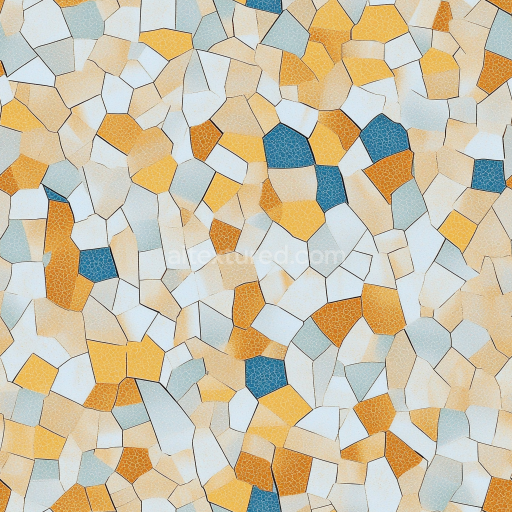
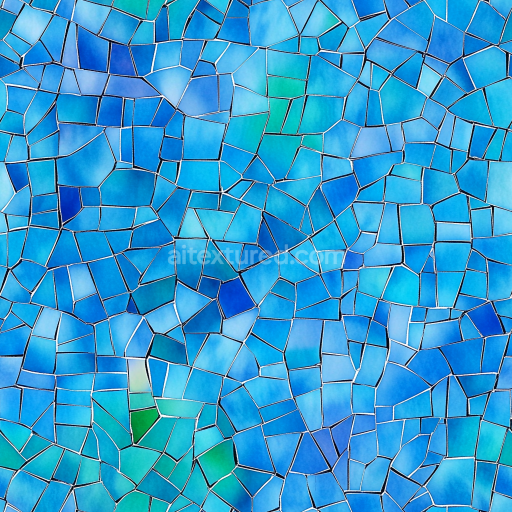
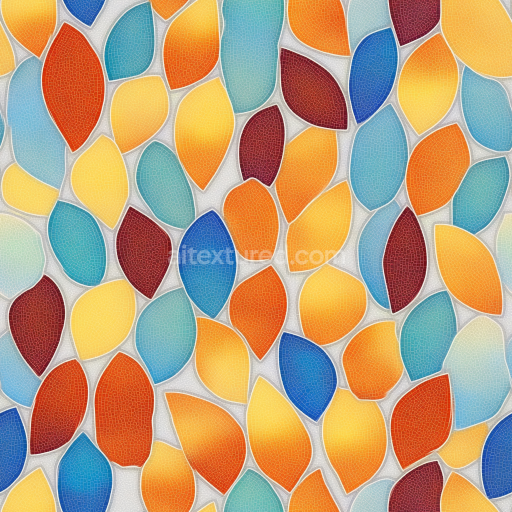
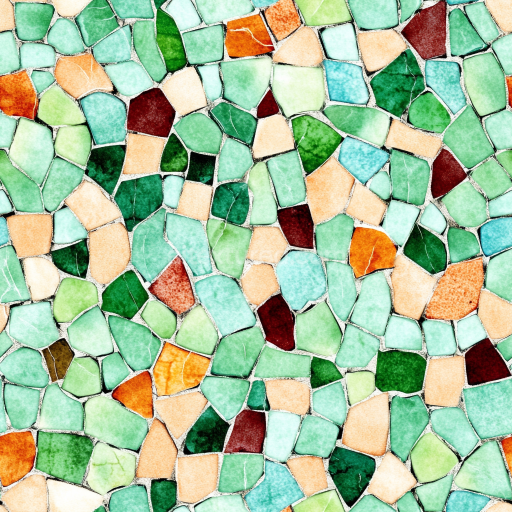
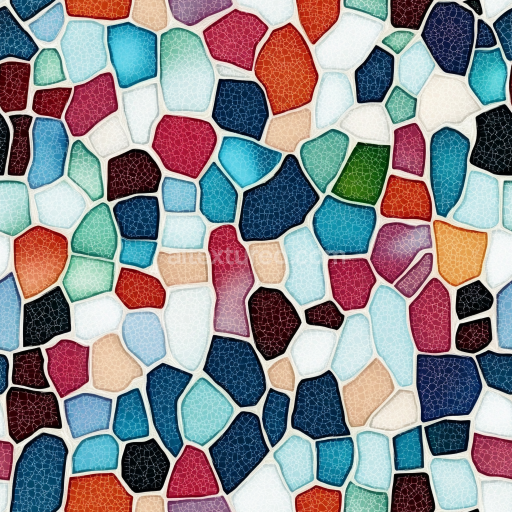
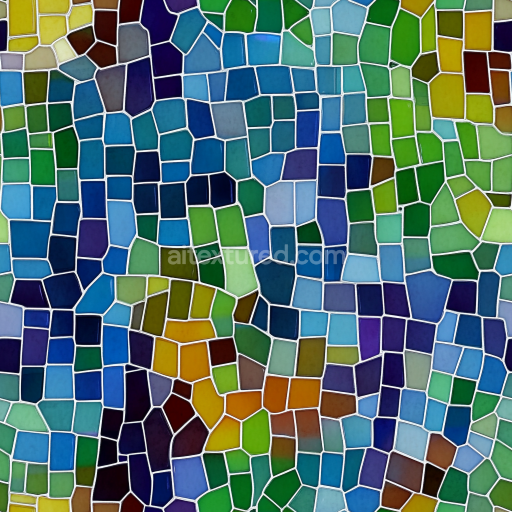
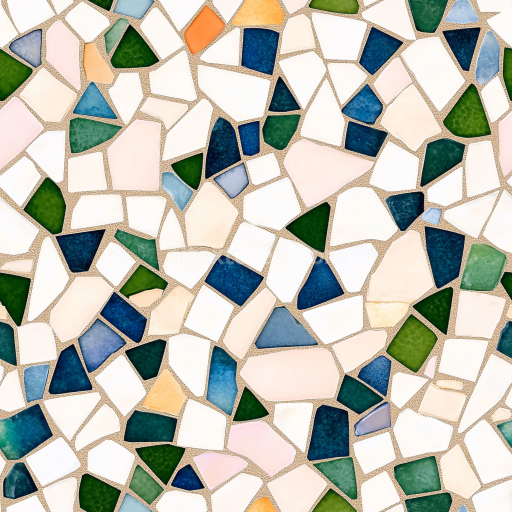
Mosaic Enamel Pieces With Colorful Pieces And Glossy Finish
Seamless texture (tileable) · PNG, WEBP, PBR ZIP. License: AITextured Free Commercial License (FCL) v1.1. Free personal and commercial use. Raw resale, standalone redistribution, mirroring/scraping, competing asset packs, and AI/ML training are not allowed without written permission. Attribution is not required, but appreciated..

| ID | seamless-3d-texture-pbr-8k-herringbone-tiles-mosaic-with-earthy-tones-and-matte-finish-surface |
|---|---|
| Category | Mosaic |
| Formats | PNG, WEBP, PBR ZIP |
| Size | 1k (1024x1024px), 2k (2048x2048px), 4k (4096x4096px), 8k (8192x8192px) |
| Color | sRGB |
| Tileable | Yes |
This high-resolution 8K seamless PBR 3D texture showcases a meticulously crafted herringbone tile mosaic, designed to replicate an authentic earth-toned ceramic surface with a matte finish. The base material is a dense ceramic substrate composed primarily of finely milled clay and natural mineral aggregates, which provide structural integrity and subtle textural variation. The tiles are arranged in the classic herringbone geometric pattern, characterized by rectangular tiles interlocked at 45-degree angles, creating a dynamic and visually appealing layout that enhances surface depth and complexity.
The surface finish is distinctly matte, achieved through a combination of fine micro-texturing and a low-gloss glaze that diffuses light softly across the tile faces. This finish reduces specular highlights while emphasizing the natural porous quality of the ceramic, which is subtly weathered by fine grout lines and occasional micro-imperfections such as slight chipping and surface wear. Earth-tone pigments—ranging from warm beige and terracotta to muted browns and greys—are integrated into the BaseColor (Albedo) channel, ensuring naturalistic color variation that mimics mineral inclusions and kiln-fired ceramic nuances.
The texture’s PBR maps are carefully constructed to convey realistic material properties: the Normal map captures the intricate surface relief of the tile edges and grout indentations, enhancing the tactile feel of the mosaic. The Roughness channel maintains moderate values to preserve the matte surface’s soft light scattering without introducing unwanted shine. The Metallic map is kept near zero, consistent with the non-metallic ceramic composition. Ambient Occlusion accentuates the depth in grout lines and tile overlaps, while the Height (Displacement) map defines subtle elevation differences between tiles and grout to enhance parallax effects in 3D applications.
Optimized for use in Blender, Unreal Engine, and Unity, this texture supports seamless tiling at high UV scales, allowing for detailed close-up renders without visible repetition. For practical application, adjusting the roughness channel can fine-tune the surface’s light response depending on environmental lighting conditions, while blending the height map with normal details can enhance surface realism in real-time engines. Its robust design makes it ideal for interior flooring, wall cladding, or exterior patios where an earthy, classic mosaic aesthetic is desired without sacrificing performance or visual fidelity.
Import the texture maps into Blender with sRGB color space for albedo/base color and Non-Color for normal, roughness, metallic, AO, height, and ORM maps. Connect normal maps through a Normal Map node, then adjust UV scale with a Mapping node so the material repeats naturally on your model.
For the full step-by-step setup, see How to Use Seamless Textures in Blender. Browse related material examples in wood, concrete, and metal.
Yes. This texture is designed as a seamless tileable PBR material, so it can repeat across large surfaces without visible borders.
You can download PNG/WEBP versions and use 1K, 2K, 4K and 8K download options when available on the page.
Yes. The download options and engine-mapped ZIP workflow are designed for Blender, Unreal Engine, Unity Standard, URP and HDRP material pipelines.
Yes. The texture is available under the AITextured free commercial license. Review the license page for redistribution and AI-training restrictions.


Build, preview, and export seamless PBR materials. Generate full map sets from a single image, inspect them in a real-time WebGL viewer, and re-package maps for Unreal, Unity, and Blender—directly in your browser.
AI text-to-texture: type a prompt and get a seamless, tileable base image ready for PBR workflows (great starting point for materials).
Create a full PBR set (Normal, Roughness, AO, Metallic, etc.) from a single image. Seamless and tiling-friendly.
Instant WebGL viewer: inspect materials on a sphere, plane, and cube. Check tiling and lighting in real time.
Re-packages maps per engine: Unreal (BaseColor + ORM), Unity (Mask/MetallicSmoothness), Blender (separate channels).
PNG ↔ JPG ↔ SVG: fast convert, SVG rasterize, embed/trace options, quality & background controls.