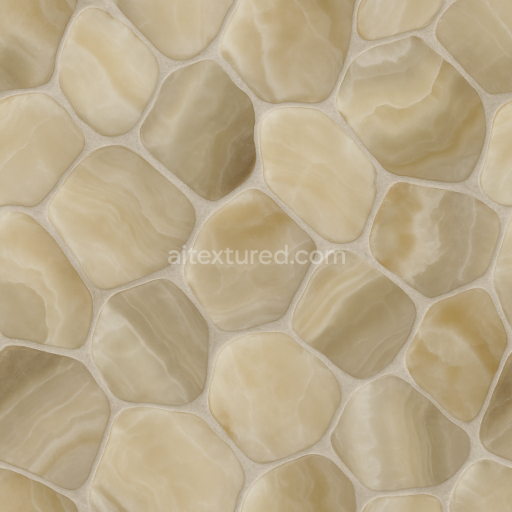
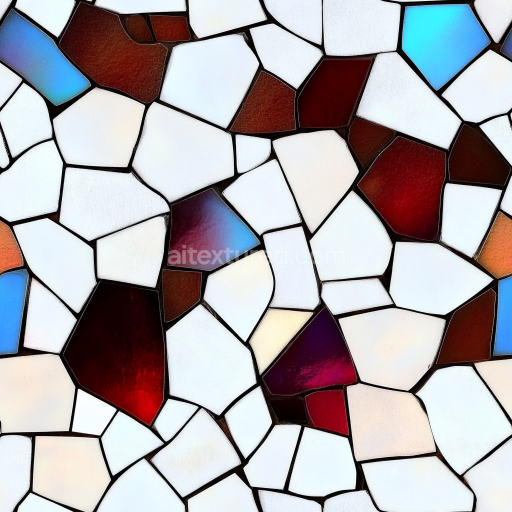
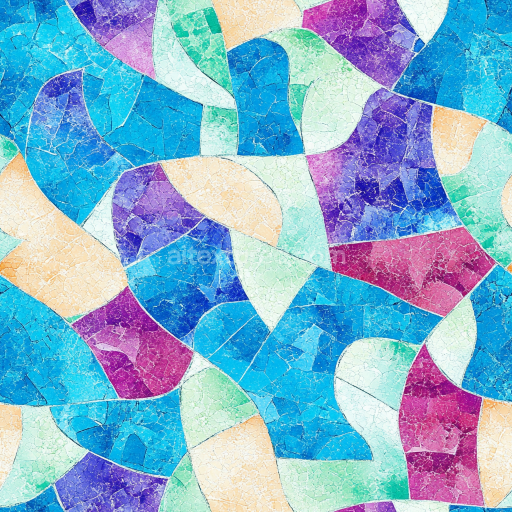
Onyx Pieces Mosaic With Neutral Hues And Polished Stone Finish
Seamless texture (tileable) · PNG, WEBP, PBR ZIP. License: AITextured Free Commercial License (FCL) v1.1. Free personal and commercial use. Raw resale, standalone redistribution, mirroring/scraping, competing asset packs, and AI/ML training are not allowed without written permission. Attribution is not required, but appreciated..

| ID | seamless-3d-texture-pbr-8k-marble-tiles-with-natural-stones-and-matte-finish-for-elegant-surfaces |
|---|---|
| Category | Mosaic |
| Formats | PNG, WEBP, PBR ZIP |
| Size | 1k (1024x1024px), 2k (2048x2048px), 4k (4096x4096px), 8k (8192x8192px) |
| Color | sRGB |
| Tileable | Yes |
This seamless 3D texture features an elegant mosaic pattern composed of square marble tiles arranged in a precise grid, separated by clean white grout lines. The base material is natural marble, characterized by its fine-grained calcite substrate with subtle variations in veining and color that give each tile a unique appearance. The marble exhibits low porosity, resulting in a dense, durable surface ideal for both flooring and wall cladding applications. The matte finish is achieved through a honed surface treatment, which diffuses light to reduce glare while preserving the stone’s natural depth and intricate veining details. This texture closely replicates the tactile qualities of real marble, emphasizing softness in reflectivity and slight variations in surface roughness.*
The composition of this texture involves the marble tiles as the primary aggregate, bonded by a traditional cementitious white grout that provides structural integrity and clean separation between tiles. The grout lines are narrow yet distinct, adding contrast and enhancing the overall geometric form of the mosaic. The marble itself is composed of crystalline calcite with natural mineral inclusions and veins, which are carefully captured in the BaseColor (Albedo) map to reveal subtle color shifts from creamy whites to soft grays and occasional warmer hues. The Normal map accurately simulates the slight undulations and micro-reliefs of the honed marble surface, while the Height/Displacement map enhances the perception of tile edges and grout depth, contributing to a realistic interplay of light and shadow.*
In the physically based rendering (PBR) workflow, the Roughness map plays a crucial role in defining the matte finish by distributing mid-to-high roughness values across the tile surfaces to minimize specular highlights without eliminating the natural stone’s inherent luster. The Metallic channel remains consistently low or zero, reflecting the non-metallic nature of marble and grout materials. Ambient Occlusion is finely tuned to accentuate the subtle crevices along tile edges and grout joints, adding depth and anchoring the tiles visually within the environment. This high-resolution 8K texture ensures exceptional detail fidelity, making it suitable for close-up renders and high-end visualization projects in Blender, Unreal Engine, and Unity.*
For optimal results in 3D projects, it is recommended to carefully adjust the UV scaling to maintain natural tile proportions and prevent texture stretching, especially on large surfaces. Additionally, fine-tuning the Roughness and Normal maps can help balance the matte finish with slight surface imperfections, enhancing realism without excessive glossiness. When using Height or Parallax mapping, moderate values are advised to avoid exaggerated depth effects that could disrupt the seamless mosaic pattern. This texture is well-suited for architectural visualizations, interior design renderings, and any scenario requiring photorealistic marble surfaces with a refined, understated elegance.*
Import the texture maps into Blender with sRGB color space for albedo/base color and Non-Color for normal, roughness, metallic, AO, height, and ORM maps. Connect normal maps through a Normal Map node, then adjust UV scale with a Mapping node so the material repeats naturally on your model.
For the full step-by-step setup, see How to Use Seamless Textures in Blender. Browse related material examples in wood, concrete, and metal.
Yes. This texture is designed as a seamless tileable PBR material, so it can repeat across large surfaces without visible borders.
You can download PNG/WEBP versions and use 1K, 2K, 4K and 8K download options when available on the page.
Yes. The download options and engine-mapped ZIP workflow are designed for Blender, Unreal Engine, Unity Standard, URP and HDRP material pipelines.
Yes. The texture is available under the AITextured free commercial license. Review the license page for redistribution and AI-training restrictions.
Build, preview, and export seamless PBR materials. Generate full map sets from a single image, inspect them in a real-time WebGL viewer, and re-package maps for Unreal, Unity, and Blender—directly in your browser.
AI text-to-texture: type a prompt and get a seamless, tileable base image ready for PBR workflows (great starting point for materials).
Create a full PBR set (Normal, Roughness, AO, Metallic, etc.) from a single image. Seamless and tiling-friendly.
Instant WebGL viewer: inspect materials on a sphere, plane, and cube. Check tiling and lighting in real time.
Re-packages maps per engine: Unreal (BaseColor + ORM), Unity (Mask/MetallicSmoothness), Blender (separate channels).
PNG ↔ JPG ↔ SVG: fast convert, SVG rasterize, embed/trace options, quality & background controls.