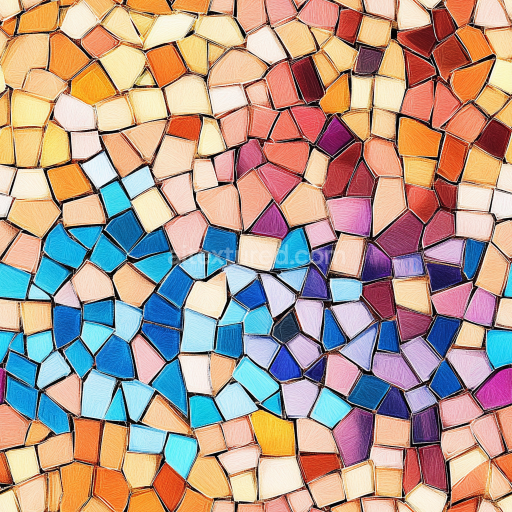
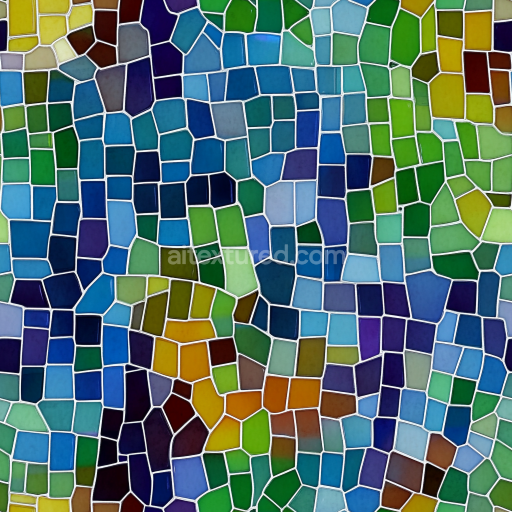
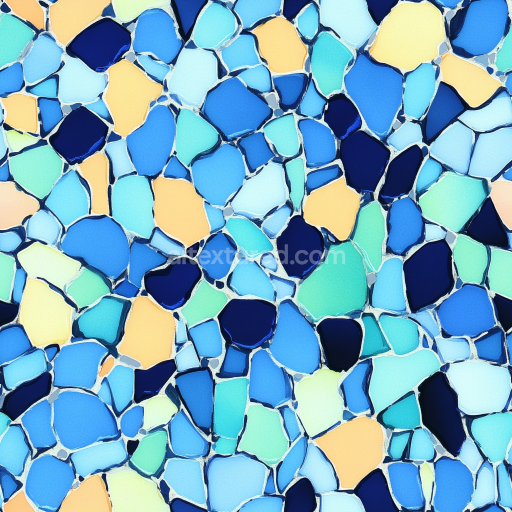
mosaic PBR texture featuring green-yellow irregular glass tiles
Seamless texture (tileable) · PNG, WEBP, PBR ZIP. License: AITextured Free Commercial License (FCL) v1.1. Free personal and commercial use. Raw resale, standalone redistribution, mirroring/scraping, competing asset packs, and AI/ML training are not allowed without written permission. Attribution is not required, but appreciated..

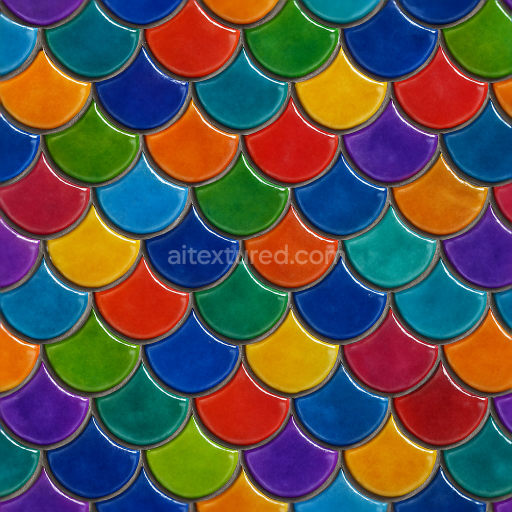
| ID | seamless-3d-texture-pbr-8k-encaustic-tiles-mosaic-with-arabesque-patterns-and-matte-finish |
|---|---|
| Category | Mosaic |
| Formats | PNG, WEBP, PBR ZIP |
| Size | 1k (1024x1024px), 2k (2048x2048px), 4k (4096x4096px), 8k (8192x8192px) |
| Color | sRGB |
| Tileable | Yes |
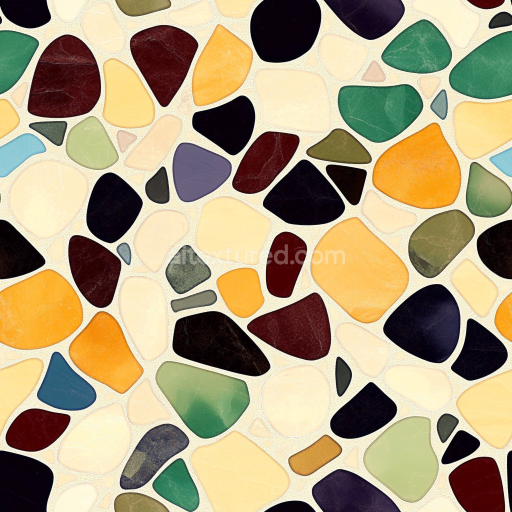
This seamless 3D texture presents a meticulously crafted encaustic tile mosaic, characterized by intricate arabesque patterns that evoke traditional craftsmanship. The tiles are formed from a dense cementitious substrate, combining finely ground hydraulic lime with natural pigments to achieve vibrant yet muted coloration. The surface is coated with a matte finish that diffuses light softly, avoiding glare and emphasizing the handcrafted feel. The geometric form is a repeating square tile layout, each tile showcasing interlaced arabesque motifs that provide a complex yet harmonious visual rhythm. Between the tiles, a textured grout with subtle color variations enhances depth and realism, replicating the porous and slightly weathered joints typical of authentic encaustic installations.
Materially, these tiles consist of a mixture of natural aggregates, including finely milled sand and mineral fillers, bound together by a hydraulic binder system. The porosity is moderate, allowing for slight absorption that contributes to the tactile authenticity of the surface. The matte finish results from a combination of surface micro-texturing and the absence of any high-gloss sealants, which also influences the roughness map in the PBR workflow. The base color (Albedo) map captures the nuanced pigment dispersion and subtle tonal shifts across each tile, while the normal map conveys the slight undulations of the tile surface and the raised arabesque reliefs. The roughness map is calibrated to replicate the soft matte effect, showing higher values on the tile faces and slightly lower on the grout to suggest a denser, less porous filler. The metallic channel remains at zero, consistent with the non-metallic ceramic composition. Ambient occlusion enhances the perception of depth around the grout lines and pattern recesses, while the height/displacement map provides fine surface variation essential for realistic light interaction and accurate parallax effects.
Rendered at 8K resolution, this texture is optimized for high-fidelity applications in Blender, Unreal Engine, and Unity, ensuring exceptional detail even in close-up views. The seamless design guarantees that it tiles without visible borders, making it suitable for large surface coverage such as floors, walls, or decorative panels. The textured grout features subtle color differentiation that adds to the visual complexity and aids in breaking monotony when tiled extensively.
For practical use, it is recommended to adjust the UV scale carefully to maintain the balance between pattern repetition and surface realism, especially in architectural renders. Additionally, fine-tuning the roughness map can help adapt the material’s response to various lighting conditions, while blending height and normal maps can enhance the perceived depth without excessive computational cost. This approach ensures the material remains versatile across different rendering engines and projects requiring authentic period or artistic mosaic surfaces.
Import the texture maps into Blender with sRGB color space for albedo/base color and Non-Color for normal, roughness, metallic, AO, height, and ORM maps. Connect normal maps through a Normal Map node, then adjust UV scale with a Mapping node so the material repeats naturally on your model.
For the full step-by-step setup, see How to Use Seamless Textures in Blender. Browse related material examples in wood, concrete, and metal.
Yes. This texture is designed as a seamless tileable PBR material, so it can repeat across large surfaces without visible borders.
You can download PNG/WEBP versions and use 1K, 2K, 4K and 8K download options when available on the page.
Yes. The download options and engine-mapped ZIP workflow are designed for Blender, Unreal Engine, Unity Standard, URP and HDRP material pipelines.
Yes. The texture is available under the AITextured free commercial license. Review the license page for redistribution and AI-training restrictions.


Build, preview, and export seamless PBR materials. Generate full map sets from a single image, inspect them in a real-time WebGL viewer, and re-package maps for Unreal, Unity, and Blender—directly in your browser.
AI text-to-texture: type a prompt and get a seamless, tileable base image ready for PBR workflows (great starting point for materials).
Create a full PBR set (Normal, Roughness, AO, Metallic, etc.) from a single image. Seamless and tiling-friendly.
Instant WebGL viewer: inspect materials on a sphere, plane, and cube. Check tiling and lighting in real time.
Re-packages maps per engine: Unreal (BaseColor + ORM), Unity (Mask/MetallicSmoothness), Blender (separate channels).
PNG ↔ JPG ↔ SVG: fast convert, SVG rasterize, embed/trace options, quality & background controls.