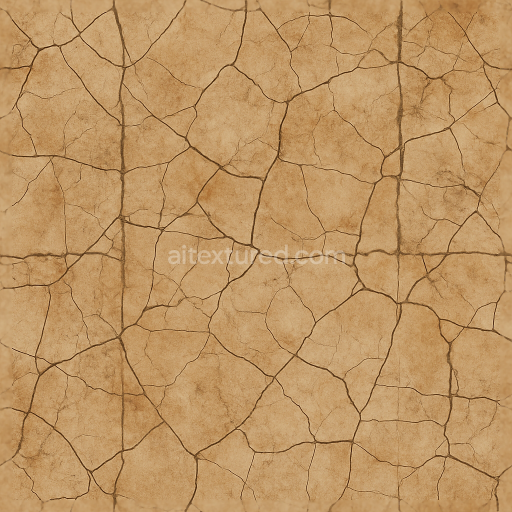
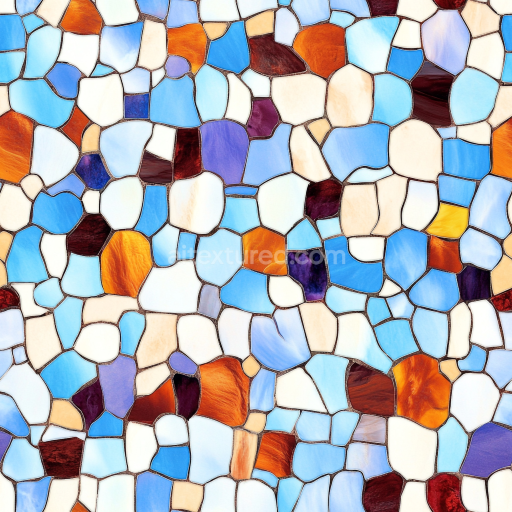
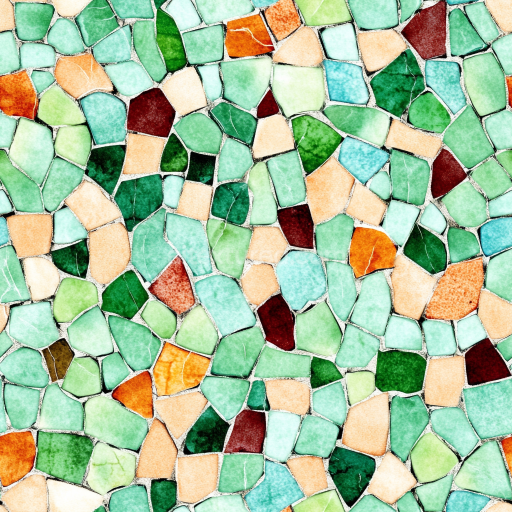
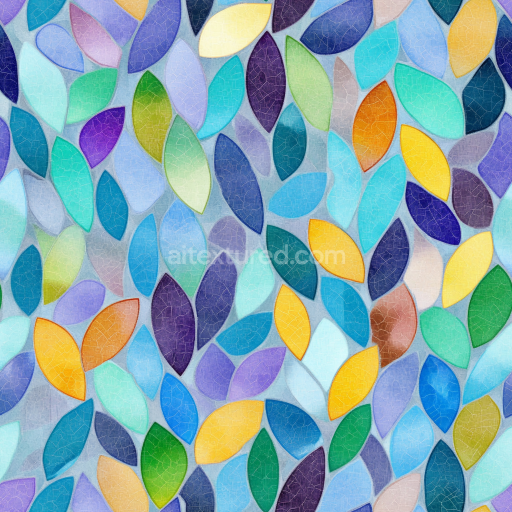
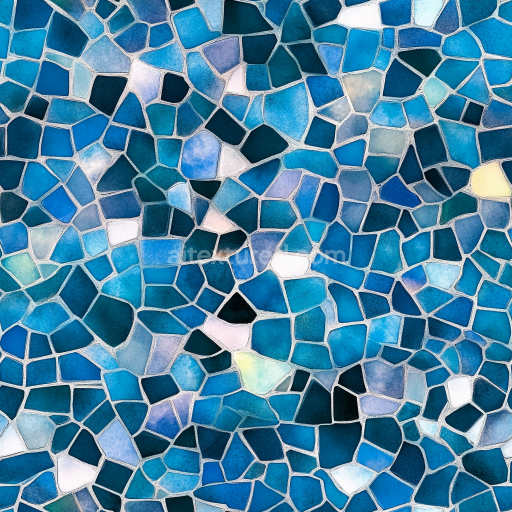
Broken Tile Mosaic Featuring Distressed Ceramic Cracked Tiles With Earth Tones
Seamless texture (tileable) · PNG, WEBP, PBR ZIP. License: AITextured Free Commercial License (FCL) v1.1. Free personal and commercial use. Raw resale, standalone redistribution, mirroring/scraping, competing asset packs, and AI/ML training are not allowed without written permission. Attribution is not required, but appreciated..

| ID | seamless-3d-texture-pbr-8k-mosaic-enamel-pieces-with-colorful-pieces-and-glossy-finish |
|---|---|
| Category | Mosaic |
| Formats | PNG, WEBP, PBR ZIP |
| Size | 1k (1024x1024px), 2k (2048x2048px), 4k (4096x4096px), 8k (8192x8192px) |
| Color | sRGB |
| Tileable | Yes |
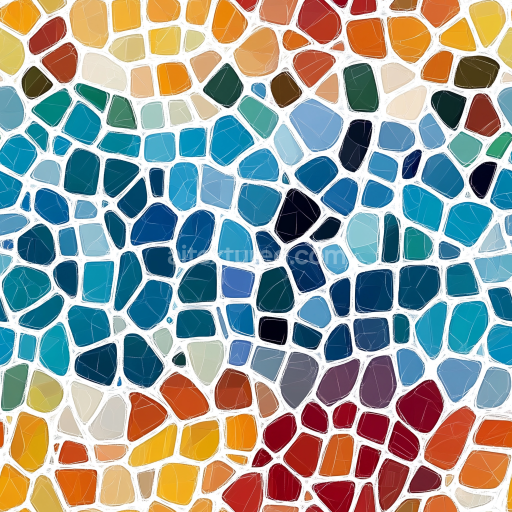
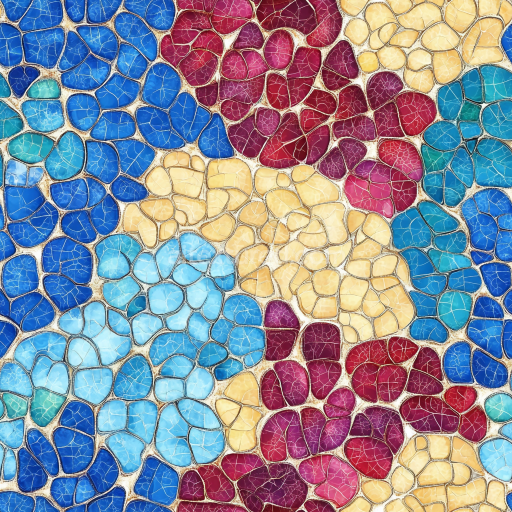
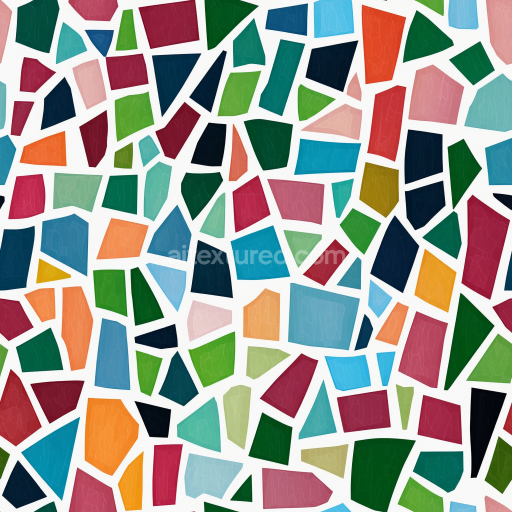
This seamless 8K PBR texture showcases a meticulously crafted mosaic composed of small enamel pieces, each boasting vibrant, colorful hues that form an intricate ornamental pattern. The base material consists primarily of fired glass enamel, carefully fused onto a dense ceramic or stone substrate that provides structural stability. The enamel pieces are shaped into smooth, slightly convex tesserae, which contribute to the three-dimensional relief and subtle curvature of the overall surface. The adhesive binder used in the mosaic ensures strong cohesion between the enamel tesserae and the substrate, resulting in minimal porosity and a highly durable finish resistant to weathering and wear.
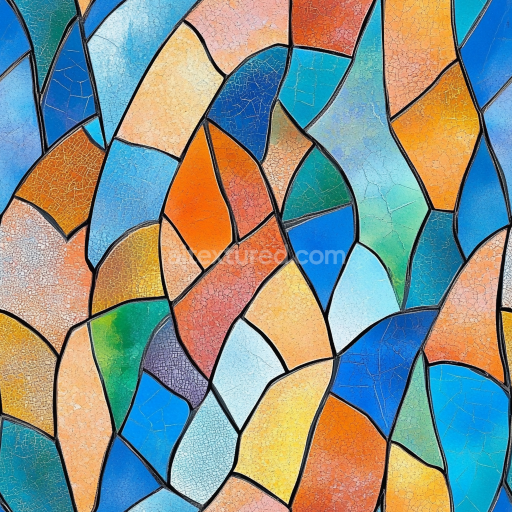
The surface finish is distinctly glossy, achieved through a polished enamel layer that reflects light evenly across the smooth, reflective surfaces of each piece. This glossy finish enhances the rich saturation of the pigments embedded within the enamel, which are derived from finely ground mineral oxides providing long-lasting, fade-resistant colorants. The mosaic pattern repeats seamlessly, with each enamel piece’s slight height variation captured accurately in the height and normal maps, adding realistic depth and tactile detail to 3D renders. The roughness map is finely tuned to reflect the high glossiness of the enamel, while the metallic channel remains minimal, as the enamel itself is non-metallic but sits atop a subtly occluding ceramic base, which is represented in the ambient occlusion map.
This texture’s PBR channels are optimized for photorealistic rendering: the BaseColor (Albedo) channel conveys the vivid, multicolored enamel pieces; the Normal map captures the delicate curvature and edges of the tesserae; the Roughness map defines the glossy, smooth enamel surface; Metallic is kept low to maintain accurate dielectric properties; Ambient Occlusion enhances shadows along grout lines and between tesserae; and the Height map accentuates the relief and slight elevation differences between pieces. Together, these channels enable realistic interaction with dynamic lighting and reflections in modern rendering engines.
Designed for compatibility with Blender, Unreal Engine, and Unity, this 3D enamel mosaic texture offers seamless tiling without visible borders, making it ideal for covering large surfaces such as walls, flooring, or decorative installations in architectural visualizations and game environments. For practical application, it is advisable to adjust the UV scale to maintain the natural size of the tesserae in your scene, and to fine-tune the roughness parameter slightly if a less reflective, more worn look is desired. Additionally, blending the height map with normal maps can enhance the perception of depth without excessive polygon displacement, optimizing performance in real-time applications.
Import the texture maps into Blender with sRGB color space for albedo/base color and Non-Color for normal, roughness, metallic, AO, height, and ORM maps. Connect normal maps through a Normal Map node, then adjust UV scale with a Mapping node so the material repeats naturally on your model.
For the full step-by-step setup, see How to Use Seamless Textures in Blender. Browse related material examples in wood, concrete, and metal.
Yes. This texture is designed as a seamless tileable PBR material, so it can repeat across large surfaces without visible borders.
You can download PNG/WEBP versions and use 1K, 2K, 4K and 8K download options when available on the page.
Yes. The download options and engine-mapped ZIP workflow are designed for Blender, Unreal Engine, Unity Standard, URP and HDRP material pipelines.
Yes. The texture is available under the AITextured free commercial license. Review the license page for redistribution and AI-training restrictions.


Build, preview, and export seamless PBR materials. Generate full map sets from a single image, inspect them in a real-time WebGL viewer, and re-package maps for Unreal, Unity, and Blender—directly in your browser.
AI text-to-texture: type a prompt and get a seamless, tileable base image ready for PBR workflows (great starting point for materials).
Create a full PBR set (Normal, Roughness, AO, Metallic, etc.) from a single image. Seamless and tiling-friendly.
Instant WebGL viewer: inspect materials on a sphere, plane, and cube. Check tiling and lighting in real time.
Re-packages maps per engine: Unreal (BaseColor + ORM), Unity (Mask/MetallicSmoothness), Blender (separate channels).
PNG ↔ JPG ↔ SVG: fast convert, SVG rasterize, embed/trace options, quality & background controls.