
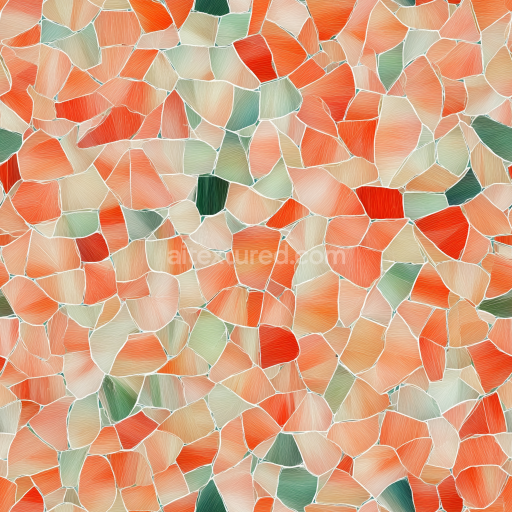
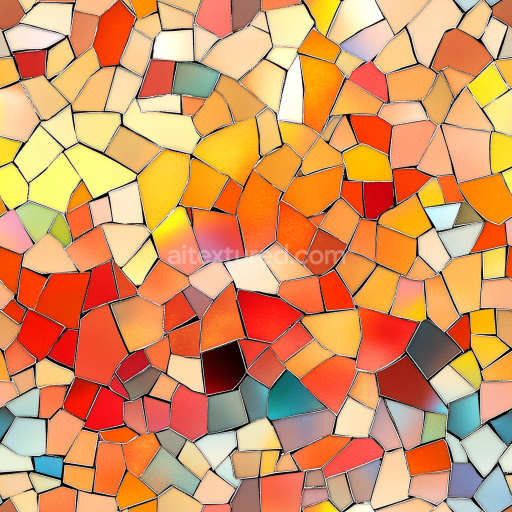
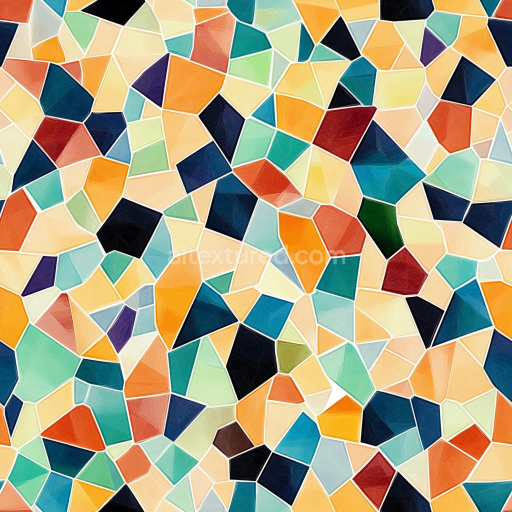
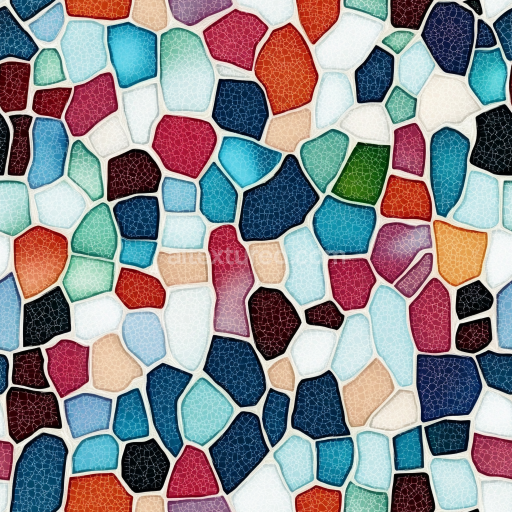
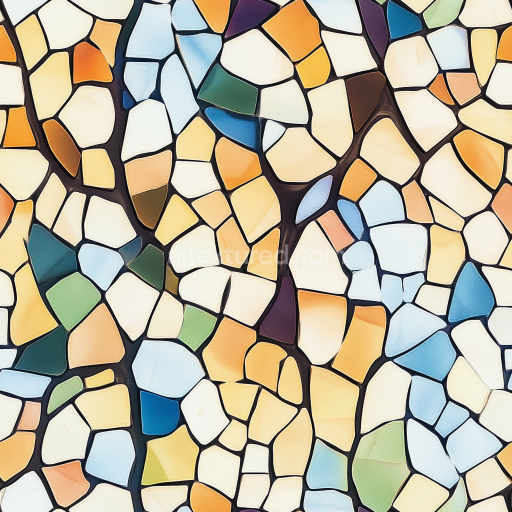
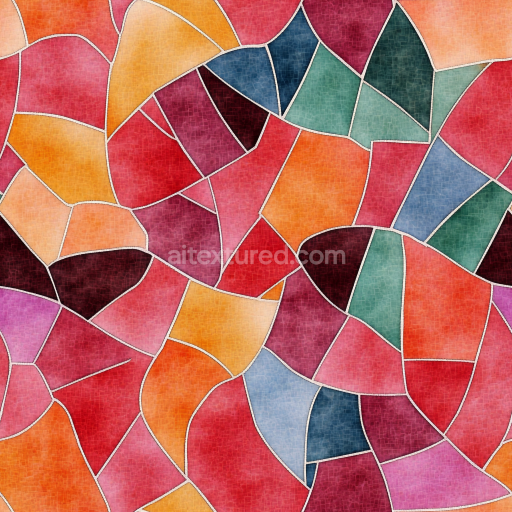
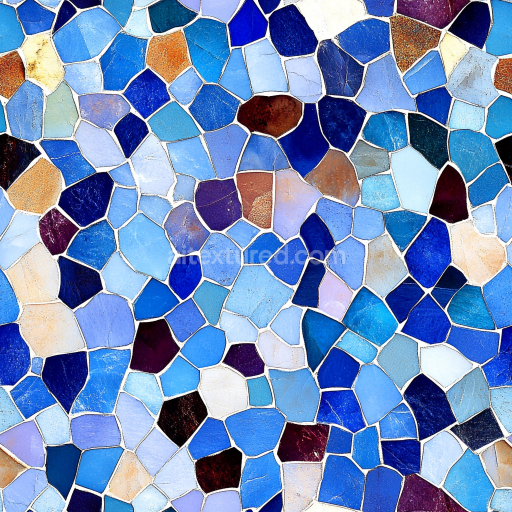
Mosaic PBR Texture Featuring Iridescent Ceramic Tiles in Warm Earth Tones
Seamless texture (tileable) · PNG, WEBP, PBR ZIP. License: AITextured Free Commercial License (FCL) v1.1. Free personal and commercial use. Raw resale, standalone redistribution, mirroring/scraping, competing asset packs, and AI/ML training are not allowed without written permission. Attribution is not required, but appreciated..

| ID | seamless-3d-texture-pbr-8k-tesserae-mosaic-tiles-with-intricate-details-and-aged-grout-lines-finish |
|---|---|
| Category | Mosaic |
| Formats | PNG, WEBP, PBR ZIP |
| Size | 1k (1024x1024px), 2k (2048x2048px), 4k (4096x4096px), 8k (8192x8192px) |
| Color | sRGB |
| Tileable | Yes |
This seamless 3D PBR texture showcases tesserae mosaic tiles crafted from a ceramic-based substrate, characterized by a combination of fine-grained clays and mineral pigments that give each tile its distinct coloration and subtle surface variation. The tesserae are arranged in a geometric, repetitive pattern featuring varied polygonal shapes—primarily small squares and rectangles—interlocked to form an ornamental mosaic panel. The surface finish exhibits a gently worn matte sheen, achieved through a combination of light polishing and natural weathering, which adds depth and authenticity to the texture. The grout lines, aged with subtle cracks and discoloration, reveal a porous cementitious binder mixed with fine aggregates, simulating decades of environmental exposure and slight erosion, lending a historic and tactile quality to the overall design.
From a material perspective, the base color (Albedo) map captures the intricate palette of muted earth tones, including terracotta reds, ochres, and soft creams, interspersed with occasional darker accents that highlight the ornamental complexity of each tile. The Normal map emphasizes the minute surface relief of the tesserae edges and the unevenness of the aged grout, enhancing the three-dimensional feel without excessive height exaggeration. Roughness values reflect the contrast between the smoother tile surfaces and the coarser, more matte grout lines, while the Metallic channel remains neutral, as these ceramic tiles and cement-based grout do not exhibit metallic properties. Ambient Occlusion intensifies the shadowing within tile joints and fine crevices, contributing to a realistic perception of depth. Height (Displacement) maps are finely tuned to accentuate subtle elevation differences between tile faces and grout, supporting advanced parallax and displacement techniques in rendering engines.
Rendered at an exceptional 8K resolution, this texture provides unparalleled detail suitable for high-fidelity visualization in Blender, Unreal Engine, and Unity environments. The high pixel density ensures crisp surface definition even in close-up views, maintaining the intricate detail of each tessera and the nuanced aged grout finish. This makes the texture ideal for architectural visualization, historical reconstructions, or decorative interior scenes that require authenticity and material complexity. The texture is designed for seamless tiling, allowing it to cover large surfaces without visible repetition or distortion, accommodating a variety of UV mapping configurations.
For optimal results, it is recommended to carefully adjust the UV scale to preserve the natural size and proportion of the mosaic pattern, avoiding overly large or small repeats that could disrupt the visual harmony. Additionally, subtle tuning of the roughness map can help balance reflectivity based on scene lighting, while blending height and normal maps can enhance the tactile feel of the surface without introducing rendering artifacts. These adjustments ensure the texture integrates smoothly into diverse 3D workflows, providing both aesthetic richness and technical precision.
Import the texture maps into Blender with sRGB color space for albedo/base color and Non-Color for normal, roughness, metallic, AO, height, and ORM maps. Connect normal maps through a Normal Map node, then adjust UV scale with a Mapping node so the material repeats naturally on your model.
For the full step-by-step setup, see How to Use Seamless Textures in Blender. Browse related material examples in wood, concrete, and metal.
Yes. This texture is designed as a seamless tileable PBR material, so it can repeat across large surfaces without visible borders.
You can download PNG/WEBP versions and use 1K, 2K, 4K and 8K download options when available on the page.
Yes. The download options and engine-mapped ZIP workflow are designed for Blender, Unreal Engine, Unity Standard, URP and HDRP material pipelines.
Yes. The texture is available under the AITextured free commercial license. Review the license page for redistribution and AI-training restrictions.


Build, preview, and export seamless PBR materials. Generate full map sets from a single image, inspect them in a real-time WebGL viewer, and re-package maps for Unreal, Unity, and Blender—directly in your browser.
AI text-to-texture: type a prompt and get a seamless, tileable base image ready for PBR workflows (great starting point for materials).
Create a full PBR set (Normal, Roughness, AO, Metallic, etc.) from a single image. Seamless and tiling-friendly.
Instant WebGL viewer: inspect materials on a sphere, plane, and cube. Check tiling and lighting in real time.
Re-packages maps per engine: Unreal (BaseColor + ORM), Unity (Mask/MetallicSmoothness), Blender (separate channels).
PNG ↔ JPG ↔ SVG: fast convert, SVG rasterize, embed/trace options, quality & background controls.