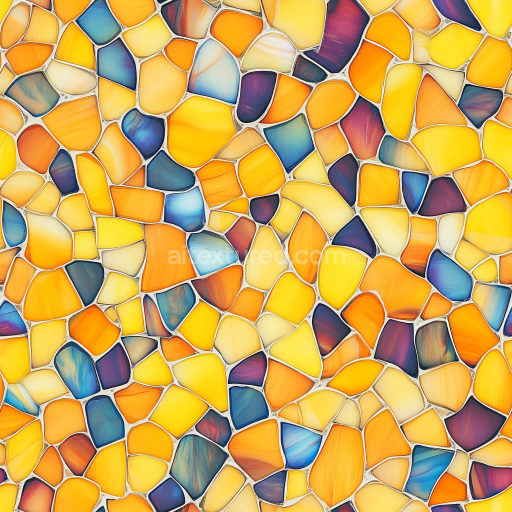
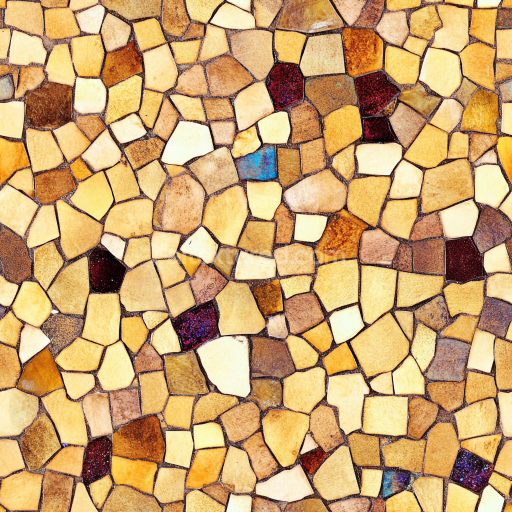
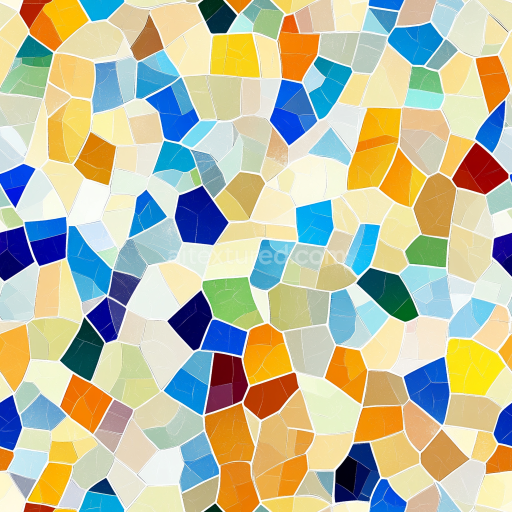
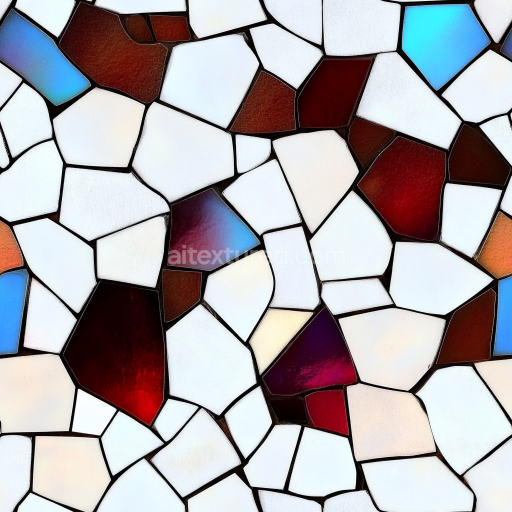
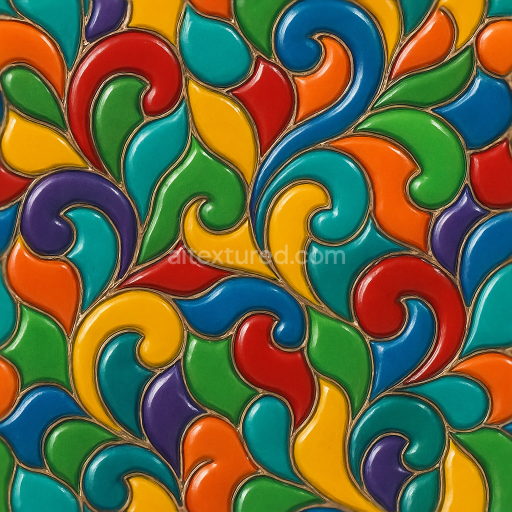
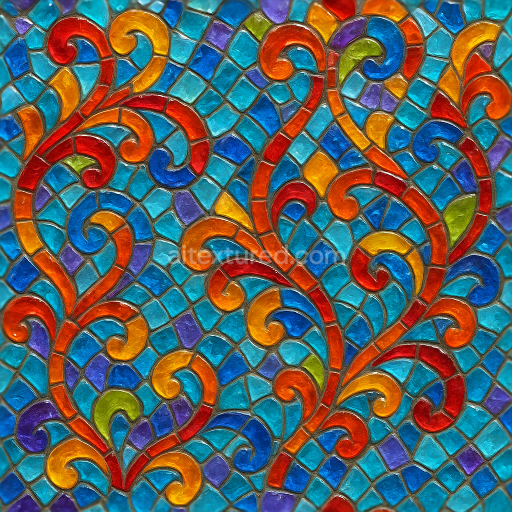
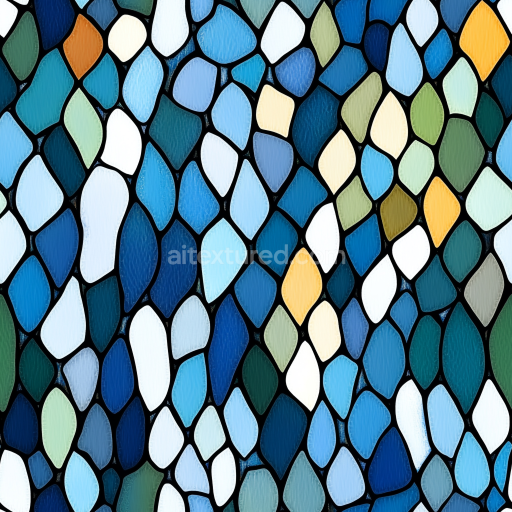
Mosaic Texture Featuring Colorful Stained Glass Pieces with Smooth Finish
Seamless texture (tileable) · PNG, WEBP, PBR ZIP. License: AITextured Free Commercial License (FCL) v1.1. Free personal and commercial use. Raw resale, standalone redistribution, mirroring/scraping, competing asset packs, and AI/ML training are not allowed without written permission. Attribution is not required, but appreciated..

| ID | seamless-3d-texture-pbr-8k-octagonal-tiles-mosaic-featuring-earth-tones-and-textured-surface-realism |
|---|---|
| Category | Mosaic |
| Formats | PNG, WEBP, PBR ZIP |
| Size | 1k (1024x1024px), 2k (2048x2048px), 4k (4096x4096px), 8k (8192x8192px) |
| Color | sRGB |
| Tileable | Yes |
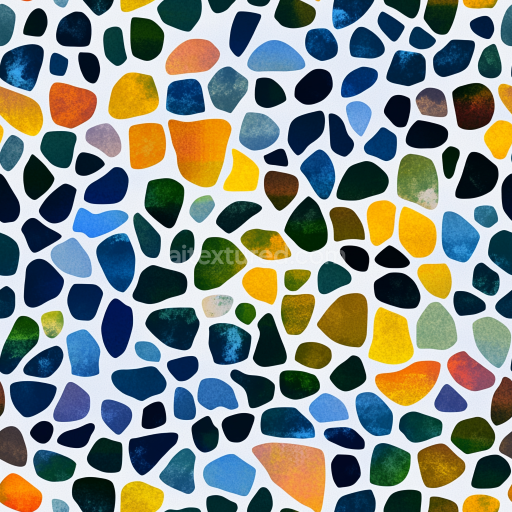
This seamless 3D texture features a meticulously crafted mosaic of octagonal tiles, inspired by natural stone materials commonly found in traditional architectural designs. Each tile exhibits a subtle variation in earth tones, ranging from warm ochres and muted browns to soft grays, reflecting the mineral composition and natural pigmentation of sedimentary stones such as sandstone or limestone. The underlying substrate mimics a dense, fine-grained stone matrix, with slight porosity that allows for realistic weathering effects. The grout lines between tiles are rendered with a gently aged appearance, simulating a lime-based mortar that has softened over time without compromising structural clarity.
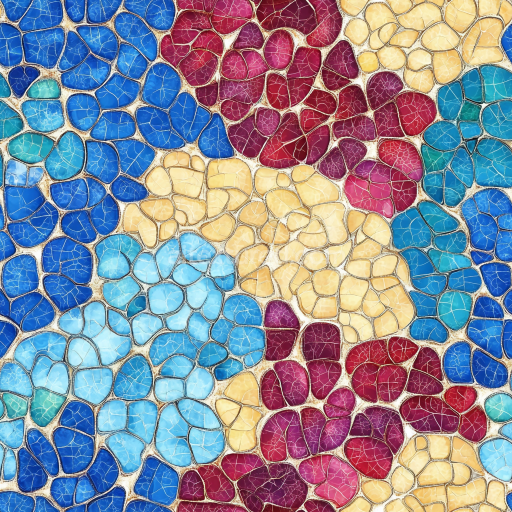
The geometric form of the texture centers on regular octagonal tiles arranged in a tight mosaic pattern. This arrangement creates an interlocking surface that balances visual complexity with architectural order. The tiles themselves display a textured surface finish that blends fine roughness with sporadic micro-imperfections—small pits, scratches, and subtle chipping—reminiscent of hand-cut natural stone. This tactile variation is enhanced through the PBR channels: the BaseColor (Albedo) channel captures the nuanced earth tones and subtle pigment mottling, while the Normal map conveys the intricate surface relief and depth of each tile’s sculpted edges. The Roughness map defines a moderately matte finish with localized glossiness on smoothed edges and minor polish, avoiding any artificial sheen to maintain authenticity.
The Metallic channel is deliberately kept at zero, consistent with the non-metallic stone material, while the Ambient Occlusion map accentuates the depth of grout lines and tile intersections, enhancing shadowing and dimensionality. Height and Displacement maps provide accurate elevation data to reinforce the pronounced relief of the octagonal form and textured surface, essential for realistic parallax effects in real-time engines. Rendered at an impressive 8K resolution, this texture supports high-fidelity close-ups without visible pixelation, making it ideal for use in Blender, Unreal Engine, and Unity environments.
When integrating this texture into your projects, consider adjusting the UV scale to maintain the natural tile size relative to your scene, as improper scaling can diminish the material’s realism. Additionally, fine-tuning the roughness parameter can help adapt the material to different environmental lighting conditions—lower roughness values for polished interior floors or higher values for exterior applications exposed to weathering. Blending the height map subtly with normal maps can also enhance surface detail without over-exaggeration, ensuring the mosaic retains its tactile authenticity without appearing artificially pronounced.
Import the texture maps into Blender with sRGB color space for albedo/base color and Non-Color for normal, roughness, metallic, AO, height, and ORM maps. Connect normal maps through a Normal Map node, then adjust UV scale with a Mapping node so the material repeats naturally on your model.
For the full step-by-step setup, see How to Use Seamless Textures in Blender. Browse related material examples in wood, concrete, and metal.
Yes. This texture is designed as a seamless tileable PBR material, so it can repeat across large surfaces without visible borders.
You can download PNG/WEBP versions and use 1K, 2K, 4K and 8K download options when available on the page.
Yes. The download options and engine-mapped ZIP workflow are designed for Blender, Unreal Engine, Unity Standard, URP and HDRP material pipelines.
Yes. The texture is available under the AITextured free commercial license. Review the license page for redistribution and AI-training restrictions.

Build, preview, and export seamless PBR materials. Generate full map sets from a single image, inspect them in a real-time WebGL viewer, and re-package maps for Unreal, Unity, and Blender—directly in your browser.
AI text-to-texture: type a prompt and get a seamless, tileable base image ready for PBR workflows (great starting point for materials).
Create a full PBR set (Normal, Roughness, AO, Metallic, etc.) from a single image. Seamless and tiling-friendly.
Instant WebGL viewer: inspect materials on a sphere, plane, and cube. Check tiling and lighting in real time.
Re-packages maps per engine: Unreal (BaseColor + ORM), Unity (Mask/MetallicSmoothness), Blender (separate channels).
PNG ↔ JPG ↔ SVG: fast convert, SVG rasterize, embed/trace options, quality & background controls.