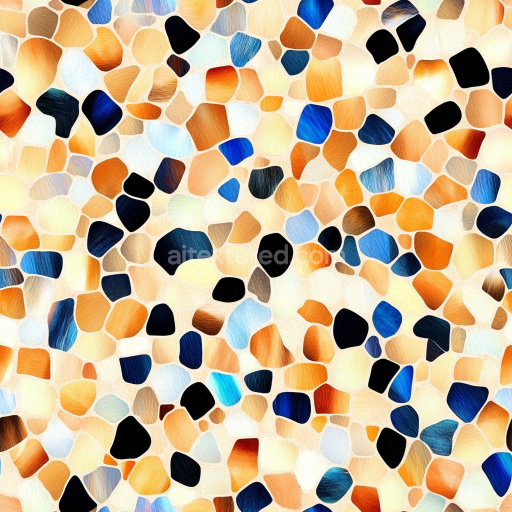
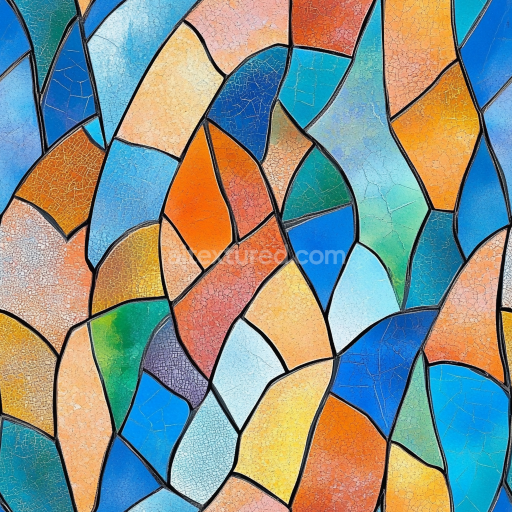
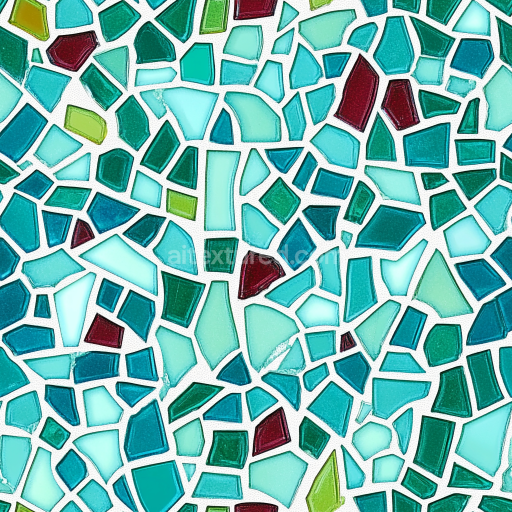
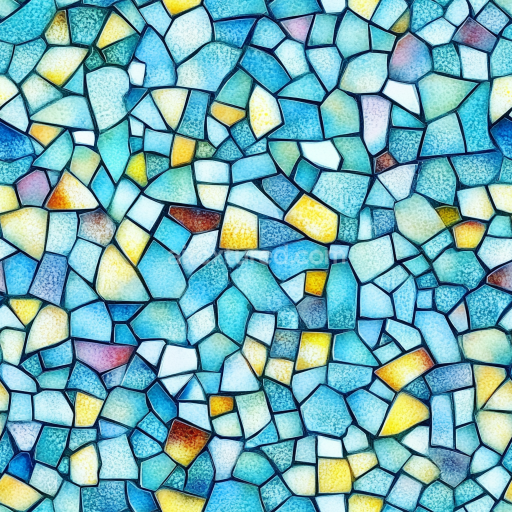
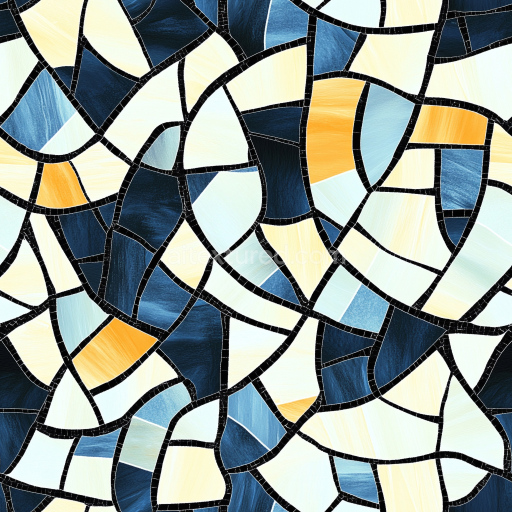
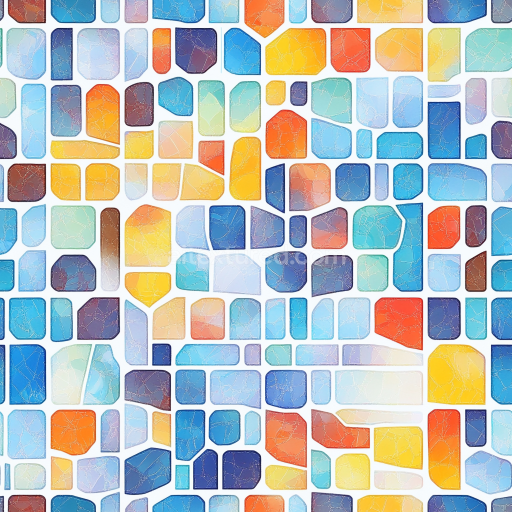
Granite Chips Mosaic With Neutral Hues And Rough Texture Finish
Seamless texture (tileable) · PNG, WEBP, PBR ZIP. License: AITextured Free Commercial License (FCL) v1.1. Free personal and commercial use. Raw resale, standalone redistribution, mirroring/scraping, competing asset packs, and AI/ML training are not allowed without written permission. Attribution is not required, but appreciated..

| ID | seamless-3d-texture-pbr-8k-polished-stone-mosaic-with-vibrant-colors-and-intricate-pattern |
|---|---|
| Category | Mosaic |
| Formats | PNG, WEBP, PBR ZIP |
| Size | 1k (1024x1024px), 2k (2048x2048px), 4k (4096x4096px), 8k (8192x8192px) |
| Color | sRGB |
| Tileable | Yes |
This seamless 3D texture presents a meticulously crafted mosaic pattern composed of polished natural stone tiles arranged in precise geometric shapes, predominantly hexagons and diamonds. The base material consists of finely cut stone pieces set within a subtle tile grout that simulates realistic adhesion typically achieved through cementitious binders. The stone surface exhibits a smooth, low-porosity structure with a high-gloss finish that accentuates the reflective properties of polished marble or granite, lending a vibrant, eye-catching palette of rich hues. The intricate patterning enhances spatial complexity, combining both angular and curved segments to create a visually engaging layout suitable for architectural visualization and detailed 3D rendering scenarios.
The texture’s physical attributes are accurately represented through Physically Based Rendering (PBR) channels to maximize realism. The BaseColor (Albedo) map captures the vivid coloration and natural variegations inherent in polished stone, while the Normal map delivers fine surface detail to emphasize the subtle relief of tile edges and grout lines. The Roughness map is calibrated to reflect the glossy finish, offering low roughness values that simulate smooth, reflective stone surfaces. The Metallic map remains neutral, as the natural stone lacks metallic properties. Ambient Occlusion enhances depth perception around grout recesses and tile intersections, while the Height/Displacement map introduces subtle elevation differences to emphasize the three-dimensionality of the mosaic tiles and grout texture.
Captured at an 8K resolution, this texture ensures exceptional detail when applied to large-scale models or close-up camera angles, making it highly suitable for rendering engines such as Blender’s Cycles and Eevee, Unreal Engine, and Unity. The seamless design facilitates effortless tiling without visible repetition or edge artifacts, accommodating a wide range of UV mapping layouts. Its polished stone surfaces perform well under various lighting conditions, preserving accurate color fidelity and reflection characteristics in neutral lighting setups.
For optimal use, it is advisable to adjust the UV scale to balance tile size with scene context, preventing overly large or small pattern repetitions. Fine-tuning the Roughness channel can help achieve desired levels of glossiness, especially in environments with dynamic lighting. When incorporating height or parallax effects, blending the Height/Displacement map subtly with Normal maps can enhance surface depth without causing geometry distortion, maintaining a natural and tactile appearance across diverse rendering platforms.
Import the texture maps into Blender with sRGB color space for albedo/base color and Non-Color for normal, roughness, metallic, AO, height, and ORM maps. Connect normal maps through a Normal Map node, then adjust UV scale with a Mapping node so the material repeats naturally on your model.
For the full step-by-step setup, see How to Use Seamless Textures in Blender. Browse related material examples in wood, concrete, and metal.
Yes. This texture is designed as a seamless tileable PBR material, so it can repeat across large surfaces without visible borders.
You can download PNG/WEBP versions and use 1K, 2K, 4K and 8K download options when available on the page.
Yes. The download options and engine-mapped ZIP workflow are designed for Blender, Unreal Engine, Unity Standard, URP and HDRP material pipelines.
Yes. The texture is available under the AITextured free commercial license. Review the license page for redistribution and AI-training restrictions.

Build, preview, and export seamless PBR materials. Generate full map sets from a single image, inspect them in a real-time WebGL viewer, and re-package maps for Unreal, Unity, and Blender—directly in your browser.
AI text-to-texture: type a prompt and get a seamless, tileable base image ready for PBR workflows (great starting point for materials).
Create a full PBR set (Normal, Roughness, AO, Metallic, etc.) from a single image. Seamless and tiling-friendly.
Instant WebGL viewer: inspect materials on a sphere, plane, and cube. Check tiling and lighting in real time.
Re-packages maps per engine: Unreal (BaseColor + ORM), Unity (Mask/MetallicSmoothness), Blender (separate channels).
PNG ↔ JPG ↔ SVG: fast convert, SVG rasterize, embed/trace options, quality & background controls.