
Wool Boucle Wool Fabric Soft Wool Fibers Natural Wool
Seamless texture (tileable) · PNG, WEBP, PBR ZIP. License: AITextured Free Commercial License (FCL) v1.1. Free personal and commercial use. Raw resale, standalone redistribution, mirroring/scraping, competing asset packs, and AI/ML training are not allowed without written permission. Attribution is not required, but appreciated..

| ID | seamless-3d-texture-pbr-8k-thick-wool-dry-wool-compressed-wool-wool-pile-wool-fuzz |
|---|---|
| Category | Wool |
| Formats | PNG, WEBP, PBR ZIP |
| Size | 1k (1024x1024px), 2k (2048x2048px), 4k (4096x4096px), 8k (8192x8192px) |
| Color | sRGB |
| Tileable | Yes |
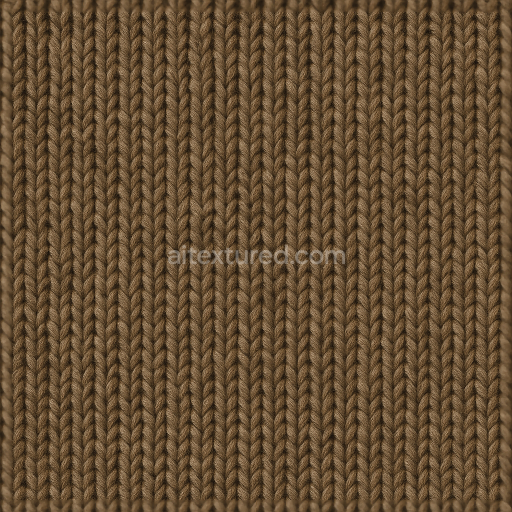
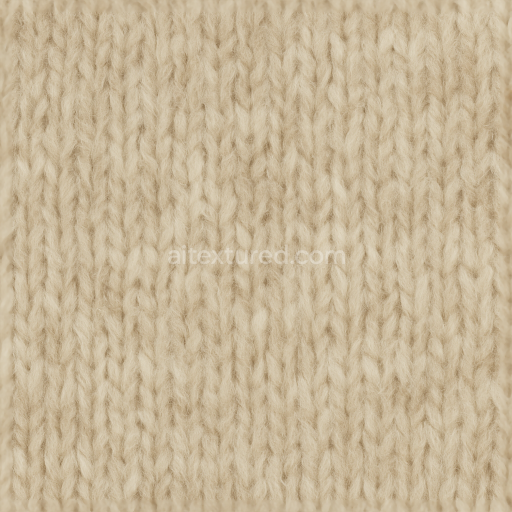
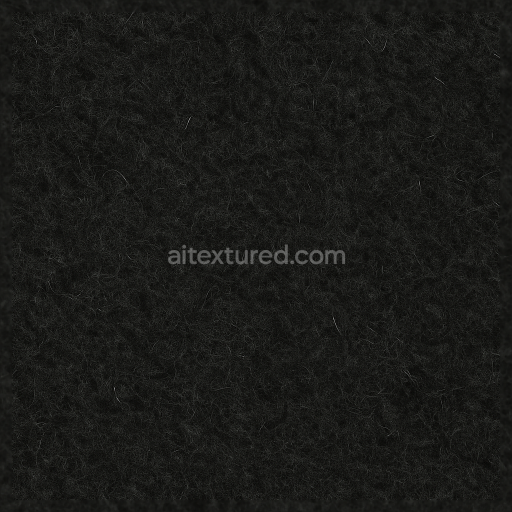
This seamless 3D texture represents thick wool fabric characterized by a dense compressed structure with a matte dry surface finish. The base material is natural wool fibers tightly pressed together forming a compact substrate with visible wool pile and fuzz that add depth and tactile complexity. The wool fibers are arranged in an irregular organic pattern typical of heavy woolen textiles where compressed wool strands create a soft but firm surface with subtle undulations. The texture’s surface exhibits moderate porosity reflecting the fibrous nature of wool while maintaining a cohesive form due to the natural lanolin and slight felting effects binding the fibers.
In terms of material composition the substrate consists primarily of intertwined wool fibers that create the bulk of the texture’s volume supported by a compressed structure that reduces air gaps while preserving individual fiber details. There are no synthetic binders or adhesives present; instead the natural felting and compression processes act as the binding mechanism. The wool pile appears as small tufted clumps rising from the surface with fine wool fuzz gently diffusing around the edges contributing to a soft tactile impression. The color palette is dominated by natural off-white and beige tones indicative of undyed dry wool with subtle variations that enhance realism.
The PBR maps are carefully crafted to represent these material qualities. The BaseColor (Albedo) channel captures the natural muted tones of dry wool with slight color variance to simulate fiber clumping and shadows. The Normal map emphasizes the raised wool pile and fuzz adding micro-detail to the surface geometry for realistic light interaction. Roughness is kept relatively high to reflect the matte non-reflective nature of compressed wool while the Metallic channel remains at zero as wool is a non-metallic organic fiber. Ambient Occlusion enhances the depth perception within fiber clusters and compressed areas and the Height/Displacement map provides subtle relief that simulates the texture’s volumetric pile and fuzz improving realism especially in close-up renders.
This 8K resolution texture is optimized for seamless tiling ensuring no visible repetition in large-scale renders. It is fully compatible and ready for integration with Blender Unreal Engine and Unity workflows making it suitable for digital textile visualization architectural upholstery details and realistic 3D garment design. For practical usage it is recommended to carefully adjust the UV scale in 3D software to match real-world wool fabric dimensions for accurate proportioning. Additionally fine-tuning the Roughness map can help simulate either a fresher wool look by slightly lowering roughness or a more weathered worn appearance by increasing it. Blending the Height and Normal maps can also enhance the perception of depth without heavy geometry displacement optimizing performance in real-time engines.
Import the texture maps into Blender with sRGB color space for albedo/base color and Non-Color for normal, roughness, metallic, AO, height, and ORM maps. Connect normal maps through a Normal Map node, then adjust UV scale with a Mapping node so the material repeats naturally on your model.
For the full step-by-step setup, see How to Use Seamless Textures in Blender. Browse related material examples in wood, concrete, and metal.
Yes. This texture is designed as a seamless tileable PBR material, so it can repeat across large surfaces without visible borders.
You can download PNG/WEBP versions and use 1K, 2K, 4K and 8K download options when available on the page.
Yes. The download options and engine-mapped ZIP workflow are designed for Blender, Unreal Engine, Unity Standard, URP and HDRP material pipelines.
Yes. The texture is available under the AITextured free commercial license. Review the license page for redistribution and AI-training restrictions.


Build, preview, and export seamless PBR materials. Generate full map sets from a single image, inspect them in a real-time WebGL viewer, and re-package maps for Unreal, Unity, and Blender—directly in your browser.
AI text-to-texture: type a prompt and get a seamless, tileable base image ready for PBR workflows (great starting point for materials).
Create a full PBR set (Normal, Roughness, AO, Metallic, etc.) from a single image. Seamless and tiling-friendly.
Instant WebGL viewer: inspect materials on a sphere, plane, and cube. Check tiling and lighting in real time.
Re-packages maps per engine: Unreal (BaseColor + ORM), Unity (Mask/MetallicSmoothness), Blender (separate channels).
PNG ↔ JPG ↔ SVG: fast convert, SVG rasterize, embed/trace options, quality & background controls.