
Tweed Wool Herringbone Wool Wool Textile Natural Dye
Seamless texture (tileable) · PNG, WEBP, PBR ZIP. License: AITextured Free Commercial License (FCL) v1.1. Free personal and commercial use. Raw resale, standalone redistribution, mirroring/scraping, competing asset packs, and AI/ML training are not allowed without written permission. Attribution is not required, but appreciated..

| ID | seamless-3d-texture-pbr-8k-carded-wool-raw-wool-fibers-coarse-wool-strands |
|---|---|
| Category | Wool |
| Formats | PNG, WEBP, PBR ZIP |
| Size | 1k (1024x1024px), 2k (2048x2048px), 4k (4096x4096px), 8k (8192x8192px) |
| Color | sRGB |
| Tileable | Yes |
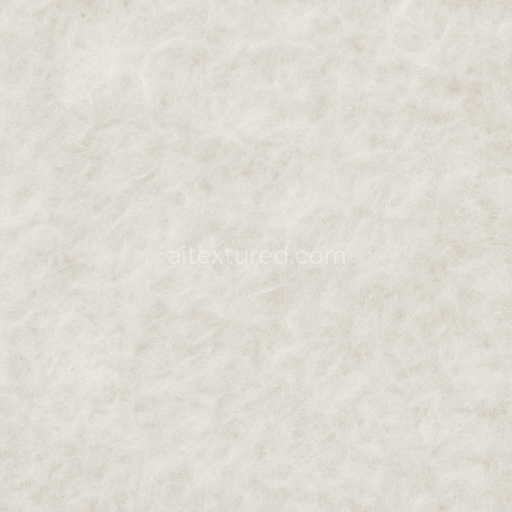
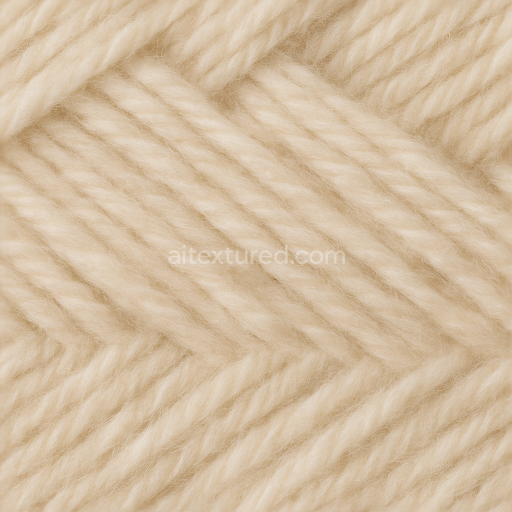
This seamless 3D texture captures the intricate details of carded wool showcasing raw coarse wool fibers arranged in natural wool strands. The material simulates a fibrous substrate composed of densely interlocked wool fibers which form a thick long wool pile with a distinctly fuzzy surface. The coarse strands exhibit subtle variation in fiber thickness and direction creating an organic uneven geometric pattern reminiscent of loosely woven or felted wool fabric. The brown color palette includes slight tonal irregularities and natural imperfections reflecting the unprocessed condition of raw wool before any dyeing or finishing treatments.
From a material composition perspective this texture represents a fibrous aggregate without binders or adhesives where the structural integrity arises from the inherent crimp and entanglement of individual wool fibers. The porosity is moderate to high allowing for visible depth and softness in the surface. The finish is matte with a low sheen emphasizing the diffuse light scattering typical of wool’s natural lanolin coating and fiber scales. Colorants are absent maintaining the original pigment of the sheep’s fleece. For physically based rendering (PBR) the BaseColor (Albedo) channel conveys the warm earthy brown hues and subtle blemishes while the Normal map captures the complex surface relief of the fuzzy pile and strand undulations. Roughness is tuned to moderate-high values to reflect the soft non-reflective nature of wool with minimal metallic influence in the Metallic channel as the material is organic and non-metallic. Ambient Occlusion enhances the depth perception between fiber clusters and the Height/Displacement map emphasizes the volumetric loft of the wool strands and pile.
Rendered at an 8K resolution this texture provides exceptional detail suitable for close-up visualization in high-end applications supporting workflows in Blender Unreal Engine and Unity. The high pixel density allows for rich fidelity in lighting interactions and surface intricacies essential for realistic digital textile simulations or environment asset creation where coarse wool materials need to be authentically represented.
For optimal usage it is recommended to carefully adjust the UV scale to maintain proportional fiber size relative to the 3D model. Additionally fine-tuning roughness values can help balance the soft matte appearance with subtle specular highlights caused by natural fiber oils. When integrating height or parallax maps blending with normal maps enhances the tactile sense of depth without overly exaggerating displacement which preserves realism in real-time rendering environments.
Import the texture maps into Blender with sRGB color space for albedo/base color and Non-Color for normal, roughness, metallic, AO, height, and ORM maps. Connect normal maps through a Normal Map node, then adjust UV scale with a Mapping node so the material repeats naturally on your model.
For the full step-by-step setup, see How to Use Seamless Textures in Blender. Browse related material examples in wood, concrete, and metal.
Yes. This texture is designed as a seamless tileable PBR material, so it can repeat across large surfaces without visible borders.
You can download PNG/WEBP versions and use 1K, 2K, 4K and 8K download options when available on the page.
Yes. The download options and engine-mapped ZIP workflow are designed for Blender, Unreal Engine, Unity Standard, URP and HDRP material pipelines.
Yes. The texture is available under the AITextured free commercial license. Review the license page for redistribution and AI-training restrictions.


Build, preview, and export seamless PBR materials. Generate full map sets from a single image, inspect them in a real-time WebGL viewer, and re-package maps for Unreal, Unity, and Blender—directly in your browser.
AI text-to-texture: type a prompt and get a seamless, tileable base image ready for PBR workflows (great starting point for materials).
Create a full PBR set (Normal, Roughness, AO, Metallic, etc.) from a single image. Seamless and tiling-friendly.
Instant WebGL viewer: inspect materials on a sphere, plane, and cube. Check tiling and lighting in real time.
Re-packages maps per engine: Unreal (BaseColor + ORM), Unity (Mask/MetallicSmoothness), Blender (separate channels).
PNG ↔ JPG ↔ SVG: fast convert, SVG rasterize, embed/trace options, quality & background controls.