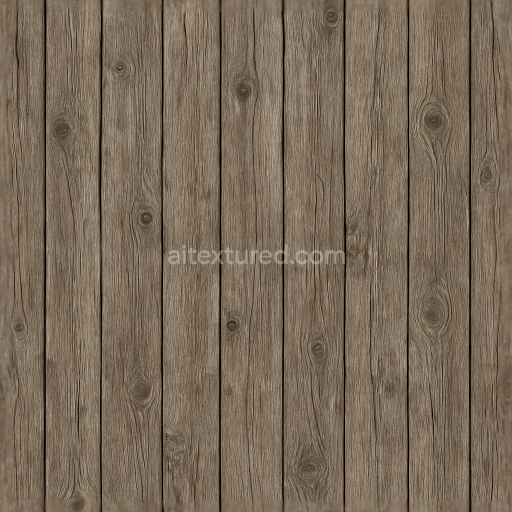
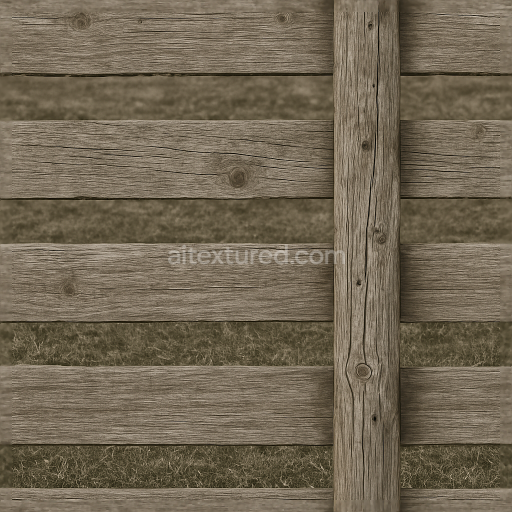
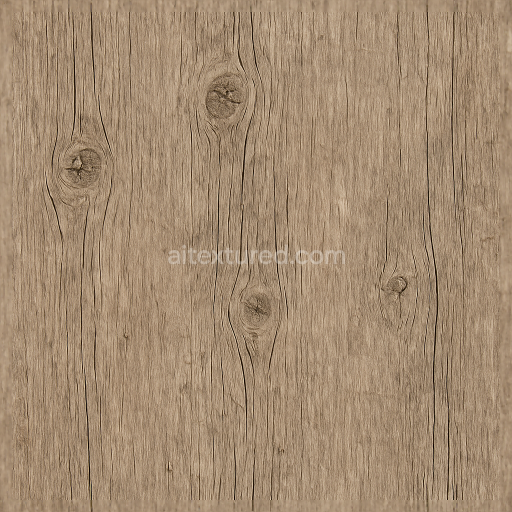
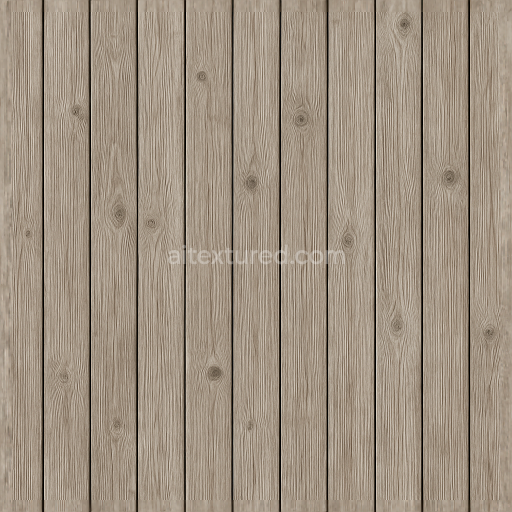
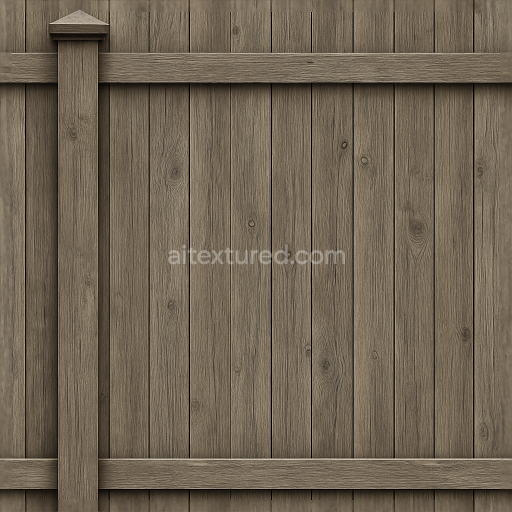
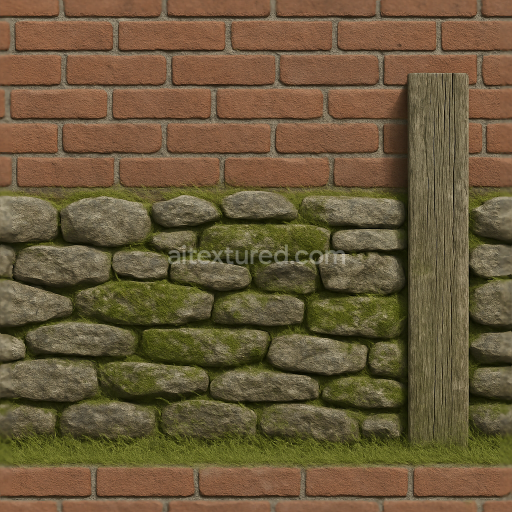
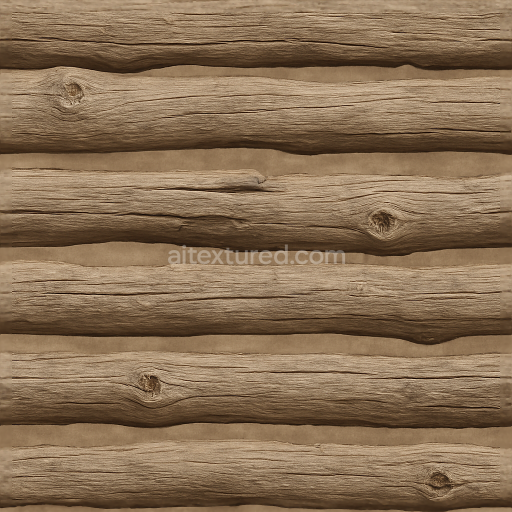
Wooden Fence With Weathered Wood And Fence Knots Detail
Seamless texture (tileable) · PNG, WEBP, PBR ZIP. License: AITextured Free Commercial License (FCL) v1.1. Free personal and commercial use. Raw resale, standalone redistribution, mirroring/scraping, competing asset packs, and AI/ML training are not allowed without written permission. Attribution is not required, but appreciated..

| ID | seamless-3d-texture-pbr-8k-wrought-iron-fence-with-decorative-iron-and-black-iron-finish |
|---|---|
| Category | Fences |
| Formats | PNG, WEBP, PBR ZIP |
| Size | 1k (1024x1024px), 2k (2048x2048px), 4k (4096x4096px), 8k (8192x8192px) |
| Color | sRGB |
| Tileable | Yes |
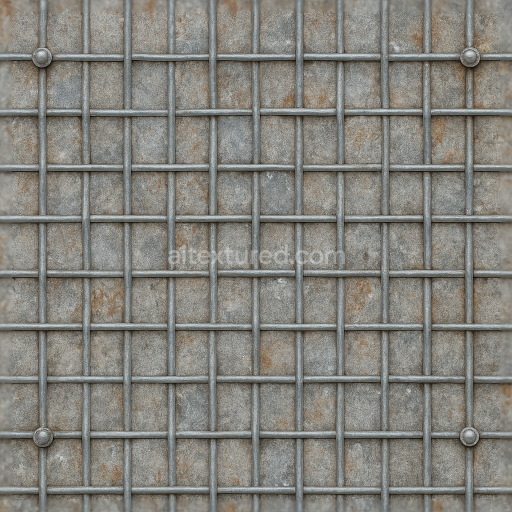
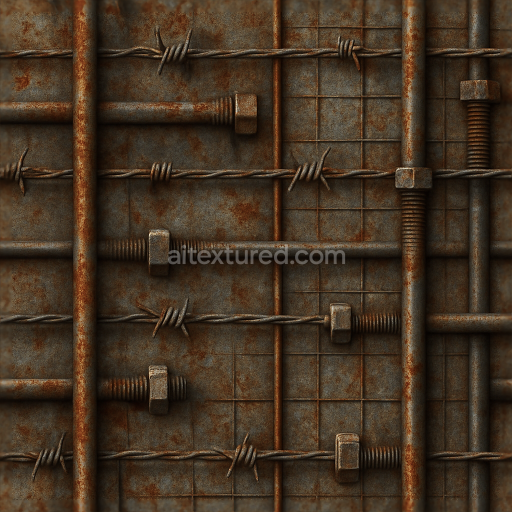
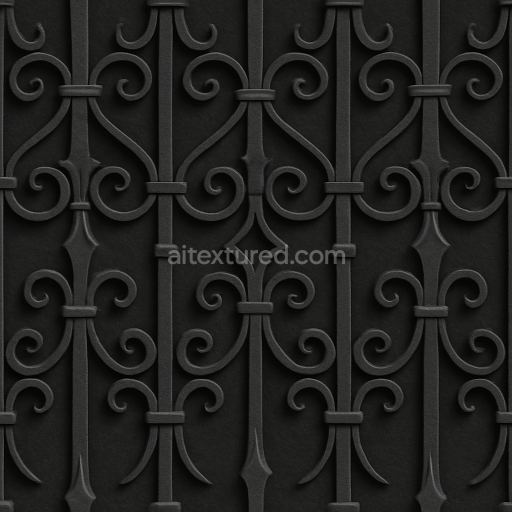
This seamless 8K PBR 3D texture showcases a wrought iron fence characterized by intricate decorative ironwork and a refined black iron finish. The primary material is forged wrought iron, known for its toughness and malleability, allowing for the elaborate geometric forms visible in the texture. The fence’s design features repeating vertical bars interlaced with ornate scrollwork and floral motifs, creating a balanced pattern of curved and linear elements. These geometric forms are modeled with careful attention to the subtle surface variations, including slight imperfections and the characteristic grain of cold-worked metal, which contribute to the realistic feel of the material.
The wrought iron surface is coated with a durable black iron paint that acts as both pigment and protective binder, adhering firmly to the metal substrate. This finish exhibits low porosity, minimizing moisture penetration and corrosion, while the paint’s slightly matte sheen results from a finely textured, brushed surface treatment. The texture maps capture these material qualities through multiple PBR channels: the BaseColor (Albedo) channel displays the deep black paint interspersed with occasional lighter highlights from wear or weathering; the Normal map enhances the perception of embossed decorative details and subtle surface grain; the Roughness map varies from smooth areas on polished curves to rougher, weathered flat surfaces, reflecting realistic light diffusion.
Metallic values throughout the texture remain high, indicative of the iron substrate beneath the paint, while the Ambient Occlusion channel intensifies shadows within crevices and overlaps, adding depth to the fence’s complex geometry. The Height/Displacement map accurately portrays the relief of wrought iron elements, allowing for enhanced parallax and displacement effects in render engines. With an 8K resolution, this texture provides exceptional detail suitable for close-up renders and large-scale architectural visualization. It is fully compatible and optimized for use in Blender, Unreal Engine, and Unity, ensuring high fidelity and performance across platforms.
For practical application, it is recommended to adjust the UV scale carefully to maintain the natural proportions of the wrought iron pattern, avoiding distortion in tight spaces or large surfaces. Additionally, fine-tuning the roughness map can help simulate varying weathering levels — increasing roughness for aged fences or decreasing it for freshly painted finishes. Blending the height map subtly with the normal map enhances surface depth without introducing excessive geometry, preserving real-time rendering efficiency in game engines.
Import the texture maps into Blender with sRGB color space for albedo/base color and Non-Color for normal, roughness, metallic, AO, height, and ORM maps. Connect normal maps through a Normal Map node, then adjust UV scale with a Mapping node so the material repeats naturally on your model.
For the full step-by-step setup, see How to Use Seamless Textures in Blender. Browse related material examples in wood, concrete, and metal.
Yes. This texture is designed as a seamless tileable PBR material, so it can repeat across large surfaces without visible borders.
You can download PNG/WEBP versions and use 1K, 2K, 4K and 8K download options when available on the page.
Yes. The download options and engine-mapped ZIP workflow are designed for Blender, Unreal Engine, Unity Standard, URP and HDRP material pipelines.
Yes. The texture is available under the AITextured free commercial license. Review the license page for redistribution and AI-training restrictions.

Build, preview, and export seamless PBR materials. Generate full map sets from a single image, inspect them in a real-time WebGL viewer, and re-package maps for Unreal, Unity, and Blender—directly in your browser.
AI text-to-texture: type a prompt and get a seamless, tileable base image ready for PBR workflows (great starting point for materials).
Create a full PBR set (Normal, Roughness, AO, Metallic, etc.) from a single image. Seamless and tiling-friendly.
Instant WebGL viewer: inspect materials on a sphere, plane, and cube. Check tiling and lighting in real time.
Re-packages maps per engine: Unreal (BaseColor + ORM), Unity (Mask/MetallicSmoothness), Blender (separate channels).
PNG ↔ JPG ↔ SVG: fast convert, SVG rasterize, embed/trace options, quality & background controls.