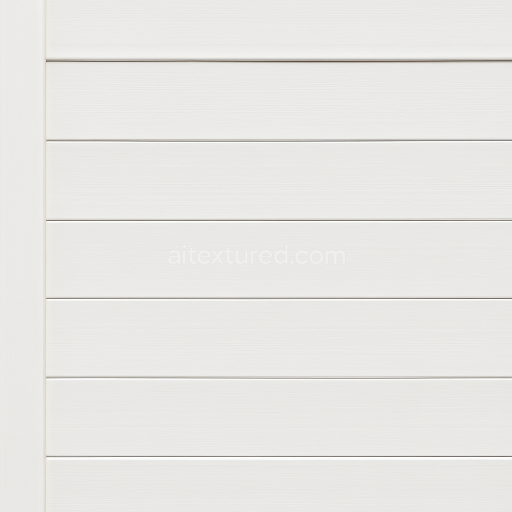
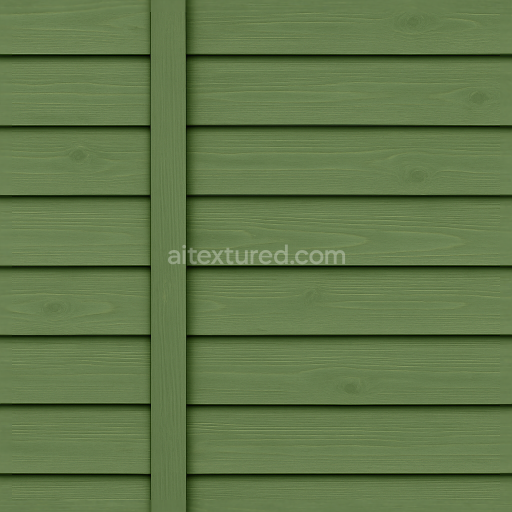
Seamless 8K 3D Texture PBR Vinyl Fence With Painted Vinyl White Fence Featuring Smooth Su…
Seamless texture (tileable) · PNG, WEBP, PBR ZIP. License: AITextured Free Commercial License (FCL) v1.1. Free personal and commercial use. Raw resale, standalone redistribution, mirroring/scraping, competing asset packs, and AI/ML training are not allowed without written permission. Attribution is not required, but appreciated..

| ID | seamless-8k-3d-texture-pbr-metal-fence-with-galvanized-metal-and-oxidized-metal-surfaces |
|---|---|
| Category | Fences |
| Formats | PNG, WEBP, PBR ZIP |
| Size | 1k (1024x1024px), 2k (2048x2048px), 4k (4096x4096px), 8k (8192x8192px) |
| Color | sRGB |
| Tileable | Yes |
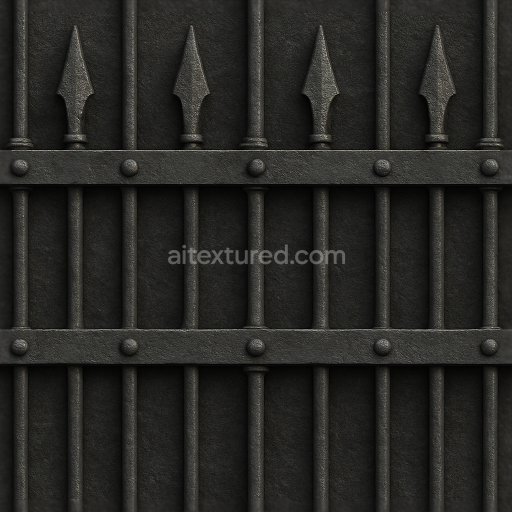
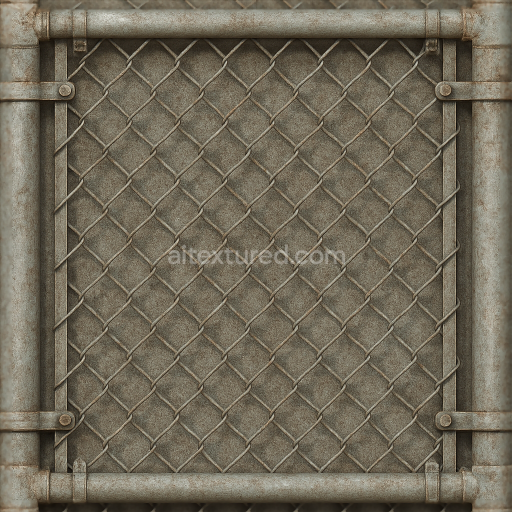
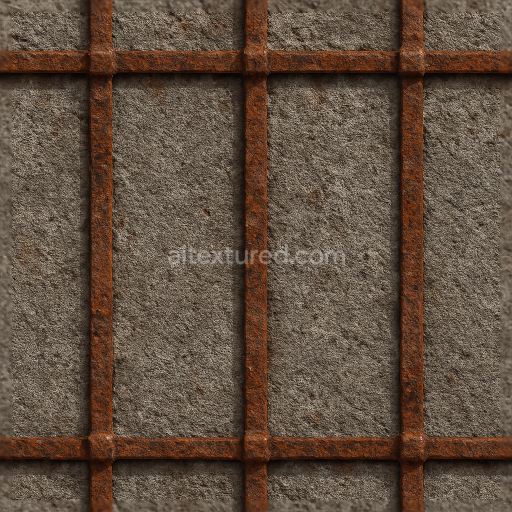
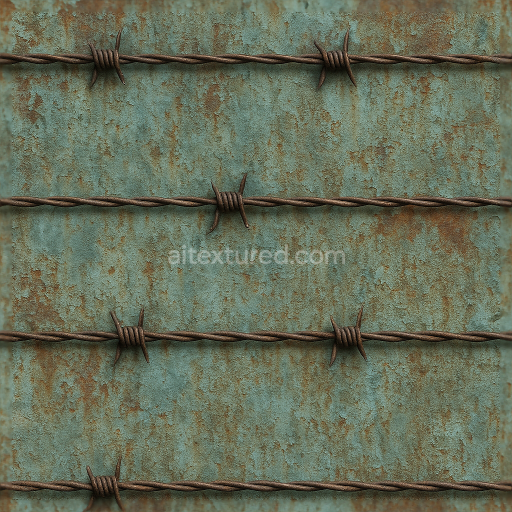
This seamless 8K PBR 3D texture depicts a metal fence crafted primarily from galvanized steel, featuring a complex interplay between freshly coated and oxidized metal surfaces. The foundational material consists of steel rods and wire mesh intricately woven into a sturdy grid pattern, reinforced by visible metal bolts that secure the structure. The galvanized coating provides a protective zinc layer, characterized by a slightly rough, matte finish that resists corrosion. Over time, areas of this coating have worn thin or chipped away, exposing the underlying steel substrate which has begun to oxidize, resulting in patches of rust and corroded metal with varied reddish-brown hues. These natural weathering effects introduce surface porosity and unevenness, adding tactile realism to the texture.
The composition of this fence texture involves a base steel alloy substrate, overlaid with a galvanization process that deposits zinc as a protective binder. The surface aggregates include minor crystalline zinc deposits and corrosion byproducts such as iron oxides, which create the varied coloration and micro-roughness seen across the texture. The wire mesh and rods exhibit subtle imperfections—scratches, dents, and areas of flaking paint or galvanization—conveying prolonged exposure to outdoor elements. These details translate effectively into PBR channels: the BaseColor (Albedo) reflects the nuanced palette from silvery galvanized metal to rusty orange-browns; the Normal and Height maps capture the embossed wire mesh and corroded pitting; Roughness maps vary from smooth galvanized areas to rough, oxidized patches; the Metallic channel emphasizes the metal nature with high values; Ambient Occlusion enhances depth in crevices where rust accumulates.
Designed for high-fidelity visualizations, this texture is optimized at an 8K resolution, enabling close-up renders without loss of detail. It is fully compatible and ready for use in Blender, Unreal Engine, and Unity workflows, supporting advanced shading techniques and real-time rendering. The seamless tiling ensures that large fence surfaces can be covered uniformly without visible repetition, while the detailed normal and height data facilitate realistic light interaction and surface relief effects. The wire mesh’s geometric form, combined with the irregular corrosion patterns, offers a compelling balance of structure and natural decay, suitable for industrial, urban, or post-apocalyptic 3D scenes.
For practical use, adjusting the UV scale can help tailor the perceived size of the fence elements to your scene, while fine-tuning the Roughness value allows you to control the interplay between the shiny galvanized metal and the matte rusted areas. When integrating height or parallax maps, blending them carefully with normal maps will enhance the three-dimensionality of the wire mesh and corroded surfaces without introducing artifacts. This approach ensures that the metal fence texture maintains physical accuracy and visual depth across a variety of lighting conditions and rendering engines.
Import the texture maps into Blender with sRGB color space for albedo/base color and Non-Color for normal, roughness, metallic, AO, height, and ORM maps. Connect normal maps through a Normal Map node, then adjust UV scale with a Mapping node so the material repeats naturally on your model.
For the full step-by-step setup, see How to Use Seamless Textures in Blender. Browse related material examples in wood, concrete, and metal.
Yes. This texture is designed as a seamless tileable PBR material, so it can repeat across large surfaces without visible borders.
You can download PNG/WEBP versions and use 1K, 2K, 4K and 8K download options when available on the page.
Yes. The download options and engine-mapped ZIP workflow are designed for Blender, Unreal Engine, Unity Standard, URP and HDRP material pipelines.
Yes. The texture is available under the AITextured free commercial license. Review the license page for redistribution and AI-training restrictions.
Build, preview, and export seamless PBR materials. Generate full map sets from a single image, inspect them in a real-time WebGL viewer, and re-package maps for Unreal, Unity, and Blender—directly in your browser.
AI text-to-texture: type a prompt and get a seamless, tileable base image ready for PBR workflows (great starting point for materials).
Create a full PBR set (Normal, Roughness, AO, Metallic, etc.) from a single image. Seamless and tiling-friendly.
Instant WebGL viewer: inspect materials on a sphere, plane, and cube. Check tiling and lighting in real time.
Re-packages maps per engine: Unreal (BaseColor + ORM), Unity (Mask/MetallicSmoothness), Blender (separate channels).
PNG ↔ JPG ↔ SVG: fast convert, SVG rasterize, embed/trace options, quality & background controls.