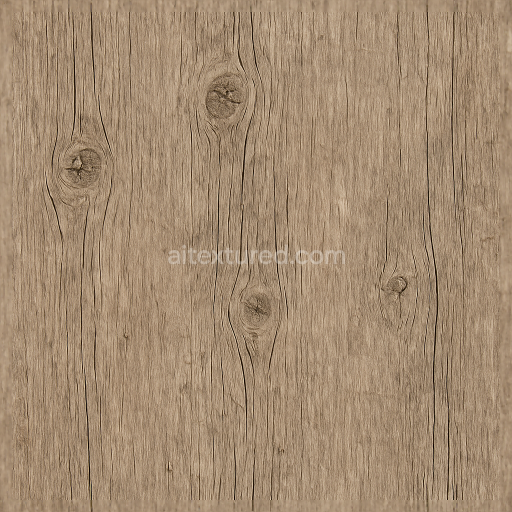
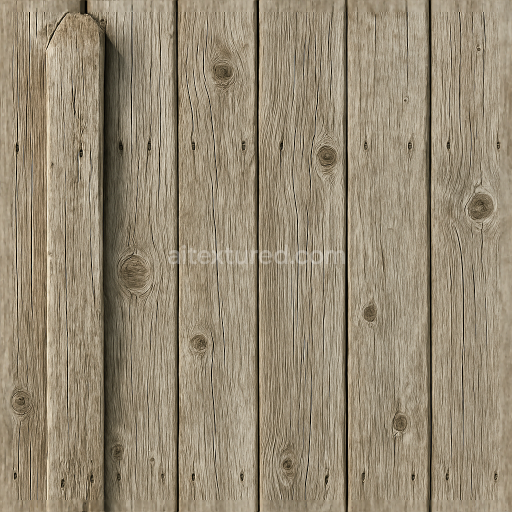
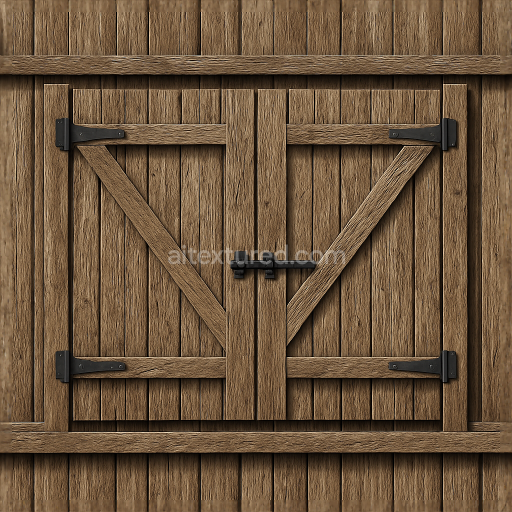
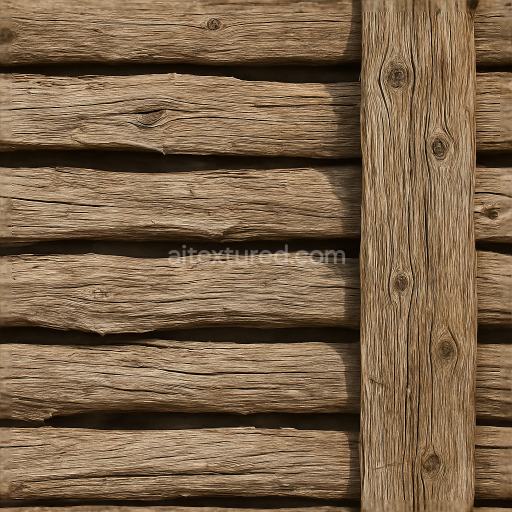
Seamless 8K 3D Texture PBR Rough Wood Fence Post With Knots And Splinters In Aged Wood Fi…
Seamless texture (tileable) · PNG, WEBP, PBR ZIP. License: AITextured Free Commercial License (FCL) v1.1. Free personal and commercial use. Raw resale, standalone redistribution, mirroring/scraping, competing asset packs, and AI/ML training are not allowed without written permission. Attribution is not required, but appreciated..

| ID | seamless-8k-3d-texture-pbr-brick-wall-fence-with-chipped-paint-and-painted-metal-fence-rail-details |
|---|---|
| Category | Fences |
| Formats | PNG, WEBP, PBR ZIP |
| Size | 1k (1024x1024px), 2k (2048x2048px), 4k (4096x4096px), 8k (8192x8192px) |
| Color | sRGB |
| Tileable | Yes |
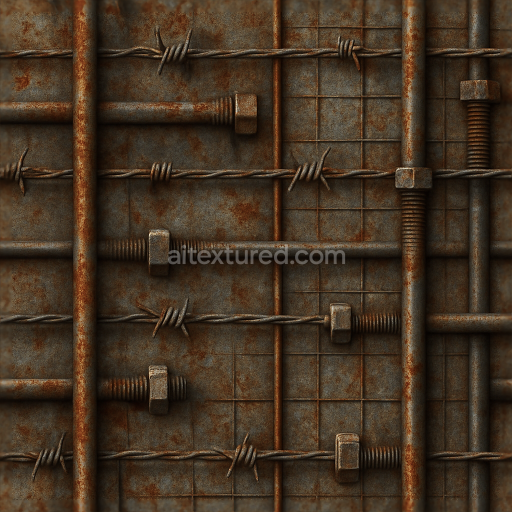
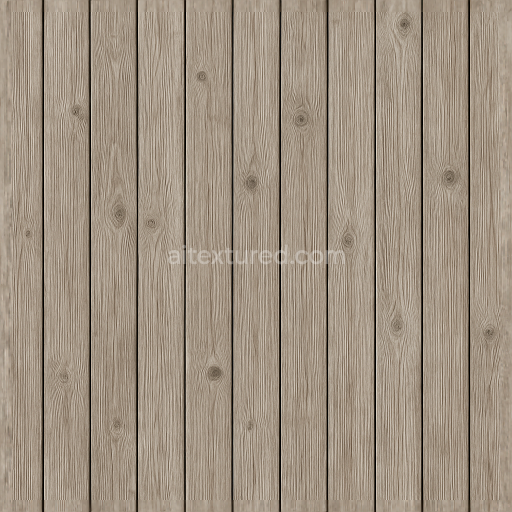
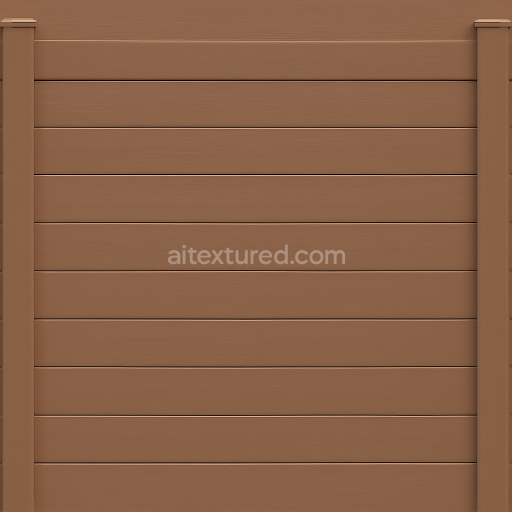
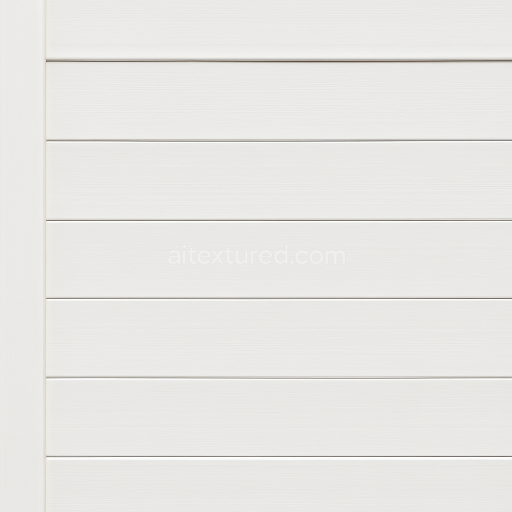
This seamless 8K PBR 3D texture depicts a brick wall fence constructed from traditional fired clay bricks arranged in a classic running bond pattern. The bricks exhibit a coarse, granular surface with subtle variations in porosity due to natural sand aggregates and minerals within the clay substrate. Over time, the wall has been coated with paint layers that have chipped and peeled, revealing the rough, reddish-brown brick beneath. The paint remnants present muted earth tones, slightly faded and weathered, indicating exposure to sunlight and moisture. This layered weathering effect is captured through detailed BaseColor maps that combine chipped paint pigment with the underlying brick hues, while the Normal and Height maps emphasize the uneven surface relief and subtle indentations between mortar joints.
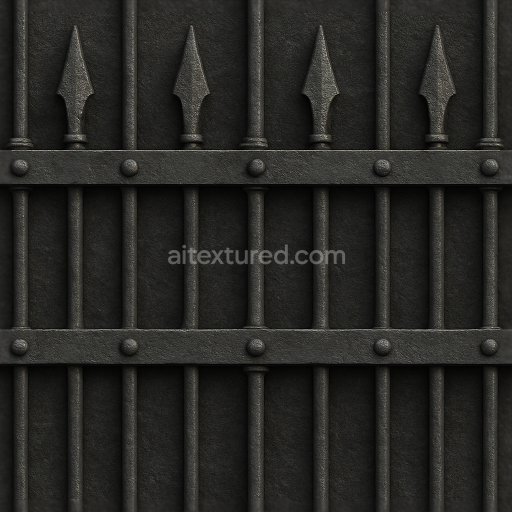
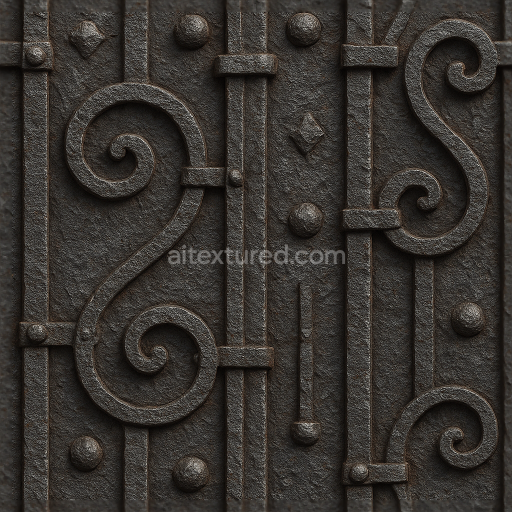
Adjoining the brickwork are painted metal fence rails, composed of wrought iron or steel with a slightly rough finish. The metal surfaces show signs of oxidation and wear, with patches of faded paint revealing oxidized, dull gray metal underneath. Fine details such as metal bolts and welded joints are clearly defined, adding structural realism. These metallic elements are accurately represented through the Metallic and Roughness channels, where the worn paint corresponds to higher roughness values and the exposed metal sections exhibit a subtly oxidized texture with reduced reflectivity. Ambient Occlusion maps enhance the depth around the bolts and rail intersections, emphasizing the 3D form and shadowing consistent with real-world fence construction.
The surface finish of the brick and metal components is a balance between rough, weathered textures and the remnants of protective coatings. The brick's porous nature contrasts with the metal's harder, oxidized surfaces, creating a tactile interplay between materials. This rich textural complexity is captured in the PBR workflow by combining BaseColor for color fidelity, Normal and Height maps for accurate surface geometry, Roughness for reflectance variation, Metallic for metal identification, and Ambient Occlusion for shadow detail. The seamless tiling ensures that the texture can be applied repeatedly without visible borders, making it ideal for large-scale urban or rustic fence models.
Rendered at 8K resolution, this texture offers exceptional detail suitable for high-end visualizations in Blender, Unreal Engine, and Unity. The high resolution allows close-up inspection without loss of fidelity, preserving the intricate chipped paint, rust patterns, and brick grain. For practical implementation, it is advisable to carefully adjust the UV scale to avoid repetitive patterning on larger fence surfaces, and to fine-tune roughness values to balance between the matte brick and the slightly glossier painted metal. Additionally, blending height or parallax maps with normal maps can enhance the perceived depth of the chipping and metal bolts, providing a convincing tactile quality in real-time rendering environments.
Import the texture maps into Blender with sRGB color space for albedo/base color and Non-Color for normal, roughness, metallic, AO, height, and ORM maps. Connect normal maps through a Normal Map node, then adjust UV scale with a Mapping node so the material repeats naturally on your model.
For the full step-by-step setup, see How to Use Seamless Textures in Blender. Browse related material examples in wood, concrete, and metal.
Yes. This texture is designed as a seamless tileable PBR material, so it can repeat across large surfaces without visible borders.
You can download PNG/WEBP versions and use 1K, 2K, 4K and 8K download options when available on the page.
Yes. The download options and engine-mapped ZIP workflow are designed for Blender, Unreal Engine, Unity Standard, URP and HDRP material pipelines.
Yes. The texture is available under the AITextured free commercial license. Review the license page for redistribution and AI-training restrictions.

Build, preview, and export seamless PBR materials. Generate full map sets from a single image, inspect them in a real-time WebGL viewer, and re-package maps for Unreal, Unity, and Blender—directly in your browser.
AI text-to-texture: type a prompt and get a seamless, tileable base image ready for PBR workflows (great starting point for materials).
Create a full PBR set (Normal, Roughness, AO, Metallic, etc.) from a single image. Seamless and tiling-friendly.
Instant WebGL viewer: inspect materials on a sphere, plane, and cube. Check tiling and lighting in real time.
Re-packages maps per engine: Unreal (BaseColor + ORM), Unity (Mask/MetallicSmoothness), Blender (separate channels).
PNG ↔ JPG ↔ SVG: fast convert, SVG rasterize, embed/trace options, quality & background controls.