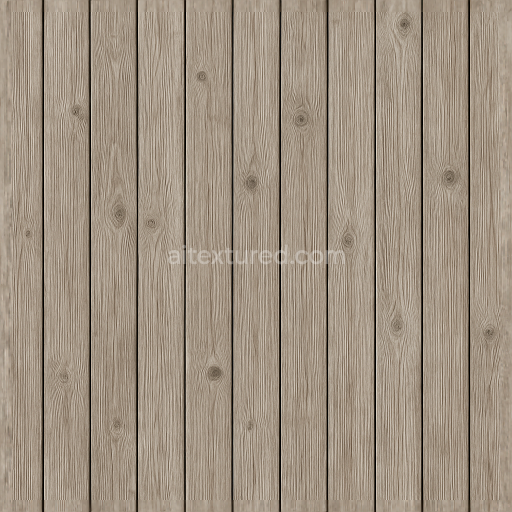
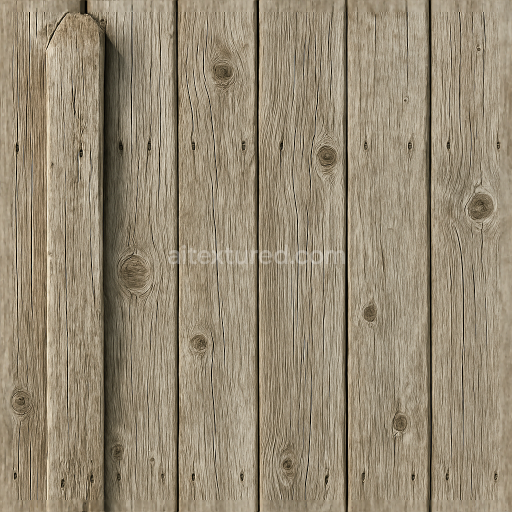
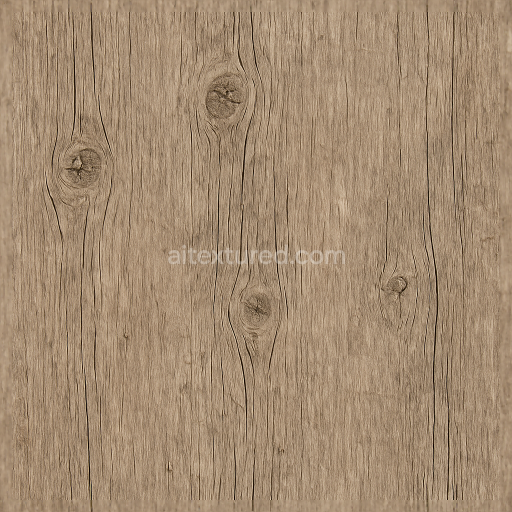
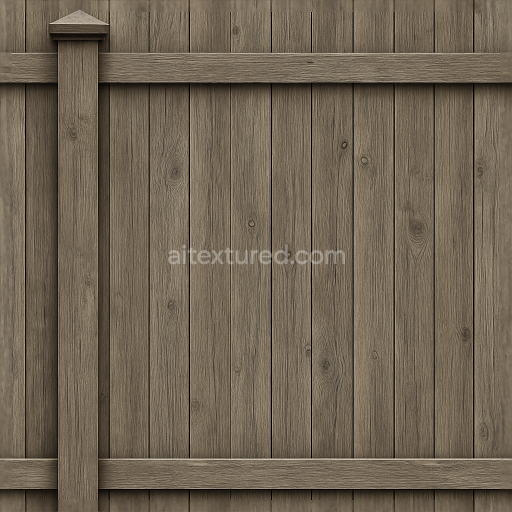
Vertical Slats Wooden Fence With Sun Bleached Wood And Fence Knots
Seamless texture (tileable) · PNG, WEBP, PBR ZIP. License: AITextured Free Commercial License (FCL) v1.1. Free personal and commercial use. Raw resale, standalone redistribution, mirroring/scraping, competing asset packs, and AI/ML training are not allowed without written permission. Attribution is not required, but appreciated..

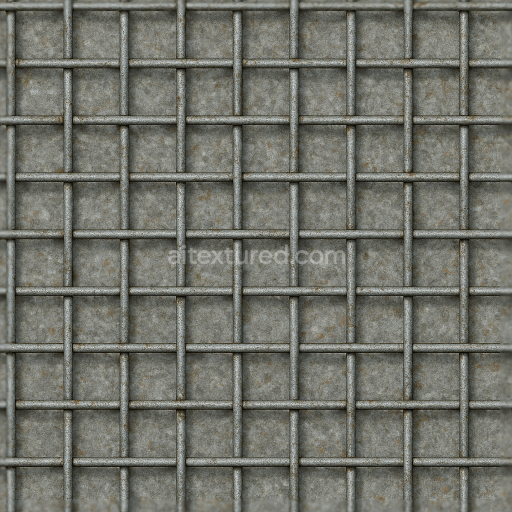
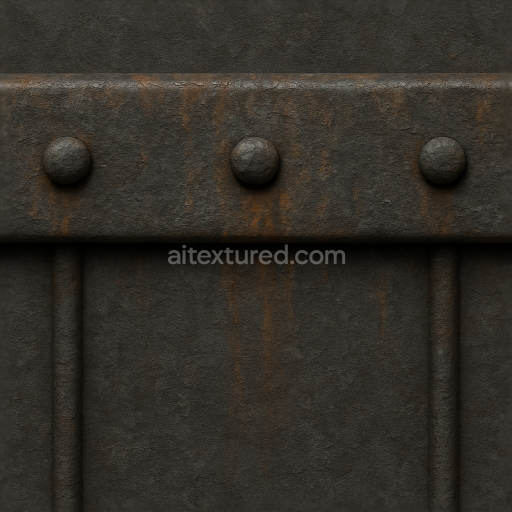
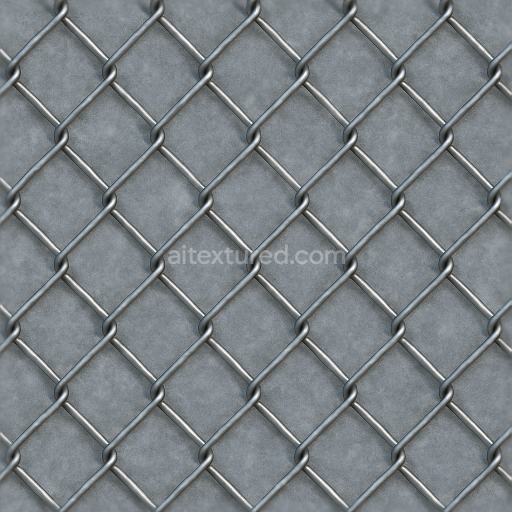
| ID | seamless-8k-3d-texture-pbr-barbed-wire-fence-with-corroded-metal-and-metal-bolts-on-steel-rods |
|---|---|
| Category | Fences |
| Formats | PNG, WEBP, PBR ZIP |
| Size | 1k (1024x1024px), 2k (2048x2048px), 4k (4096x4096px), 8k (8192x8192px) |
| Color | sRGB |
| Tileable | Yes |
This seamless 8K PBR 3D texture represents a detailed barbed wire fence composed primarily of corroded steel rods and intertwined wire mesh. The base material is aged metal, exhibiting significant oxidation that has altered the surface chemistry and appearance. The steel substrate beneath the corrosion retains a rough, industrial geometry formed by cylindrical rods and tightly wound barbed wire strands. These elements are joined by metal bolts, which themselves show signs of rust and patina, emphasizing the texture’s realistic weathering and material degradation. The overall form is a repetitive linear pattern of wire mesh and rods, designed for natural tiling without visible seams.
From a material composition standpoint, the steel rods serve as the structural substrate, with iron oxide layers developing from prolonged exposure to moisture and air. This oxidation layer introduces a porous surface texture, where rust stains vary in density and color, ranging from deep reddish-browns to faded oranges. The metal bolts act as mechanical fasteners, likely coated originally with protective plating now compromised by corrosion, revealing raw metal beneath. The barbed wire itself maintains a twisted, helical form with sharp protrusions, adding geometric complexity. Surface finishes are predominantly oxidized and rough, lacking any polished or brushed treatment, which contributes to the tactile realism of the texture when applied in 3D scenes.
In terms of PBR channel mapping, the BaseColor (Albedo) map captures the nuanced rusty hues alongside patches of darker oxidized metal and subtle metallic glints where corrosion is minimal. The Normal map defines the intricate relief of the twisted wire, barbs, and corroded rod surfaces, enhancing depth perception. Roughness values are high and varied, reflecting the uneven oxidation and rust accumulation that scatters light diffusely. The Metallic channel highlights the underlying steel components, modulated by corrosion extent to simulate non-metallic rust patches. Ambient Occlusion emphasizes crevices around bolts and wire overlaps, while Height/Displacement maps provide fine surface elevation details to reinforce the texture’s 3D character.
This texture is optimized at an 8K resolution, ensuring exceptional detail for close-up renders and large-scale fence surfaces. It is fully compatible with major 3D software such as Blender, Unreal Engine, and Unity, facilitating seamless integration into diverse environments. For practical use, adjusting the UV scale to match the spatial density of actual barbed wire fences will enhance realism. Additionally, fine-tuning the roughness channel can balance reflectivity to suit lighting conditions, while blending height and normal maps can improve surface depth effects without excessive geometry.
Import the texture maps into Blender with sRGB color space for albedo/base color and Non-Color for normal, roughness, metallic, AO, height, and ORM maps. Connect normal maps through a Normal Map node, then adjust UV scale with a Mapping node so the material repeats naturally on your model.
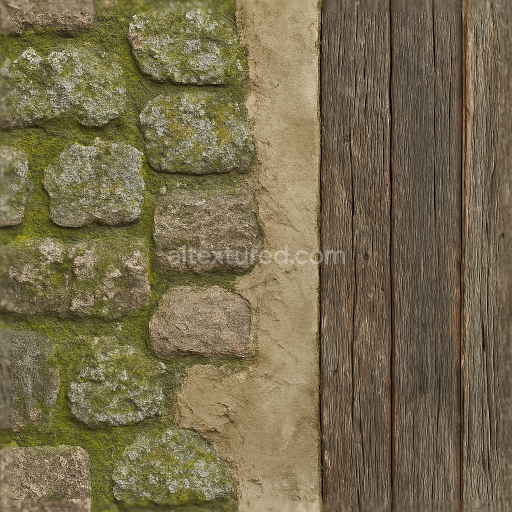
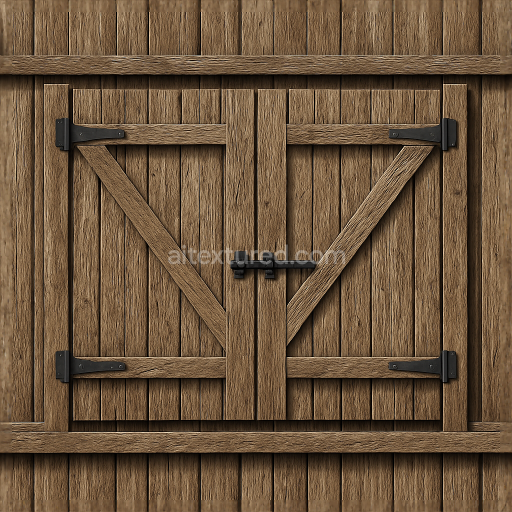
For the full step-by-step setup, see How to Use Seamless Textures in Blender. Browse related material examples in wood, concrete, and metal.
Yes. This texture is designed as a seamless tileable PBR material, so it can repeat across large surfaces without visible borders.
You can download PNG/WEBP versions and use 1K, 2K, 4K and 8K download options when available on the page.
Yes. The download options and engine-mapped ZIP workflow are designed for Blender, Unreal Engine, Unity Standard, URP and HDRP material pipelines.
Yes. The texture is available under the AITextured free commercial license. Review the license page for redistribution and AI-training restrictions.


Build, preview, and export seamless PBR materials. Generate full map sets from a single image, inspect them in a real-time WebGL viewer, and re-package maps for Unreal, Unity, and Blender—directly in your browser.
AI text-to-texture: type a prompt and get a seamless, tileable base image ready for PBR workflows (great starting point for materials).
Create a full PBR set (Normal, Roughness, AO, Metallic, etc.) from a single image. Seamless and tiling-friendly.
Instant WebGL viewer: inspect materials on a sphere, plane, and cube. Check tiling and lighting in real time.
Re-packages maps per engine: Unreal (BaseColor + ORM), Unity (Mask/MetallicSmoothness), Blender (separate channels).
PNG ↔ JPG ↔ SVG: fast convert, SVG rasterize, embed/trace options, quality & background controls.