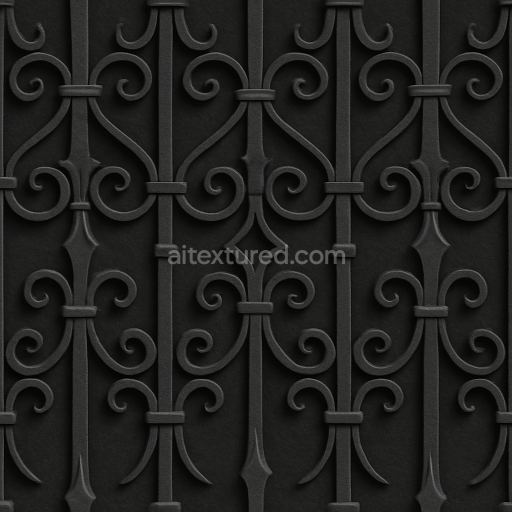
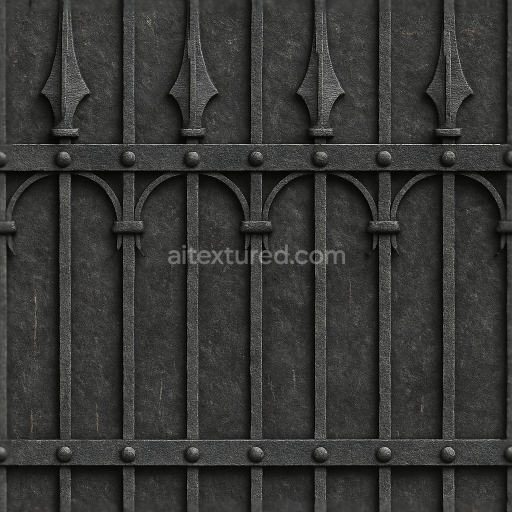
Decorative Iron Fence With Ornate Iron Details And Black Iron Finish
Seamless texture (tileable) · PNG, WEBP, PBR ZIP. License: AITextured Free Commercial License (FCL) v1.1. Free personal and commercial use. Raw resale, standalone redistribution, mirroring/scraping, competing asset packs, and AI/ML training are not allowed without written permission. Attribution is not required, but appreciated..

| ID | seamless-8k-3d-texture-pbr-woven-wood-garden-fence-with-green-fence-paint-and-fence-latch-hardware |
|---|---|
| Category | Fences |
| Formats | PNG, WEBP, PBR ZIP |
| Size | 1k (1024x1024px), 2k (2048x2048px), 4k (4096x4096px), 8k (8192x8192px) |
| Color | sRGB |
| Tileable | Yes |
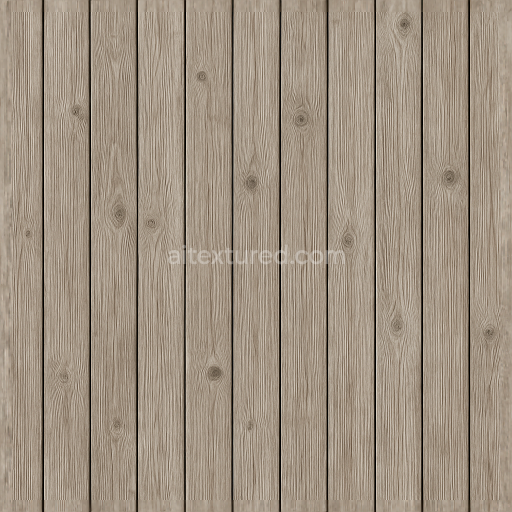
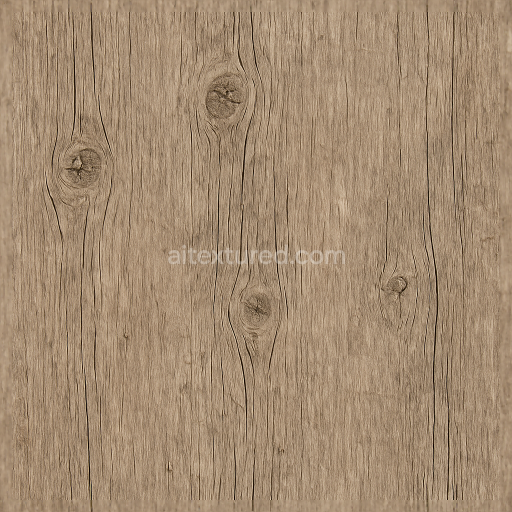
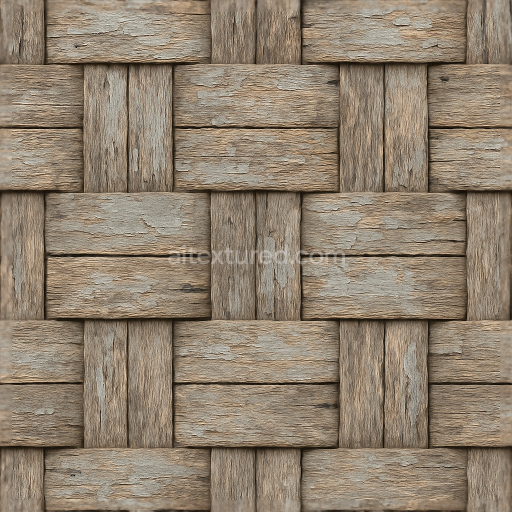
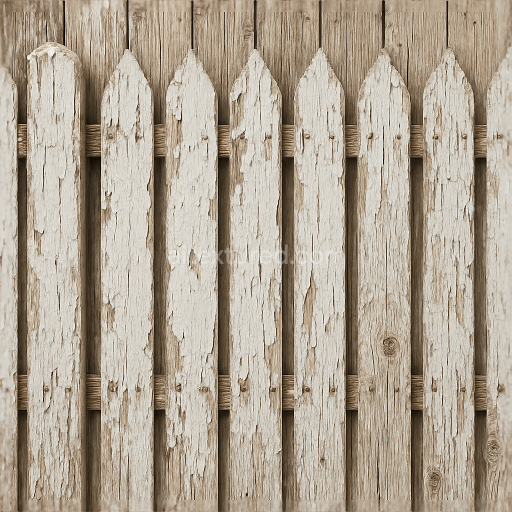
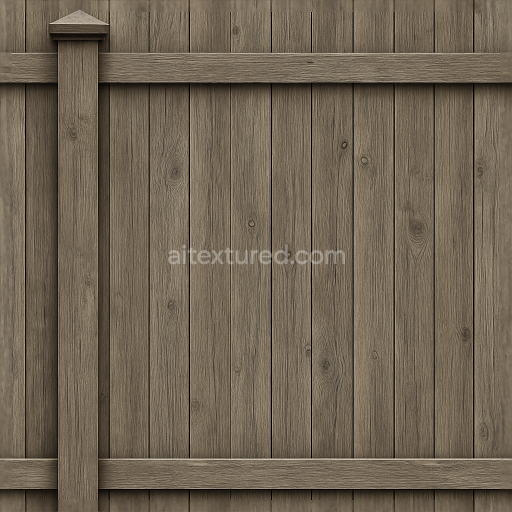
This seamless 8k PBR 3D texture captures the intricate form of a woven wood garden fence painted in a vibrant green hue. The base material consists of tightly interlaced wooden slats, creating a traditional woven pattern that provides both structural integrity and aesthetic complexity. Each wooden element showcases a natural grain structure with subtle knots and fine grooves, reflecting the organic characteristics of freshly milled hardwood. The wood fibers exhibit low porosity, indicative of a smooth surface finish achieved through sanding and a fresh application of green paint, which acts as a protective binder and pigment layer, enhancing durability against outdoor elements.
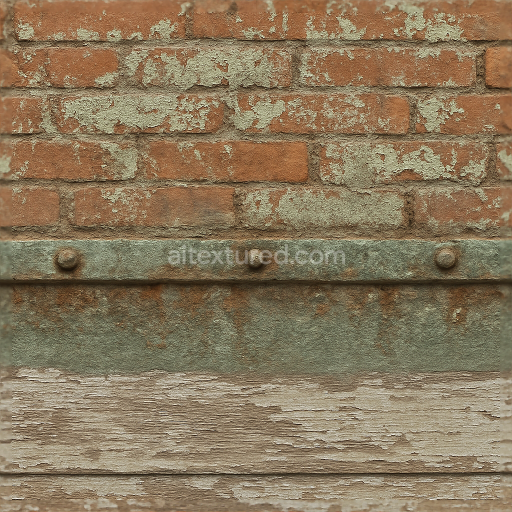
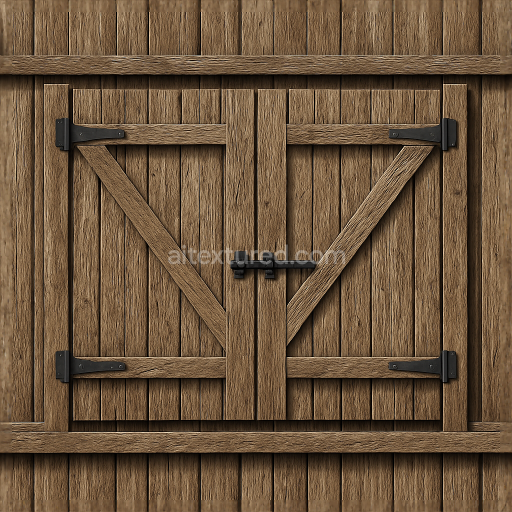
The painted wood surface is characterized by its smooth, matte finish with slight variations in roughness that simulate the tactile feel of real painted timber. The green pigment is evenly distributed across the surface, with minor tonal shifts around knots and edges, contributing to a natural, weather-resistant appearance. The woven arrangement generates subtle height variations and depth, which are accurately represented in the height and normal maps, allowing for realistic light interaction and shadowing. The fence latch hardware introduces a metallic element to the composition, with non-reflective, slightly weathered metal properties mapped to the metallic and roughness channels, adding mechanical detail and functional realism.
Within the PBR workflow, the BaseColor (Albedo) map delivers the rich green paint interspersed with natural wood tones visible through thin paint layers or wear. The Normal map encodes fine grain details, knots, and the woven pattern’s subtle relief, essential for realistic surface shading in real-time engines. Roughness values are modulated to reflect the smooth paint finish contrasted by the slightly coarser texture of the latch hardware. The Metallic map isolates the latch components, setting them to a low to moderate metallic reflectance. Ambient Occlusion enhances the perception of depth where wood slats overlap and where the latch interfaces with the fence, while the Height/Displacement map supports parallax or tessellation effects to emphasize the three-dimensional woven form.
This texture is optimized for high-fidelity use in Blender, Unreal Engine, and Unity, providing seamless tiling across large fence surfaces without visible repetition, thanks to its 8k resolution. For practical application, it is advisable to carefully adjust UV scale to maintain the natural size and proportion of the woven pattern relative to the scene scale. Additionally, tuning roughness values can help achieve the desired weathering effect, while blending height and normal maps can enhance the perception of depth on lower-end rendering pipelines or when parallax occlusion mapping is used.
Import the texture maps into Blender with sRGB color space for albedo/base color and Non-Color for normal, roughness, metallic, AO, height, and ORM maps. Connect normal maps through a Normal Map node, then adjust UV scale with a Mapping node so the material repeats naturally on your model.
For the full step-by-step setup, see How to Use Seamless Textures in Blender. Browse related material examples in wood, concrete, and metal.
Yes. This texture is designed as a seamless tileable PBR material, so it can repeat across large surfaces without visible borders.
You can download PNG/WEBP versions and use 1K, 2K, 4K and 8K download options when available on the page.
Yes. The download options and engine-mapped ZIP workflow are designed for Blender, Unreal Engine, Unity Standard, URP and HDRP material pipelines.
Yes. The texture is available under the AITextured free commercial license. Review the license page for redistribution and AI-training restrictions.
Build, preview, and export seamless PBR materials. Generate full map sets from a single image, inspect them in a real-time WebGL viewer, and re-package maps for Unreal, Unity, and Blender—directly in your browser.
AI text-to-texture: type a prompt and get a seamless, tileable base image ready for PBR workflows (great starting point for materials).
Create a full PBR set (Normal, Roughness, AO, Metallic, etc.) from a single image. Seamless and tiling-friendly.
Instant WebGL viewer: inspect materials on a sphere, plane, and cube. Check tiling and lighting in real time.
Re-packages maps per engine: Unreal (BaseColor + ORM), Unity (Mask/MetallicSmoothness), Blender (separate channels).
PNG ↔ JPG ↔ SVG: fast convert, SVG rasterize, embed/trace options, quality & background controls.