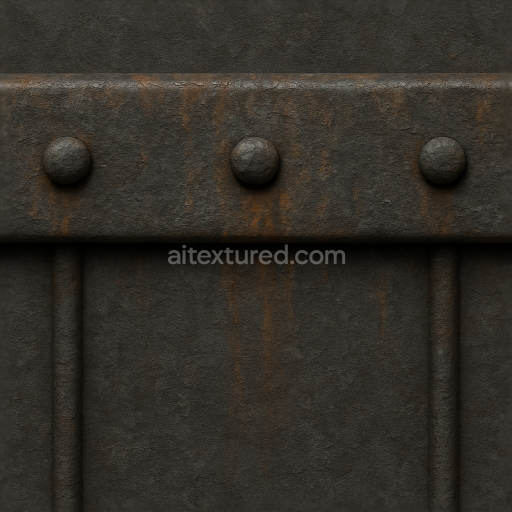
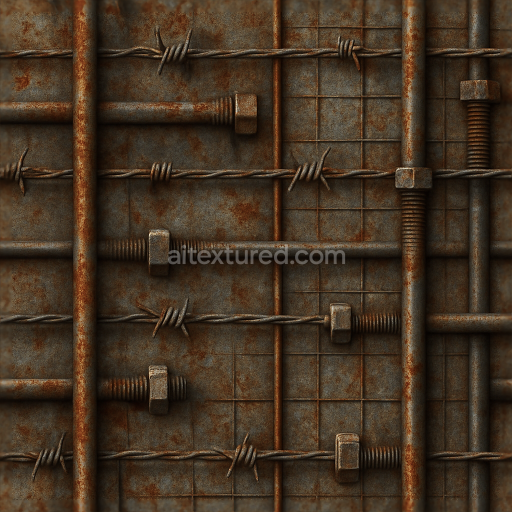
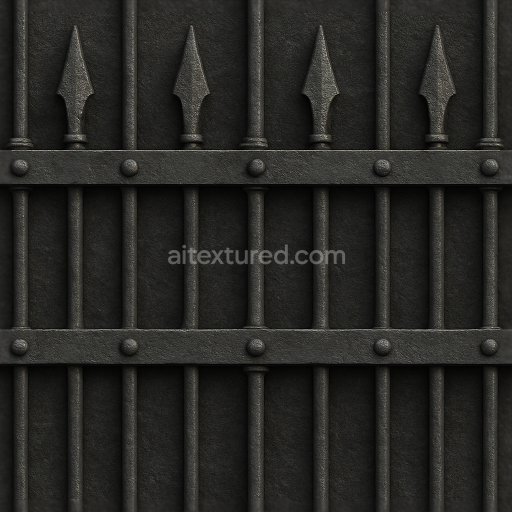
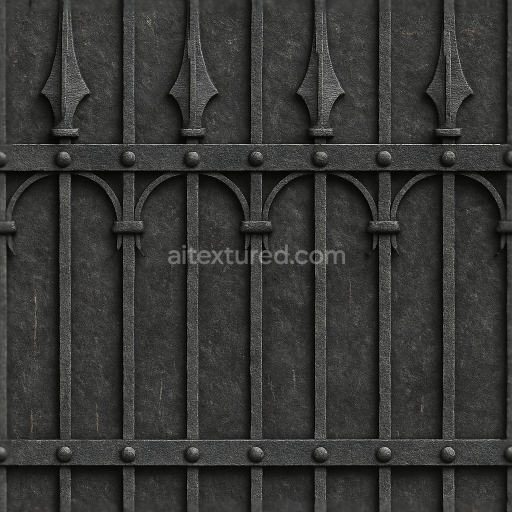
Seamless 8K 3D Texture PBR Rough Metal Fence Rail With Oxidized Metal And Metal Bolts Det…
Seamless texture (tileable) · PNG, WEBP, PBR ZIP. License: AITextured Free Commercial License (FCL) v1.1. Free personal and commercial use. Raw resale, standalone redistribution, mirroring/scraping, competing asset packs, and AI/ML training are not allowed without written permission. Attribution is not required, but appreciated..

| ID | seamless-8k-3d-texture-pbr-split-rail-fence-with-rough-wood-and-fence-post-in-natural-dry-wood-finish |
|---|---|
| Category | Fences |
| Formats | PNG, WEBP, PBR ZIP |
| Size | 1k (1024x1024px), 2k (2048x2048px), 4k (4096x4096px), 8k (8192x8192px) |
| Color | sRGB |
| Tileable | Yes |
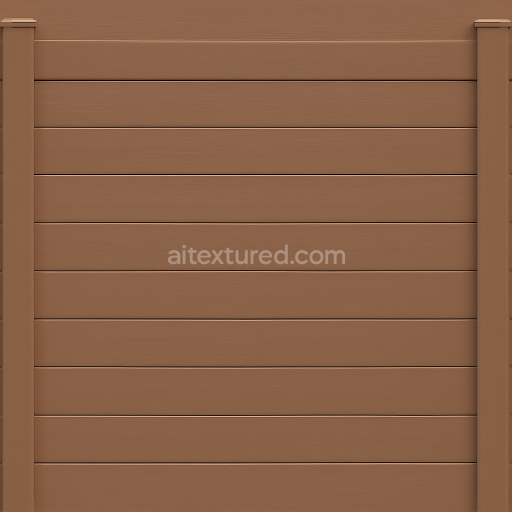
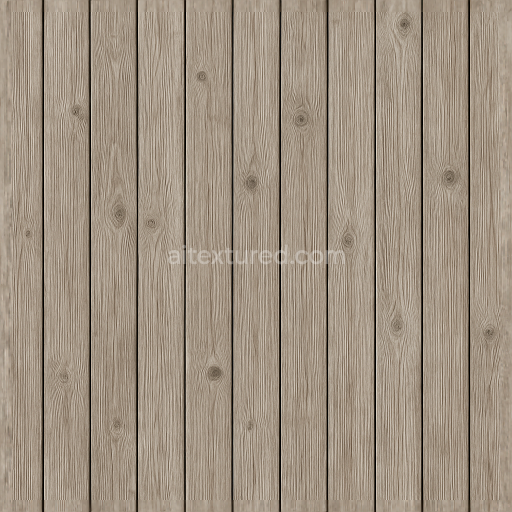
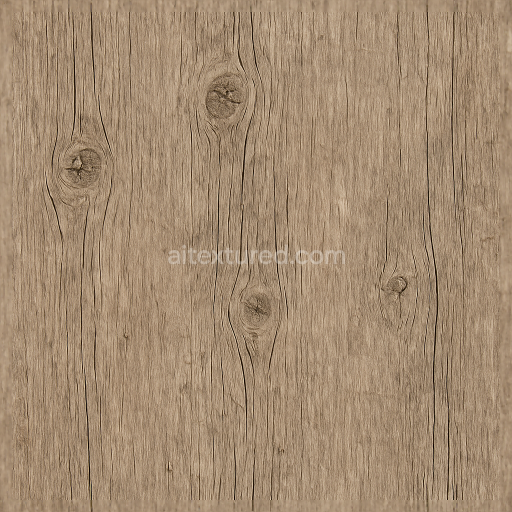
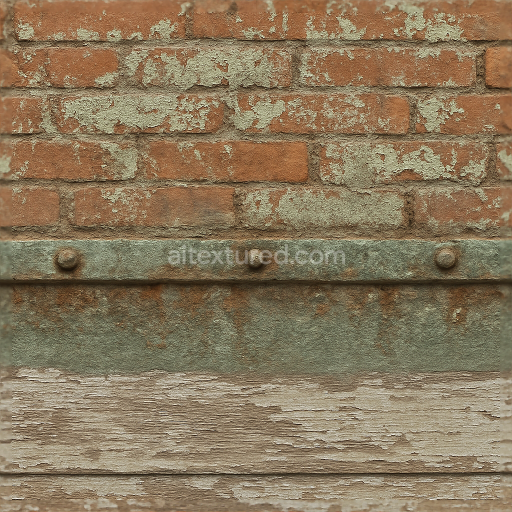
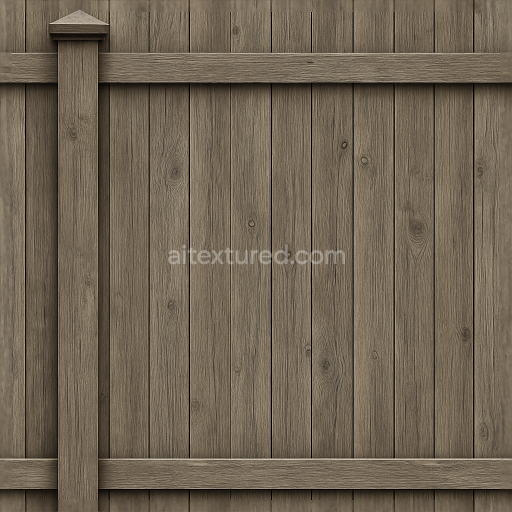
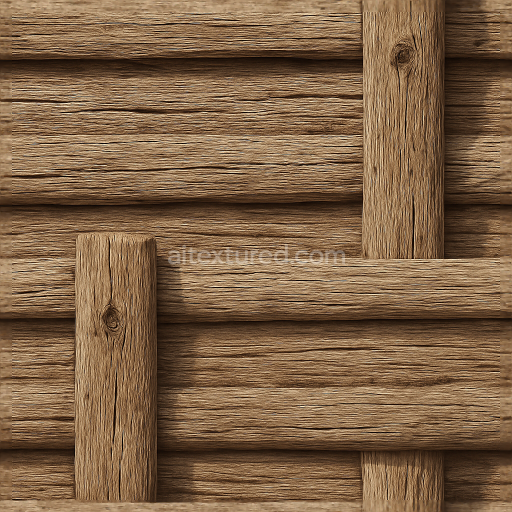
This seamless 8K PBR 3D texture captures the authentic appearance of a traditional split rail fence constructed from rough, natural dry wood. The material is primarily aged hardwood, characterized by a coarse grain structure interspersed with prominent knots and occasional splinters, reflecting years of exposure to outdoor elements. The wood substrate shows subtle porosity and natural fissures, while the surface finish is matte and weathered, with no artificial gloss or polish, emphasizing the rustic, sunlit quality of the fence. The fence posts exhibit additional textural complexity, featuring natural cracks and layered grain patterns typical of seasoned timber used in rural fencing.
Geometrically, the texture simulates the linear, horizontal form of split rails supported by vertical posts, creating a repetitive pattern that emphasizes the elongated, cylindrical shape of the rails combined with the more robust, squared-off posts. The texture’s seamless design allows for continuous tiling without visible borders, making it suitable for large-scale environments. Fine details such as wood knots and grain directionality are carefully preserved, enhancing realism when viewed up close or at a distance. The interplay of light and shadow on the rough wood surface is captured through high-resolution normal and height maps, adding depth and dimensionality to the material.
From a PBR workflow perspective, the BaseColor (Albedo) map faithfully reproduces the natural dry wood tones, ranging from soft honey browns to muted grays, with subtle variations introduced by sun bleaching and weathering. The Normal map encodes the uneven grain, knots, and splintered surfaces, contributing to realistic light interaction. Roughness values are high and varied, reflecting the unpolished, coarse texture of aged wood, while the Metallic channel remains near zero, as wood is non-metallic. Ambient Occlusion enhances the perception of depth around knots and cracks, and Height/Displacement maps provide realistic relief, allowing for effective parallax or tessellation shading in modern rendering engines.
This 8K texture is optimized for use in Blender, Unreal Engine, and Unity, ensuring compatibility and high fidelity across popular 3D platforms. For practical implementation, it is recommended to adjust the UV scale to maintain the natural grain size relative to scene elements, preventing exaggeration or loss of detail. Additionally, fine-tuning the roughness map can help balance the material’s response to varying lighting conditions, while blending height and normal maps can enhance surface complexity without excessive polygonal detail.
Import the texture maps into Blender with sRGB color space for albedo/base color and Non-Color for normal, roughness, metallic, AO, height, and ORM maps. Connect normal maps through a Normal Map node, then adjust UV scale with a Mapping node so the material repeats naturally on your model.
For the full step-by-step setup, see How to Use Seamless Textures in Blender. Browse related material examples in wood, concrete, and metal.
Yes. This texture is designed as a seamless tileable PBR material, so it can repeat across large surfaces without visible borders.
You can download PNG/WEBP versions and use 1K, 2K, 4K and 8K download options when available on the page.
Yes. The download options and engine-mapped ZIP workflow are designed for Blender, Unreal Engine, Unity Standard, URP and HDRP material pipelines.
Yes. The texture is available under the AITextured free commercial license. Review the license page for redistribution and AI-training restrictions.

Build, preview, and export seamless PBR materials. Generate full map sets from a single image, inspect them in a real-time WebGL viewer, and re-package maps for Unreal, Unity, and Blender—directly in your browser.
AI text-to-texture: type a prompt and get a seamless, tileable base image ready for PBR workflows (great starting point for materials).
Create a full PBR set (Normal, Roughness, AO, Metallic, etc.) from a single image. Seamless and tiling-friendly.
Instant WebGL viewer: inspect materials on a sphere, plane, and cube. Check tiling and lighting in real time.
Re-packages maps per engine: Unreal (BaseColor + ORM), Unity (Mask/MetallicSmoothness), Blender (separate channels).
PNG ↔ JPG ↔ SVG: fast convert, SVG rasterize, embed/trace options, quality & background controls.