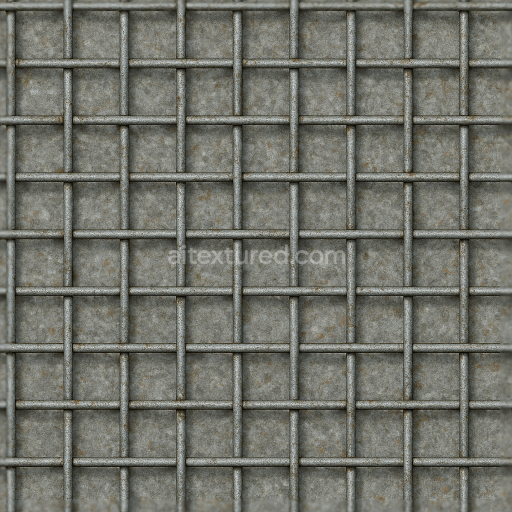
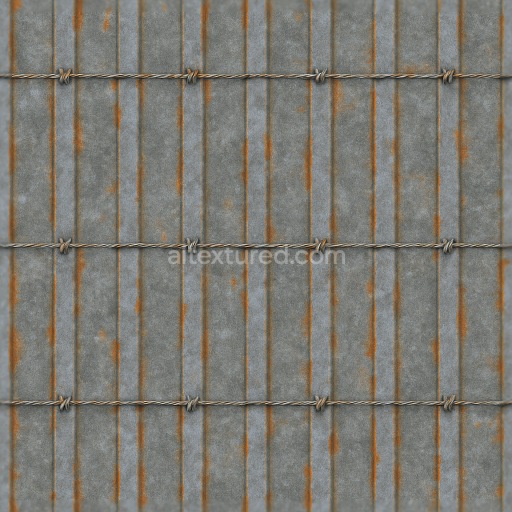
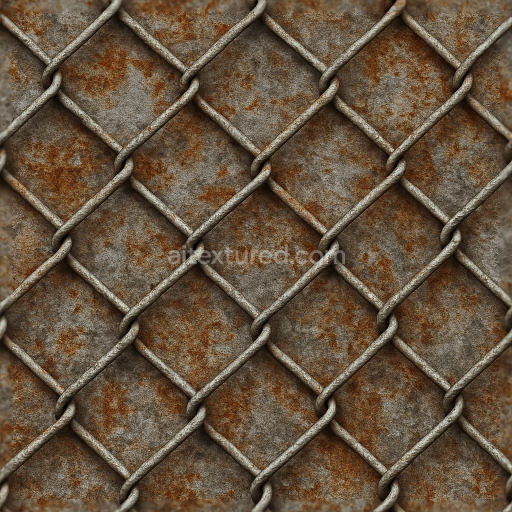
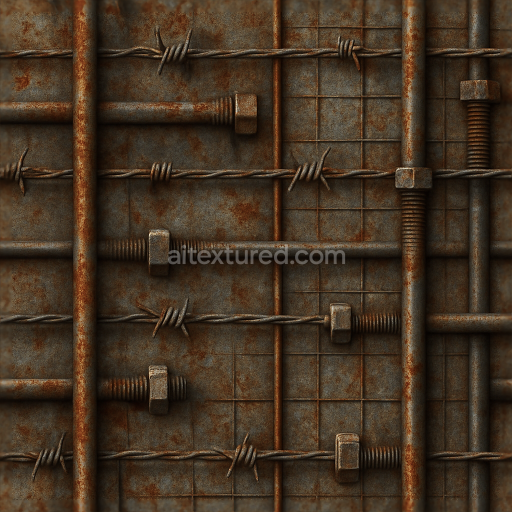
Wire Mesh Fence With Galvanized Metal And Metal Rust Details
Seamless texture (tileable) · PNG, WEBP, PBR ZIP. License: AITextured Free Commercial License (FCL) v1.1. Free personal and commercial use. Raw resale, standalone redistribution, mirroring/scraping, competing asset packs, and AI/ML training are not allowed without written permission. Attribution is not required, but appreciated..

| ID | seamless-3d-texture-pbr-8k-chain-link-fence-with-galvanized-metal-and-fence-wire-details |
|---|---|
| Category | Fences |
| Formats | PNG, WEBP, PBR ZIP |
| Size | 1k (1024x1024px), 2k (2048x2048px), 4k (4096x4096px), 8k (8192x8192px) |
| Color | sRGB |
| Tileable | Yes |
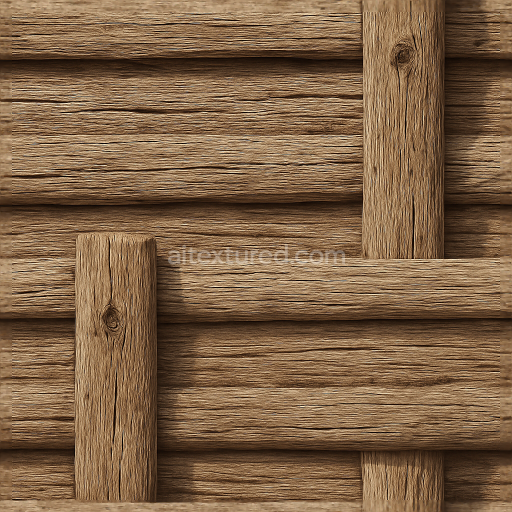
This seamless 3D texture presents a highly detailed, photorealistic chain link fence rendered at an impressive 8K resolution, optimized for physically based rendering (PBR) workflows. The primary material simulated is galvanized steel, characterized by its distinctive zinc coating that provides corrosion resistance and a slightly mottled, matte metallic finish. The texture faithfully reproduces the fine details of the woven wire mesh pattern, where individual steel wires interlock in a diamond-shaped grid. The surface exhibits subtle variations in reflectivity and micro-roughness, emulating the nuanced surface imperfections and weathering typical of outdoor metal fences exposed to the elements.
Structurally, the texture captures the geometric complexity of the fence’s form: the intertwined steel wires create a repetitive lattice pattern, while the thicker galvanized metal rods that frame the fence add a contrasting linear element. The base material, galvanized steel, displays a medium gray base color with faint speckles and oxidation spots, rendered through the BaseColor (Albedo) channel. The Normal map enhances the tactile quality by defining the raised wire mesh and the slight bends and crimps in the metal wires. The Roughness map controls the varying surface reflectivity, with smoother metallic rods and rougher wire intersections. The Metallic channel is predominantly high, reflecting the metal nature, while the Ambient Occlusion map adds depth to crevices and wire overlaps. Height/Displacement maps delineate the subtle relief of the intertwined wires, emphasizing the three-dimensional form without excessive distortion.
Weathering effects are subtly integrated, simulating light surface oxidation and slight abrasions that occur over time on galvanized steel exposed to outdoor conditions. The texture avoids harsh rust or heavy corrosion, maintaining a neutral, industrial appearance suitable for a variety of environments. The seamless design ensures that the texture can tile infinitely without visible borders or repetition artifacts, ideal for large-scale applications such as fences in urban, industrial, or security contexts.
This 8K PBR chain link fence texture is fully compatible with major 3D software and game engines, including Blender, Unreal Engine, and Unity, ensuring easy integration into diverse projects. For optimal results, it is advisable to adjust the UV scale so that the wire mesh pattern appears at a realistic size relative to the scene. Additionally, fine-tuning the Roughness channel can help achieve the desired balance between shine and matte finish based on lighting conditions. When using displacement or parallax mapping, blending these with the Normal map enhances the visual depth of the wire mesh without introducing artifacts.
Import the texture maps into Blender with sRGB color space for albedo/base color and Non-Color for normal, roughness, metallic, AO, height, and ORM maps. Connect normal maps through a Normal Map node, then adjust UV scale with a Mapping node so the material repeats naturally on your model.
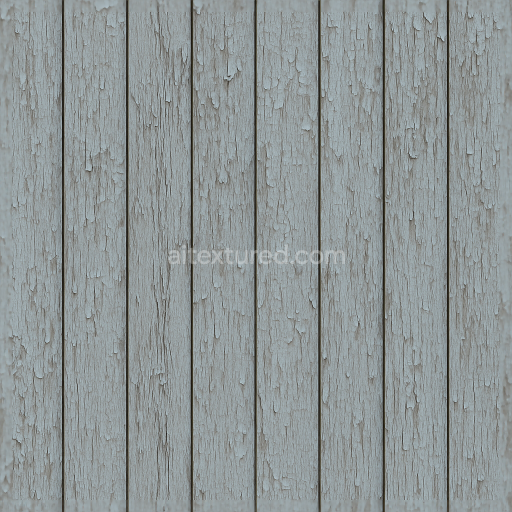
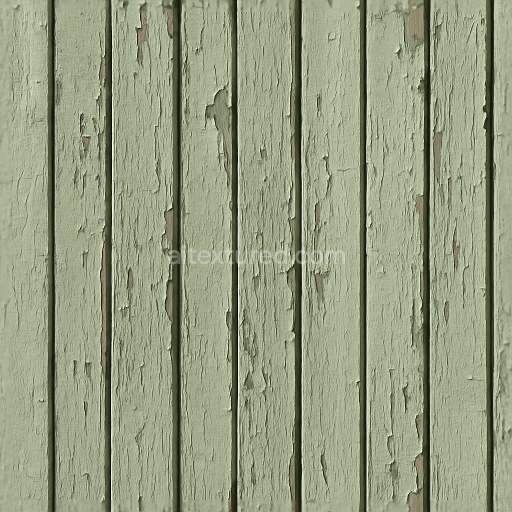
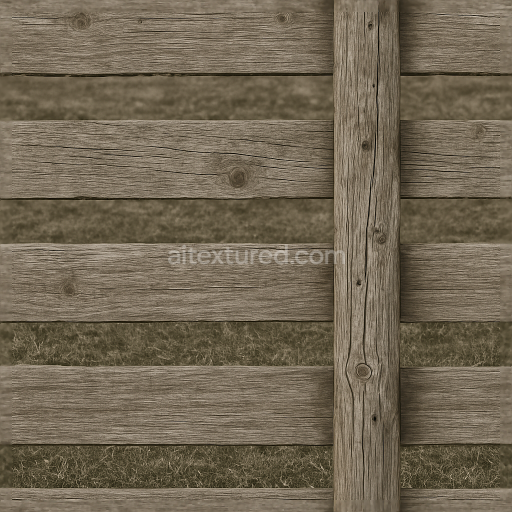
For the full step-by-step setup, see How to Use Seamless Textures in Blender. Browse related material examples in wood, concrete, and metal.
Yes. This texture is designed as a seamless tileable PBR material, so it can repeat across large surfaces without visible borders.
You can download PNG/WEBP versions and use 1K, 2K, 4K and 8K download options when available on the page.
Yes. The download options and engine-mapped ZIP workflow are designed for Blender, Unreal Engine, Unity Standard, URP and HDRP material pipelines.
Yes. The texture is available under the AITextured free commercial license. Review the license page for redistribution and AI-training restrictions.

Build, preview, and export seamless PBR materials. Generate full map sets from a single image, inspect them in a real-time WebGL viewer, and re-package maps for Unreal, Unity, and Blender—directly in your browser.
AI text-to-texture: type a prompt and get a seamless, tileable base image ready for PBR workflows (great starting point for materials).
Create a full PBR set (Normal, Roughness, AO, Metallic, etc.) from a single image. Seamless and tiling-friendly.
Instant WebGL viewer: inspect materials on a sphere, plane, and cube. Check tiling and lighting in real time.
Re-packages maps per engine: Unreal (BaseColor + ORM), Unity (Mask/MetallicSmoothness), Blender (separate channels).
PNG ↔ JPG ↔ SVG: fast convert, SVG rasterize, embed/trace options, quality & background controls.