Seamless 8K 3D Texture PBR Concrete Wall Fence With Black Fence Shadow And Smooth Painted…
Seamless texture (tileable) · PNG, WEBP, PBR ZIP. License: AITextured Free Commercial License (FCL) v1.1. Free personal and commercial use. Raw resale, standalone redistribution, mirroring/scraping, competing asset packs, and AI/ML training are not allowed without written permission. Attribution is not required, but appreciated..

| ID | seamless-8k-3d-texture-pbr-garden-fence-with-horizontal-slats-and-painted-wood-in-green-fence-style |
|---|---|
| Category | Fences |
| Formats | PNG, WEBP, PBR ZIP |
| Size | 1k (1024x1024px), 2k (2048x2048px), 4k (4096x4096px), 8k (8192x8192px) |
| Color | sRGB |
| Tileable | Yes |
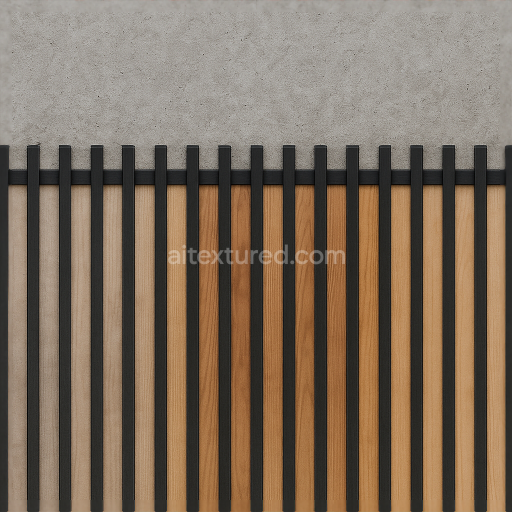
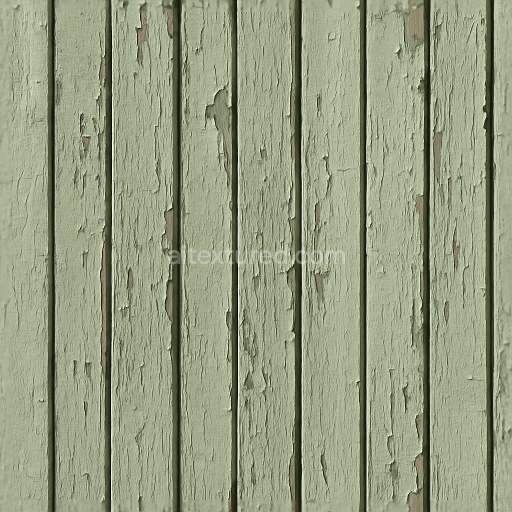
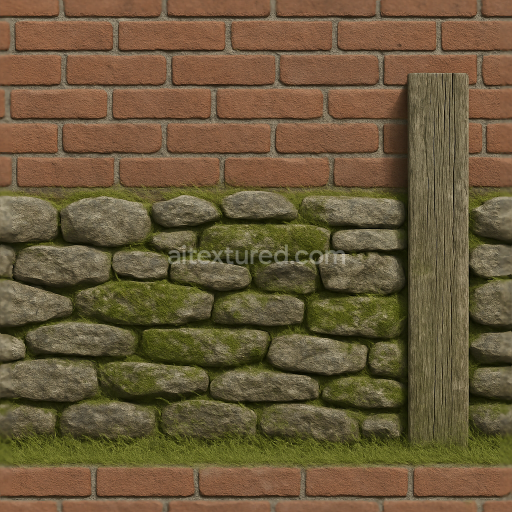
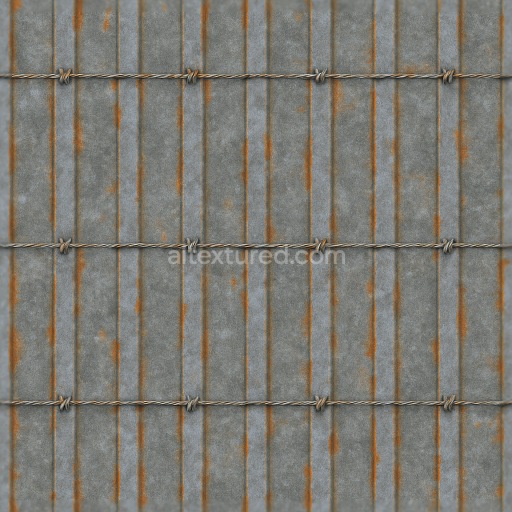
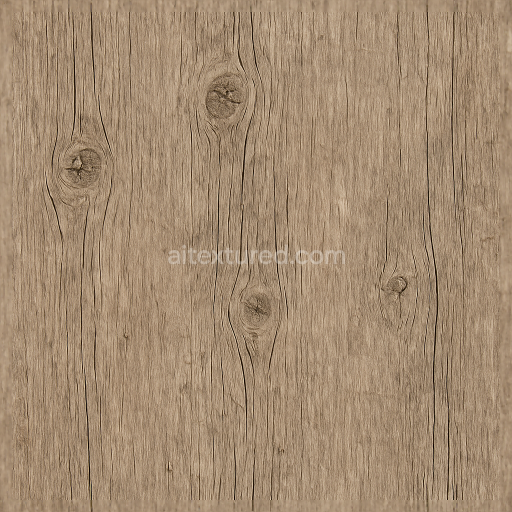
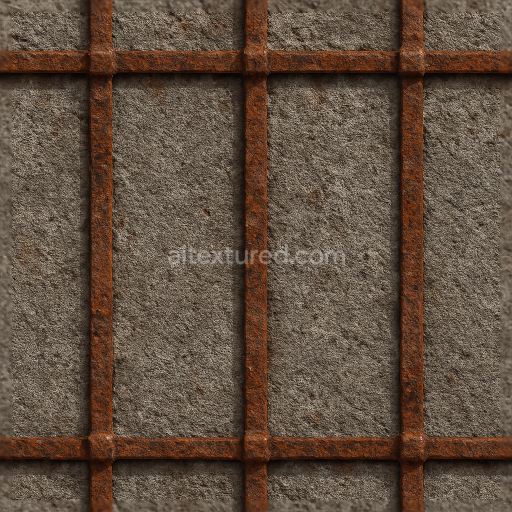
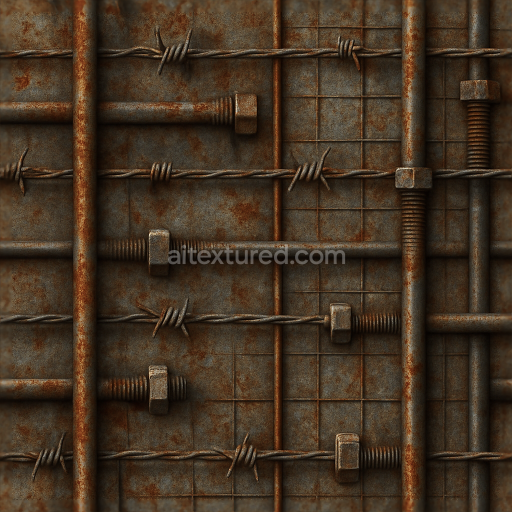
This seamless 8K PBR 3D texture represents a garden fence crafted from painted wood arranged in a horizontal slat pattern. The primary material is fresh, untreated timber with visible natural grain and occasional knots, giving the surface authentic organic variation. The wood substrate is coated with a smooth, semi-gloss green paint finish that preserves the detailed wood fibers beneath while providing a durable protective layer. The paint’s pigments offer a consistent, vibrant coloration that contrasts subtly with exposed wood knots and slight texture variations, contributing to realism without heavy weathering or damage. The fence posts and rails frame the slats in a structured, rectangular form, emphasizing clean lines and neat geometric repetition ideal for garden boundaries or decorative outdoor enclosures.
In terms of physical composition, the texture captures the interplay between the wooden base material and its painted surface. The wood’s fibrous grain is subtly raised and detailed in the height and normal maps, producing fine micro-geometry that responds naturally to lighting. The roughness map reflects the semi-gloss finish, with smooth painted areas showing moderate reflectivity and slightly rougher patches around knots and edges simulating minor surface imperfections. Metallic values remain near zero, consistent with non-metallic wood, while ambient occlusion enhances the shadowed recesses between horizontal slats and around fence post joints, adding depth. The height and displacement channels provide gentle relief for the slats and knots, enabling realistic parallax effects when used in advanced rendering engines.
Designed for optimal use in Blender, Unreal Engine, and Unity, the texture’s 8K resolution ensures crisp detail even at close viewing distances, making it suitable for architectural visualization, game environments, or CGI landscaping. Its seamless tileability supports large-scale fence walls without visible repetition, maintaining visual continuity across surfaces. For best results, adjusting the UV scale to match typical fence dimensions helps preserve the natural wood grain proportions, while fine-tuning the roughness channel can simulate varying paint wear levels from fresh coats to lightly weathered finishes. Additionally, blending normal and height maps can enhance depth perception under dynamic lighting, particularly useful in interactive scenes or virtual reality applications.
Import the texture maps into Blender with sRGB color space for albedo/base color and Non-Color for normal, roughness, metallic, AO, height, and ORM maps. Connect normal maps through a Normal Map node, then adjust UV scale with a Mapping node so the material repeats naturally on your model.
For the full step-by-step setup, see How to Use Seamless Textures in Blender. Browse related material examples in wood, concrete, and metal.
Yes. This texture is designed as a seamless tileable PBR material, so it can repeat across large surfaces without visible borders.
You can download PNG/WEBP versions and use 1K, 2K, 4K and 8K download options when available on the page.
Yes. The download options and engine-mapped ZIP workflow are designed for Blender, Unreal Engine, Unity Standard, URP and HDRP material pipelines.
Yes. The texture is available under the AITextured free commercial license. Review the license page for redistribution and AI-training restrictions.

Build, preview, and export seamless PBR materials. Generate full map sets from a single image, inspect them in a real-time WebGL viewer, and re-package maps for Unreal, Unity, and Blender—directly in your browser.
AI text-to-texture: type a prompt and get a seamless, tileable base image ready for PBR workflows (great starting point for materials).
Create a full PBR set (Normal, Roughness, AO, Metallic, etc.) from a single image. Seamless and tiling-friendly.
Instant WebGL viewer: inspect materials on a sphere, plane, and cube. Check tiling and lighting in real time.
Re-packages maps per engine: Unreal (BaseColor + ORM), Unity (Mask/MetallicSmoothness), Blender (separate channels).
PNG ↔ JPG ↔ SVG: fast convert, SVG rasterize, embed/trace options, quality & background controls.